13 Budget-Friendly Art Activities Your Family Will Love
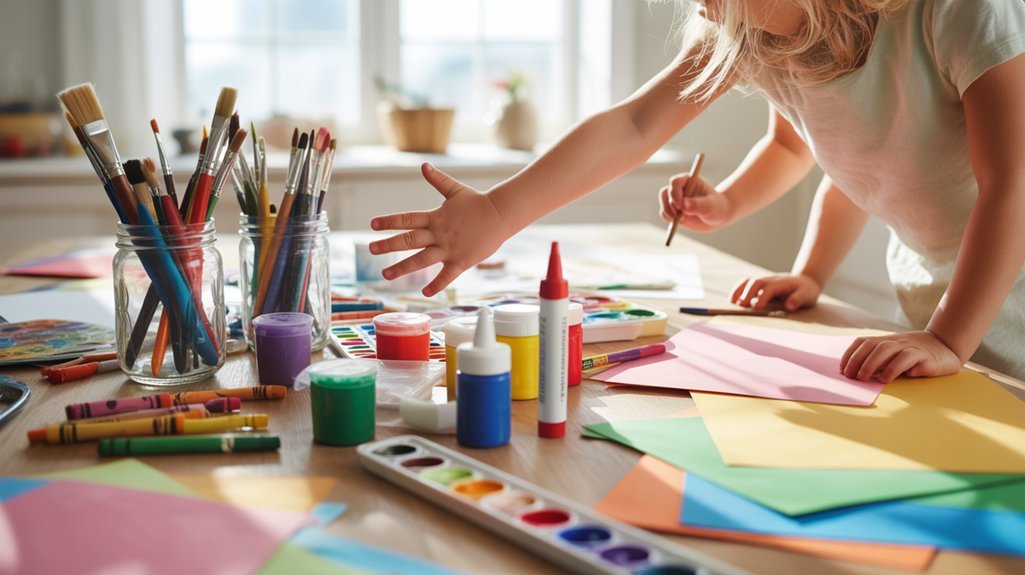
You’ll discover endless creative possibilities without breaking the bank by transforming everyday household items into art supplies. Start with nature collage art using leaves and twigs from your backyard, or whip up homemade playdough with flour, salt, and water. Turn cardboard boxes into castles, create magazine mosaics, and paint smooth stones into miniature masterpieces. Old newspapers become sculptures, egg cartons transform into gardens, and ice cube trays organize your paint mixing stations. The following activities will show you exactly how to bring each project to life.
Key Takeaways
- Nature collage art uses free backyard materials like leaves, twigs, and stones to create projects while developing observation skills.
- Cardboard boxes transform into castles, robots, and play structures using simple scissors, tape, and markers for imaginative adventures.
- Homemade playdough requires only flour, salt, and water to teach sculpting techniques while developing fine motor skills inexpensively.
- Rock painting with acrylic paints turns smooth stones into ladybugs, story stones, or neighborhood treasures to spread joy.
- Magazine mosaic art repurposes old magazines into colorful textured artwork while exploring color theory and building motor skills.
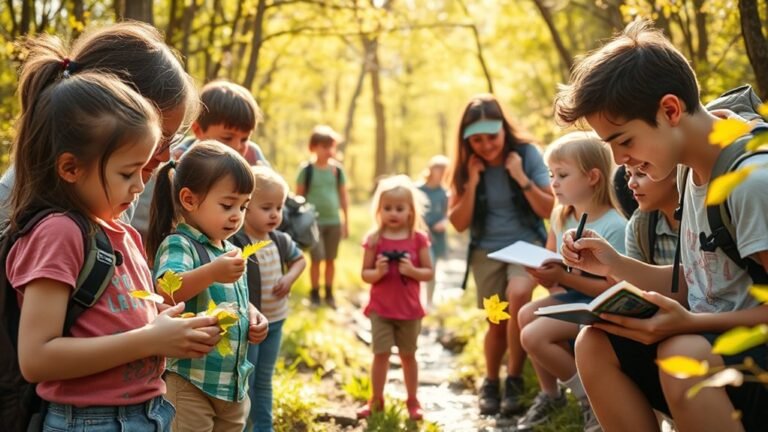
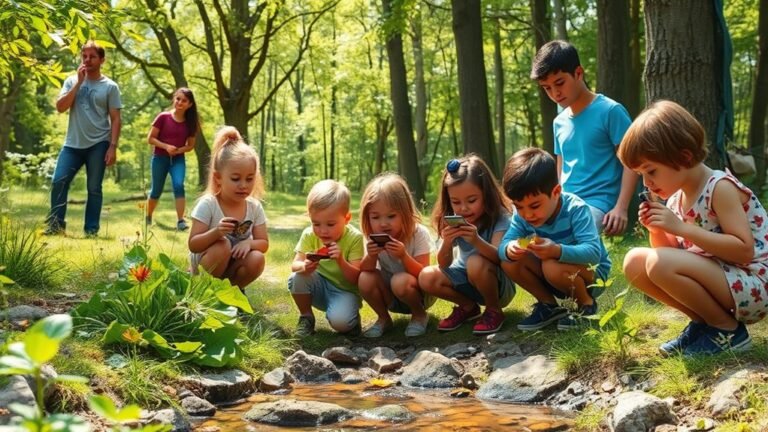
Nature Collage Art Using Outdoor Treasures
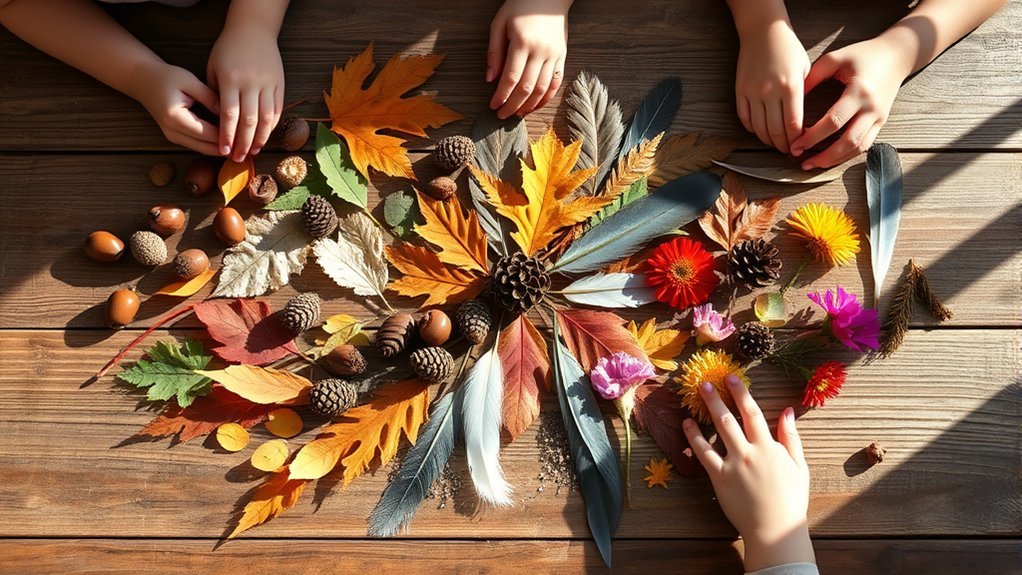
Nature collage art transforms free materials from your backyard into stunning creative projects.
You’ll discover endless outdoor inspiration during family walks—collect leaves, twigs, flower petals, pinecones, and interesting stones. Store your nature treasure in egg cartons or shoeboxes for future use.
Start with simple designs by arranging materials on cardboard or paper before gluing them down. Your kids can create seasonal scenes, animal shapes, or abstract patterns.
Let children experiment freely with their natural materials—there’s no wrong way to arrange leaves, petals, and twigs into art.
Press flowers between heavy books for flat pieces, or use dimensional items like acorns for texture.
This activity costs nothing while teaching children about their natural environment. You’re fostering creativity and observation skills simultaneously.
Plus, you’ll build a collection of unique artwork that captures memories from different seasons and locations throughout the year.
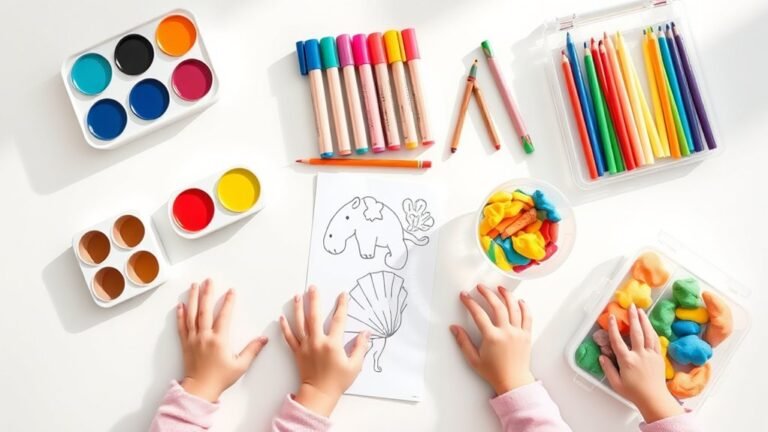
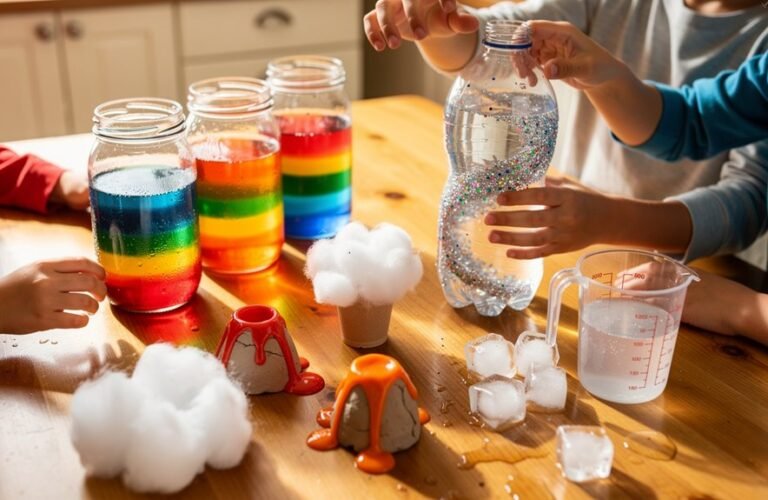
DIY Playdough Sculptures With Pantry Ingredients
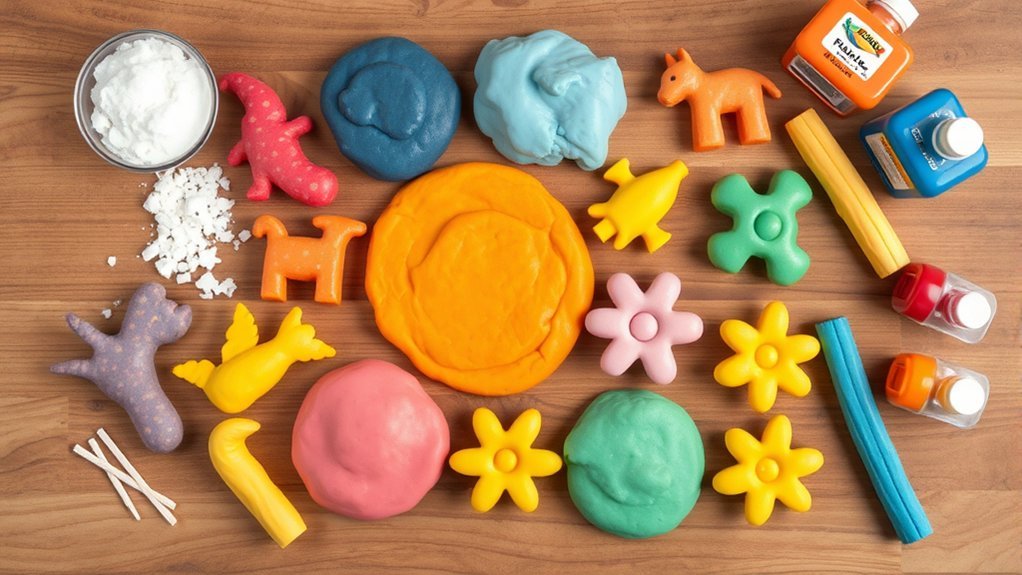
Making playdough at home requires just three basic ingredients you already have: flour, salt, and water. You’ll mix two cups flour, one cup salt, and three-quarters cup water to create a smooth, pliable dough. Adding food coloring transforms plain dough into vibrant sculpting material.
Once you’ve mastered basic playdough recipes, explore variations by incorporating cream of tartar for elasticity or vegetable oil for softer texture. Store your creations in airtight containers to extend their life.
Teach your children fundamental sculpting techniques like rolling, pinching, and coiling. They’ll craft everything from simple snakes to elaborate figures.
Provide cookie cutters, rolling pins, and everyday kitchen tools to expand creative possibilities. This hands-on activity develops fine motor skills while keeping costs minimal and entertainment value high.
Cardboard Box Creations and Imaginative Play
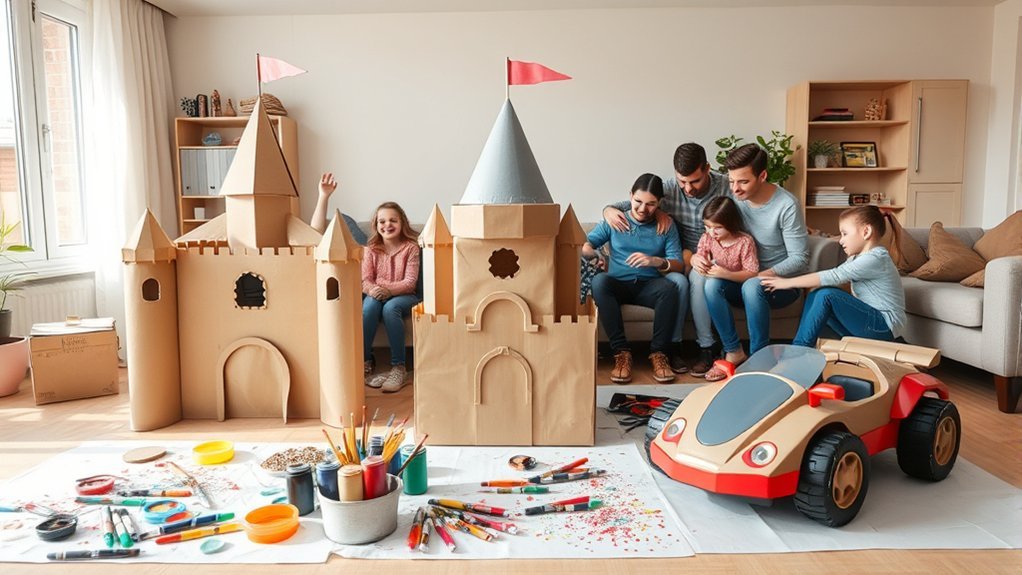
Cardboard boxes transform into castles, spaceships, puppet theaters, and race cars with just scissors, tape, and markers.
You’ll save money while sparking your children’s creativity with materials you’d normally recycle.
Start with a cardboard castle by cutting out windows and doors, then let your kids paint towers and drawbridges.
Transform ordinary cardboard into a majestic castle—just cut openings and unleash your child’s inner artist on towers and drawbridges.
They’ll spend hours defending their fortress with toy knights or stuffed animals.
Robot creations work equally well—stack smaller boxes for bodies, attach paper-towel tubes as arms, and decorate with aluminum foil and bottle caps.
Your children can wear their robots or display them proudly.
Large appliance boxes become secret hideouts, stores, or drive-through restaurants.
Cut viewing holes and add fabric scraps for curtains.
These projects encourage problem-solving skills while providing endless imaginative play opportunities.
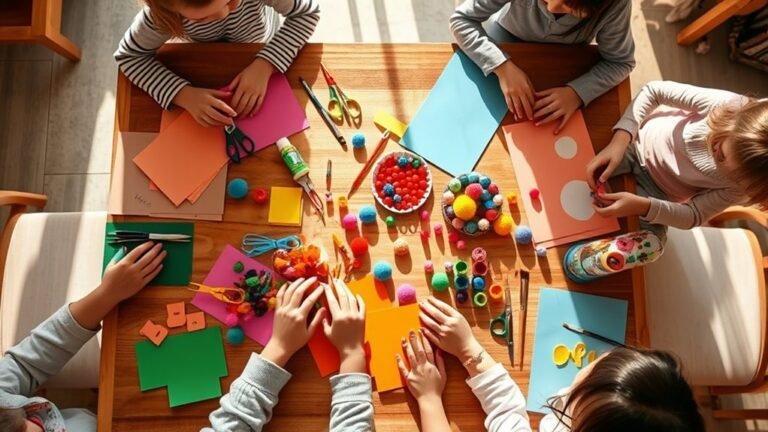
Magazine Mosaic Masterpieces
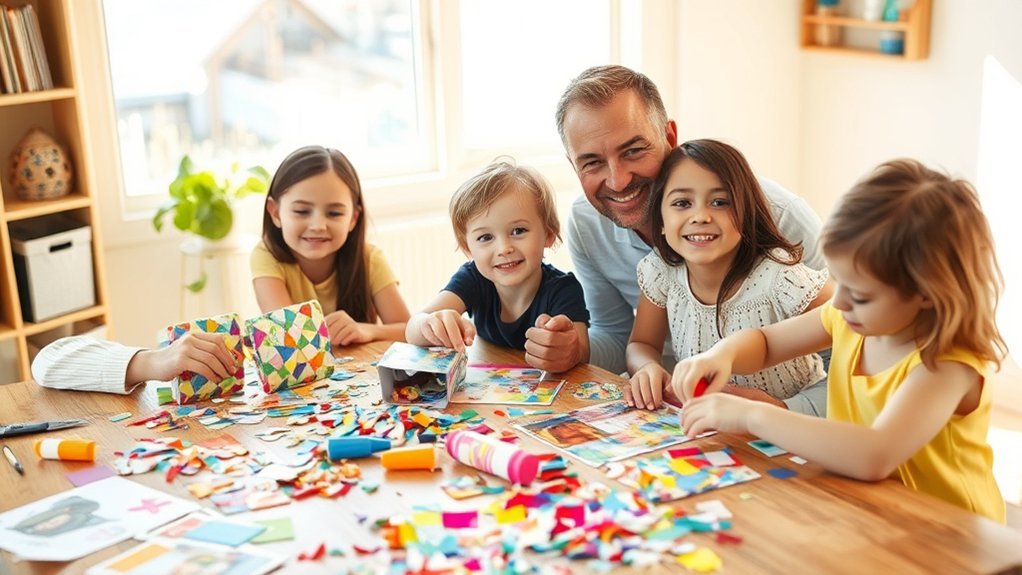
Old magazines pile up in recycling bins, but they’re treasure troves of colors, patterns, and textures waiting for transformation.
You’ll discover endless magazine color combinations as your family tears and cuts pages into small pieces. Create stunning mosaic artwork by gluing these fragments onto cardboard or paper to form animals, landscapes, or abstract designs.
Creative collage techniques expand when you layer different textures—glossy advertisements over matte text pages create depth and interest.
You can organize pieces by color family in muffin tins, making it easy for kids to select shades. Challenge older children to create gradient effects or match specific themes.
This activity costs nothing beyond glue sticks and develops fine motor skills while encouraging color theory exploration.
You’re turning disposable materials into frameable art.
Coffee Filter Watercolor Paintings

When you grab a pack of coffee filters from your pantry, you’re holding an incredibly absorbent canvas that transforms ordinary watercolors into vibrant, bleeding masterpieces. Your kids can experiment with color mixing directly on the filters, watching purple emerge from red and blue droplets.
The thin paper creates stunning effects as pigments spread and blend naturally.
Try filter folding before painting to create symmetrical designs reminiscent of tie-dye patterns. Once dry, these creations become versatile art pieces. You’ll transform them into flowers by gathering the center and attaching pipe cleaners as stems, or display them as suncatchers in windows.
The best part? A pack of 200 coffee filters costs under three dollars, making this one of your most economical art supplies.
Toilet Paper Roll Stamp Art

Before you recycle those empty toilet paper rolls, consider how they’ll revolutionize your stamping projects. You can bend and pinch these cardboard tubes into countless shapes, creating unique stamps that cost nothing. Flatten one end into a heart, fold it into a leaf, or cut slits to form flower petals.
Your kids will love making toilet paper roll animals by stamping circles for bodies, adding painted details for faces and limbs. They’re perfect for creating greeting cards, wrapping paper, or wall art.
Try designing toilet paper roll bookmarks by stamping patterns onto cardstock strips. Combine different shapes and colors to build elaborate scenes.
Each stamp creates distinctive textures that you can’t achieve with store-bought supplies, making every project genuinely one-of-a-kind.
Rock Painting Adventures
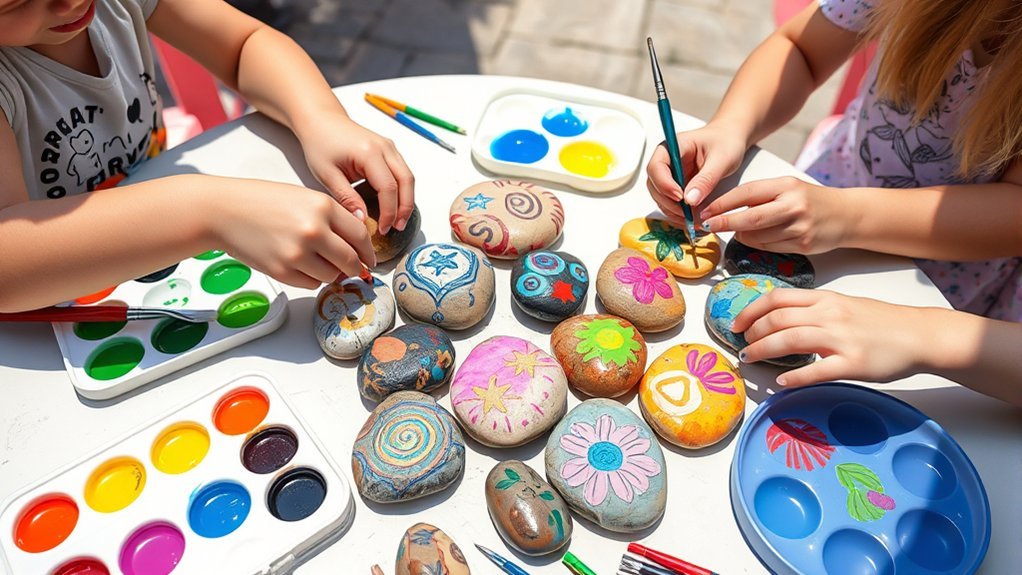
Those smooth stones from your backyard or last beach trip can transform into miniature masterpieces with just a few basic supplies.
You’ll need acrylic paints, brushes, and a sealer to protect your artwork from weather damage.
Start with simple rock design ideas like ladybugs, bees, or colorful patterns. Your kids can create story stones featuring characters or objects, then use them for imaginative play. Paint inspirational words or house numbers for functional décor.
Transform ordinary rocks into ladybugs, story stones for imaginative play, or painted house numbers that blend creativity with everyday function.
Follow these outdoor painting tips: wash and dry rocks thoroughly before painting, work in a shaded area to prevent quick drying, and apply a white base coat for vibrant colors.
Once finished, seal your creations with mod podge or clear spray paint. Hide decorated rocks around your neighborhood to spread joy.
Salt Dough Ornaments and Keepsakes

With just three pantry staples—flour, salt, and water—you’ll create lasting keepsakes that rival store-bought ornaments.
Salt dough recipes typically use a 2:1:1 ratio, making it incredibly affordable for families on any budget. Mix the ingredients, roll out the dough, and let your kids cut shapes using cookie cutters or freehand designs.
After baking at low temperature until hardened, the ornament decorating begins. You’ll find acrylic paints, markers, and glitter transform simple shapes into treasured memories.
Press your child’s handprint or footprint into the dough before baking to capture their size at different ages. These personalized keepsakes make thoughtful gifts for grandparents and relatives.
Store finished ornaments in a cool, dry place, and they’ll last for years, becoming cherished family heirlooms that document your children’s growth.
Yarn and Paper Plate Weaving
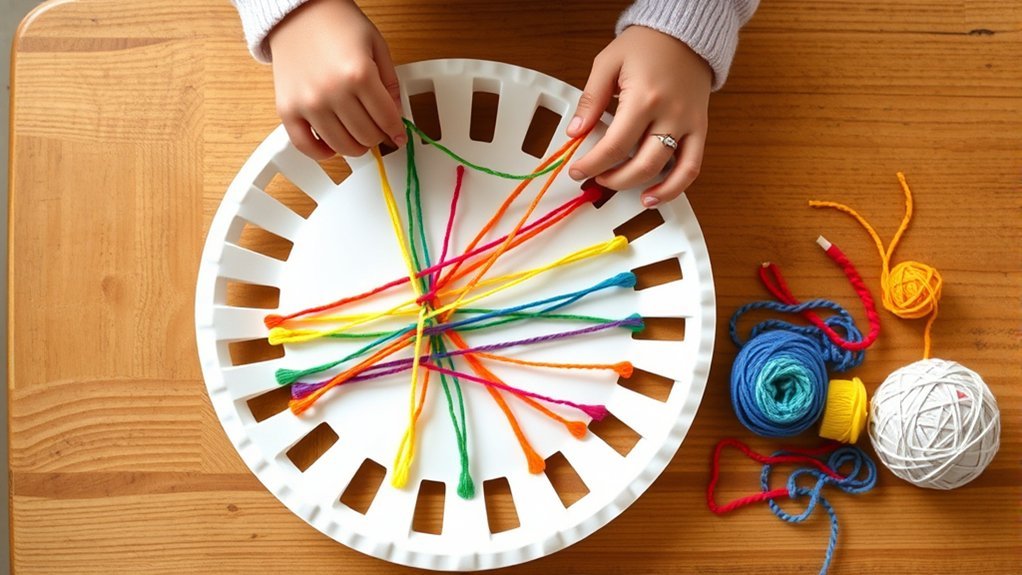
Paper plate weaving introduces children to textile arts without requiring expensive looms or specialized equipment. You’ll simply cut notches around a paper plate’s edge and wrap yarn to create the warp threads. Your kids can then weave different yarn colors over and under these threads, developing fine motor skills and pattern recognition.
Start with basic plate designs featuring simple geometric patterns before progressing to more complex circular compositions. You can create coasters, wall hangings, or decorative mandalas from these woven pieces. The activity costs mere pennies per project since you’re using leftover yarn scraps and basic paper plates.
Encourage experimentation with color combinations and weaving techniques. Children naturally discover rhythm and symmetry while creating unique textile art they’ll proudly display.
Homemade Sidewalk Chalk Designs
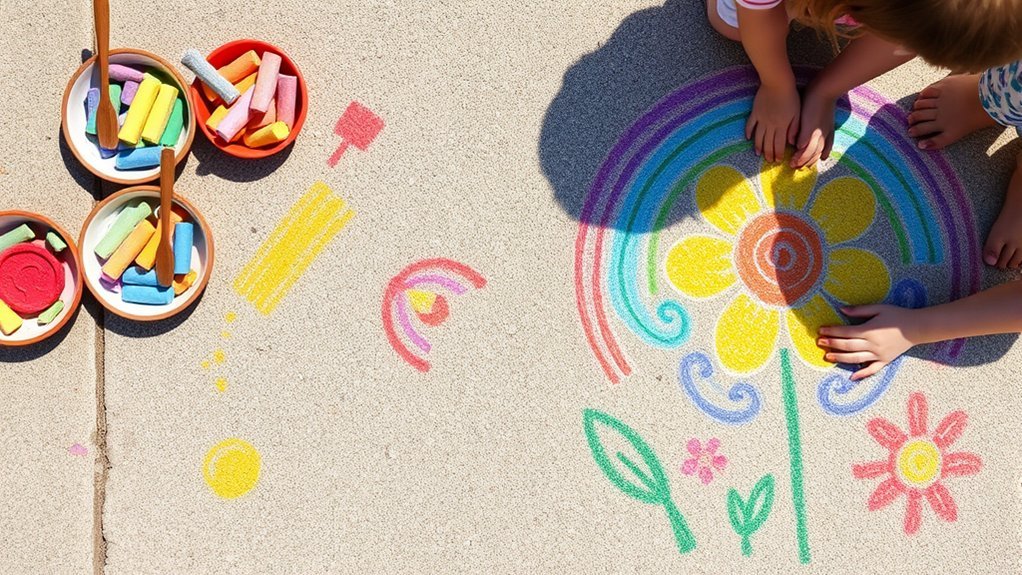
Moving from indoor textile projects to outdoor artistic adventures, sidewalk chalk transforms any driveway or patio into a vibrant canvas.
You’ll create budget-friendly fun by making homemade chalk with just plaster of Paris, water, and tempera paint. This simple recipe costs pennies per piece while teaching kids about chalk color mixing as they blend shades directly on pavement.
Try these engaging sidewalk art games that spark creativity:
- Design a hopscotch board with rainbow patterns and numbered squares
- Draw life-sized self-portraits where kids lie down and trace their bodies
- Create a neighborhood art gallery by connecting driveways with colorful paths
You’re encouraging outdoor play while developing artistic skills.
Rain naturally erases your masterpieces, giving you fresh canvases for new designs each week.
Newspaper and Tape Sculptures
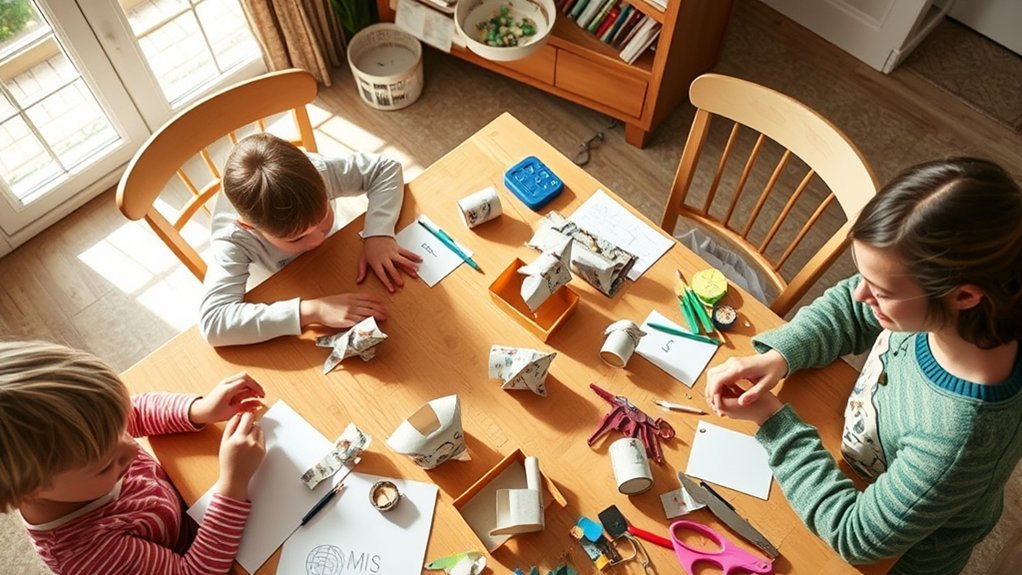
Transform stacks of old newspapers into three-dimensional masterpieces using nothing more than masking tape and imagination.
You’ll discover how crumpling, rolling, and folding newspaper textures creates surprising sculptural possibilities. Start simple with basic shapes like spheres or cubes, then progress to animals, buildings, or abstract designs.
Encourage your kids to experiment with different tape structures by connecting rolled newspaper tubes to form frames. They can stuff crumpled pages inside to add volume and stability.
The monochromatic palette lets them focus on form rather than color, teaching essential design principles.
This activity costs practically nothing since you’re recycling materials you’d otherwise discard.
Best of all, there’s no mess to clean up—just toss finished sculptures in the recycling bin when you’re ready for new creations.
Egg Carton Crafting Projects

Those humble egg cartons sitting in your recycling bin hold incredible crafting potential for dozens of colorful projects.
You’ll transform these cardboard cups into charming egg carton animals like caterpillars, turtles, and ladybugs with just paint and pipe cleaners.
Egg carton flowers make stunning bouquets when you cut individual cups into petal shapes and add stems.
Here’s what you’ll create:
- Blooming garden: Paint cups in vibrant purples, pinks, and yellows, then arrange them into roses and daisies.
- Zoo creatures: Stack and connect cups to form alligators, bees, and butterflies with googly eyes.
- Seasonal decorations: Transform sections into pumpkins, Christmas trees, and Easter chicks.
You’re giving trash a second life while teaching your kids resourcefulness.
Each project costs pennies but delivers hours of imaginative play and beautiful keepsakes.
Ice Cube Tray Paint Mixing and Canvas Art
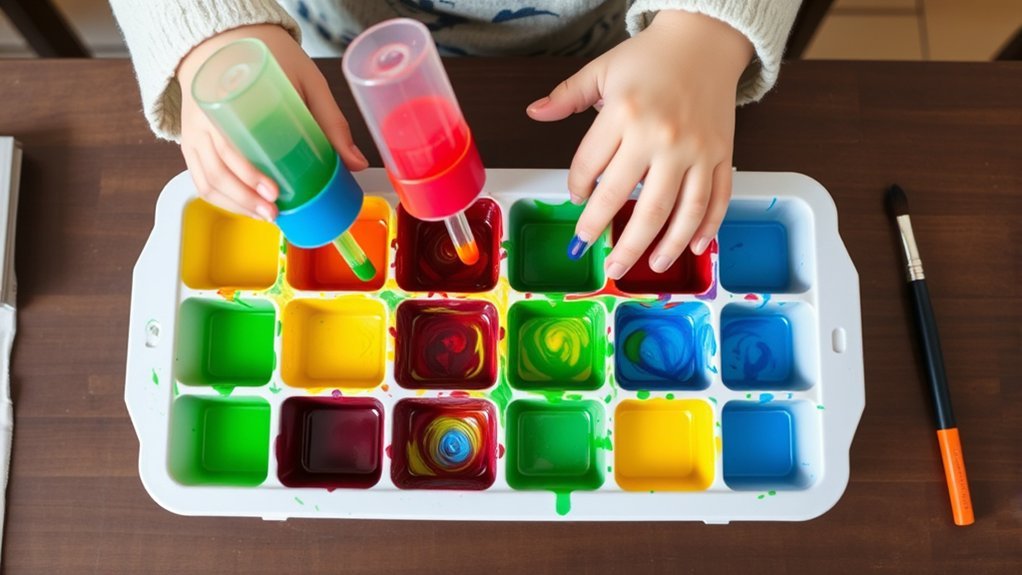
Just as egg cartons unlock creative possibilities, that old ice cube tray in your kitchen drawer becomes a perfect paint-mixing station for your next masterpiece. Each compartment holds a different color, making color mixing experiments easy and organized.
You’ll discover endless combinations without wasting paint or cluttering your workspace. Grab an inexpensive canvas from the dollar store and let your family explore various canvas techniques together.
Try blending colors directly on the surface, creating texture with sponges, or experimenting with brush strokes. The ice cube tray keeps everything contained, so cleanup takes minutes.
You can even freeze leftover mixed paints in the tray for future projects. This simple setup transforms basic supplies into an engaging art station that costs practically nothing while delivering professional-looking results.
In case you were wondering
How Can I Protect Furniture and Floors During Messy Art Activities?
You’ll want to use protective coverings like old sheets, plastic tablecloths, or shower curtains under your art space. These affordable barriers shield against artistic messes, catching paint drips, glitter spills, and craft debris before they damage your furniture and floors.
What Age Groups Are These Budget-Friendly Art Activities Appropriate For?
Art spans all ages like a rainbow! You’ll find preschool activities perfect for tiny hands, while elementary kids thrive with most projects. Teen projects offer sophisticated challenges. Basically, there’s something creative for everyone in your family to enjoy together.
How Long Do Homemade Art Supplies Typically Last Before Spoiling?
Most homemade art supplies you’ll create have a shelf life of 1-2 weeks when refrigerated. Following proper storage tips like using airtight containers and keeping materials cool helps prevent mold growth and extends their usability significantly.
Where Can I Find Free or Discounted Art Materials Locally?
Studies show 70% of reusable art materials end up donated. You’ll find free or discounted supplies at local thrift stores, community art supply swaps, school surplus sales, and online neighborhood groups where families exchange materials their kids outgrew.
How Should I Store and Display My Children’s Finished Artwork?
You’ll want to create a rotating wall gallery to showcase current favorites, while storing older pieces in an art portfolio. This keeps clutter manageable and lets you preserve memories without overwhelming your space with every creation.
Conclusion
You’ve unlocked a treasure chest of creativity that won’t drain your wallet. These simple activities are seeds you’re planting in your children’s imaginations—they’ll blossom into memories that stick around long after the paint dries. Don’t let budget constraints build walls around your family’s artistic spirit. Grab those cardboard boxes and coffee filters, and watch your home transform into a gallery where love and laughter are the most valuable masterpieces you’ll ever create together.