13 DIY Backyard Obstacle Courses Kids Love
You can create an exciting backyard obstacle course using items you already have at home. Set up pool noodle hurdles in different colors to mark difficulty levels, arrange old tires for balance challenges, and lay out hula hoops in creative patterns for jumping practice. Transform cardboard boxes into crawl-through tunnels, build a rope ladder climbing wall, or create a pallet balance beam bridge. Add bucket toss stations, pool float jumping platforms, and even a rope swing with a safe landing pad. The possibilities ahead will show you exactly how to bring each station to life.
Key Takeaways
- Pool noodle hurdles and hula hoop hopscotch create adjustable jumping courses using color-coded difficulty levels for various age groups.
- Tire runs and wooden pallet balance beams develop coordination through ground-level obstacles that emphasize footwork and stability training.
- Cardboard box tunnels and rope ladder climbing walls provide upper-body challenges with customizable difficulty suited to children’s abilities.
- Bucket toss stations transform five-gallon containers into competitive target games using varied distances and point systems for engagement.
- Rope swings and splash activities add vertical excitement and cooling elements while requiring proper safety measures like supervision and equipment checks.
Pool Noodle Hurdle Jump Course
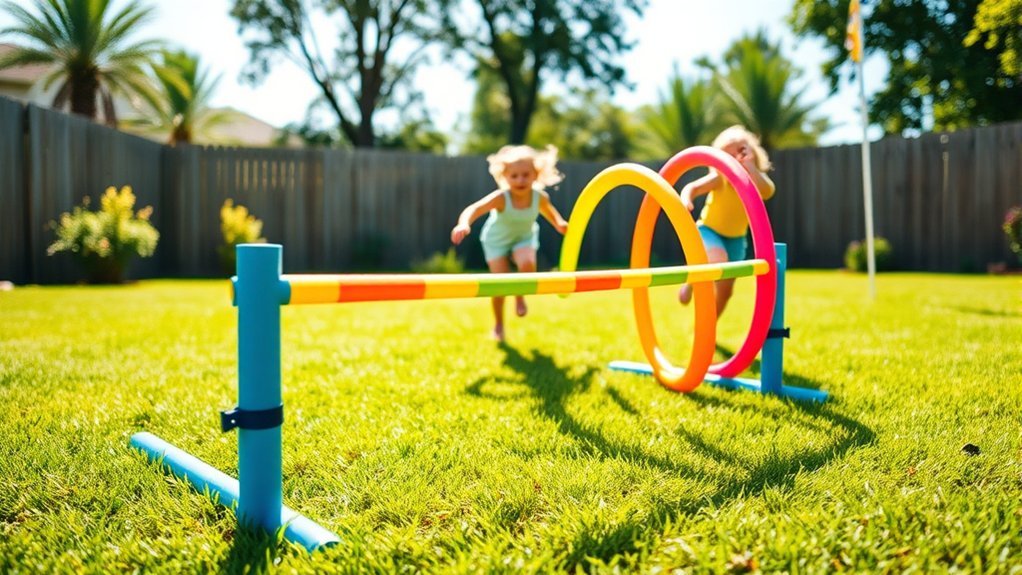
Pool noodles transform into an excellent jumping course with minimal effort and maximum fun. You’ll simply need to stick the noodles vertically into the ground at varying heights to create adjustable hurdles your kids can leap over.
The noodle color variations help children identify different difficulty levels—use yellow for low jumps, blue for medium, and red for challenging heights.
Your pool noodle creativity can extend beyond basic hurdles. Bend noodles into arches, create zigzag patterns, or arrange them in ascending heights to build progressive challenges.
Since pool noodles are soft and flexible, they’re safe for kids who might clip them during jumps. You can easily rearrange the course daily, keeping your backyard obstacle experience fresh and engaging for children of all ages.
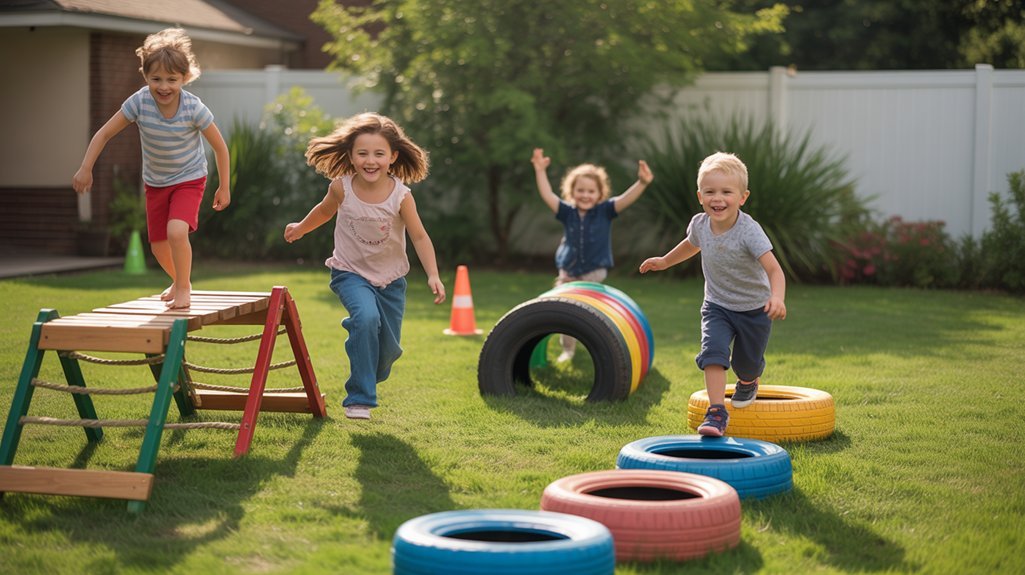
Tire Run and Balance Station
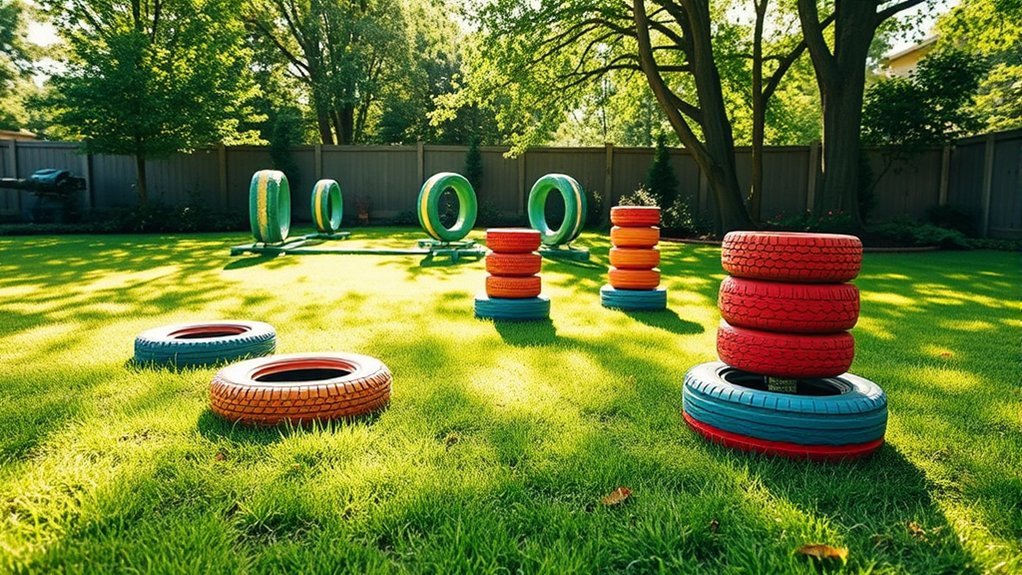
Old tires scattered across your yard create an engaging balance and agility station that’ll challenge your kids’ coordination skills.
You can implement various tire placement strategies to match different skill levels. Space them close together for quick footwork exercises, or spread them wider apart for jumping practice.
Adjust tire spacing to create customized challenges—closer arrangements build quick footwork while wider gaps develop explosive jumping power.
Lay tires flat on the ground in zigzag patterns, encouraging kids to hop from center to center without touching the edges. For advanced balance challenges, stack two tires and secure them with zip ties, creating elevated stepping stones.
You can also bury tires halfway into the ground at different angles, forcing children to adapt their footing continuously.
Paint each tire with bright colors using outdoor spray paint, making the course visually appealing while adding numbered sequences for directional challenges.
Hula Hoop Hopscotch Challenge

Transform your classic hopscotch game by arranging hula hoops in creative patterns that’ll test your children’s jumping accuracy and balance.
Lay hoops flat on the ground in various configurations: straight lines, zigzags, or clusters requiring single-foot and double-foot jumps.
You can increase difficulty by spacing hoops farther apart or creating sequences that demand specific landing patterns.
Challenge older kids to incorporate hula hoop tricks between jumps, like spinning a hoop on their arm before advancing to the next circle.
This creative hopscotch variation builds coordination while keeping kids engaged longer than traditional chalk squares.
Use different colored hoops to create color-coded jumping sequences, or number them for mathematical challenges.
You’ll find this station becomes a favorite that combines physical activity with problem-solving skills.
Cardboard Box Tunnel Maze

Anyone can create an exciting crawl-through adventure using cardboard boxes you’d otherwise recycle. Connect multiple boxes by cutting openings on opposite ends, then secure them with duct tape. Your cardboard box creativity can transform ordinary shipping containers into mysterious tunnels kids will love exploring.
Start with basic maze design tips: alternate straight paths with curved sections, add dead ends for extra challenge, and cut peek-through windows for light and supervision. You’ll want boxes large enough for comfortable crawling but cozy enough to feel adventurous.
Enhance the experience by painting the exterior or adding themed decorations. Create branches in the maze by connecting boxes at perpendicular angles.
For younger children, keep the path straightforward. Older kids enjoy complex layouts with multiple routes and hidden exits.
Rope Ladder Climbing Wall

A rope ladder climbing wall gives kids an upper-body workout disguised as pure fun.
You’ll need sturdy climbing wall materials like pressure-treated wood, heavy-duty rope, and secure mounting hardware. Attach the ladder to a strong fence or build a dedicated frame using 4×4 posts anchored in concrete.
Rope ladder safety requires proper installation and regular inspections. Check for frayed rope, loose knots, and weakened attachment points before each use.
Install the ladder at an appropriate height for your child’s age—no higher than six feet for younger kids. Place soft mulch, rubber mats, or grass beneath to cushion falls.
Test the structure yourself before letting children climb. Supervise all climbing sessions and establish rules: one climber at a time, use both hands, and climb down carefully.
Stepping Stone Balance Path
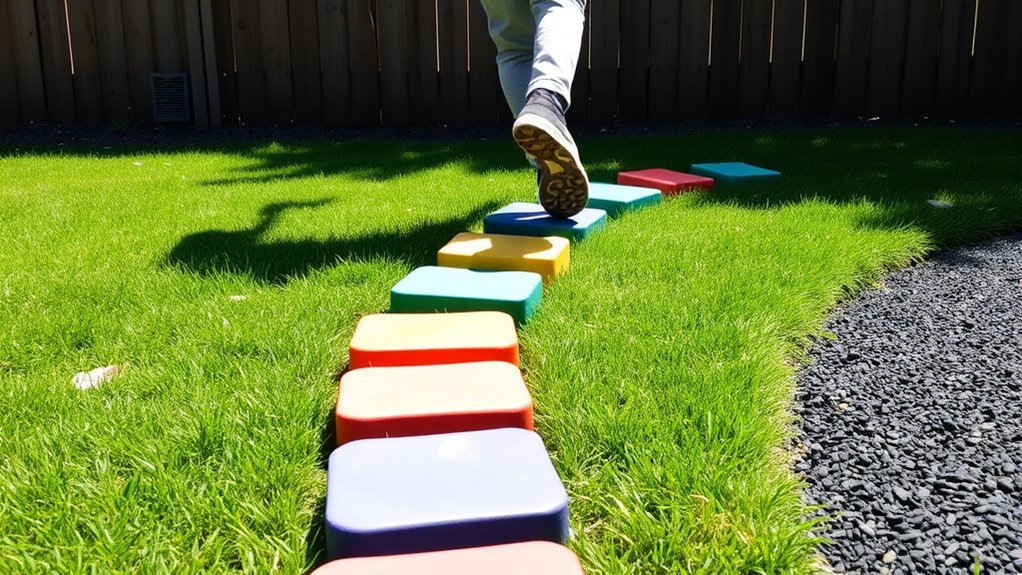
While rope ladders challenge upper-body strength, stepping stones develop balance and coordination through ground-level play. You’ll create an engaging pathway that teaches kids spatial awareness while building confidence.
Start with proper stone selection by choosing flat, stable surfaces like pavers, tree stumps, or concrete stepping stones. Ensure they’re at least 12 inches wide for safety. Space them 6-12 inches apart, adjusting difficulty based on your child’s age and ability.
Choose flat, stable surfaces at least 12 inches wide and space them 6-12 inches apart for safe, age-appropriate stepping stone play.
Teach balance techniques by encouraging kids to focus their eyes forward, not down. Have them extend their arms sideways for stability and take deliberate steps.
You can increase challenge by varying stone heights, creating zigzag patterns, or adding wobbly surfaces like foam pads. Paint stones with numbers or colors to incorporate educational elements into physical play.
PVC Pipe Limbo and Weave Course

PVC pipes transform into versatile obstacle equipment that’ll test your child’s flexibility and agility.
Create a limbo bar by connecting two vertical pipes with a horizontal crosspiece, allowing for easy limbo height adjustments as your kids improve their skills. Start high and progressively lower the bar to challenge different age groups.
For the weave course, insert vertical PVC pipes into ground stakes spaced three feet apart. Kids navigate through by zigzagging between poles without touching them.
These pvc pipe techniques require minimal investment and setup time while delivering maximum entertainment value.
You can paint the pipes in bright colors or add foam padding for safety. Both obstacles pack flat for storage and withstand various weather conditions, making them practical year-round additions to your backyard course.
Milk Crate Climbing Tower
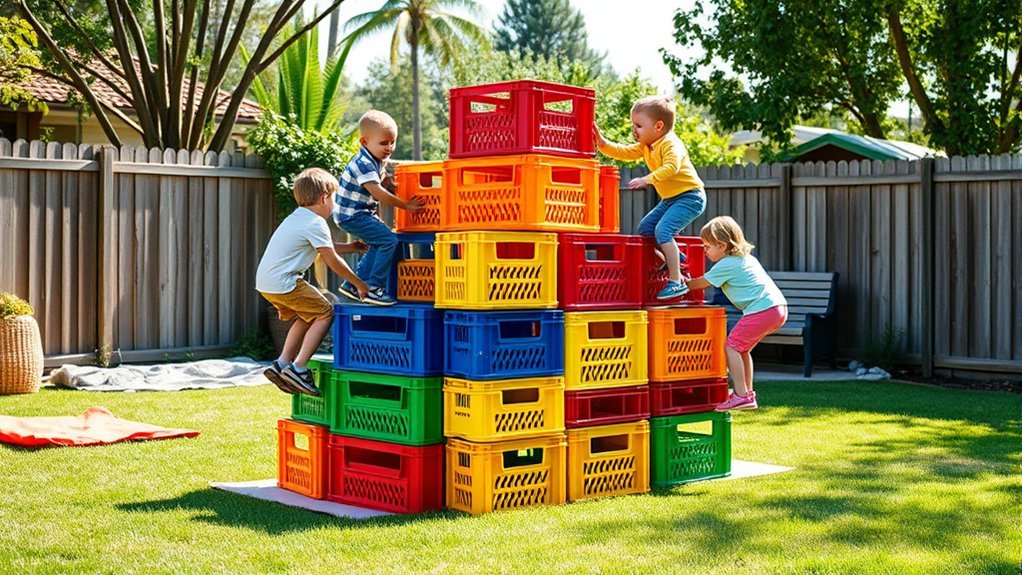
Stack milk crates into a pyramid formation to build an exciting climbing challenge that’ll develop your child’s strength and coordination.
Begin with a stable base of four crates, then add three crates on the second level, two on the third, and one on top. Secure each level using zip ties through the crate holes to prevent shifting during use.
Place thick safety padding underneath and around the structure to cushion potential falls. Gym mats or foam tiles work best for impact absorption.
Test the stability before letting kids climb, and limit the tower height based on your child’s age and ability.
This milk crate stacking project costs minimal money but delivers maximum fun. Always supervise climbers and establish clear rules about one person climbing at a time.
Sprinkler Sprint and Splash Zone
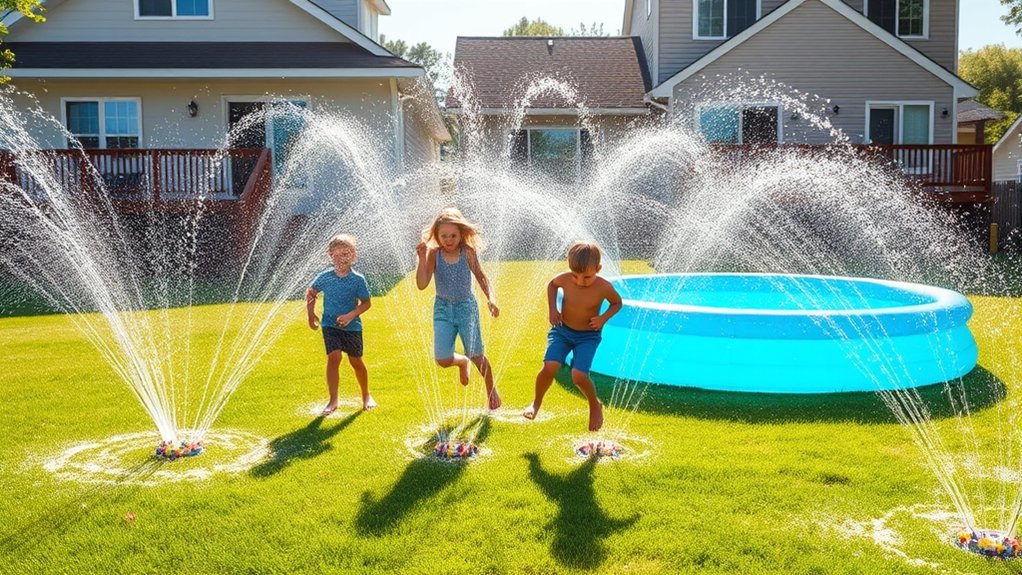
After building vertical challenges, cool down with a refreshing water obstacle that combines speed and splashing fun. Set up oscillating sprinklers at intervals along your course, creating zones kids must dash through. This water play transforms ordinary fitness fun into summer fun that’ll keep children engaged for hours.
Position different sprinkler types—rotating, pulsating, and stationary—to create varied splash activities. Kids navigate through the cooling games while dodging water streams, turning outdoor excitement into a sensory experience.
Multiple sprinkler styles create dynamic water zones that challenge kids to time their moves while experiencing different spray patterns and intensities.
Add waterproof targets or floating hoops for teamwork challenges where children work together. This obstacle encourages playful learning as kids calculate timing and develop coordination.
The sprinkler sprint promotes family bonding when parents join the action, making everyone laugh while staying active during hot days.
Wooden Pallet Balance Beam Bridge

Once your kids have mastered the sprinkler sprint, challenge their balance skills with a ground-level pallet bridge that’s both safe and exciting.
You’ll need two or three wooden pallets laid flat on level ground, creating a low-risk walkway that builds confidence.
Pallet beam safety starts with sanding rough edges and checking for protruding nails. Secure pallets together with outdoor screws to prevent shifting during use.
Encourage beam design creativity by painting colorful patterns or numbering each slat for counting games. You can arrange pallets in straight lines, gentle curves, or zigzag formations to increase difficulty.
For beginners, place pallets side-by-side for wider walking surfaces. Advanced kids can navigate single pallets or walk backward.
This obstacle develops core strength, coordination, and spatial awareness.
Bucket and Ball Toss Stations
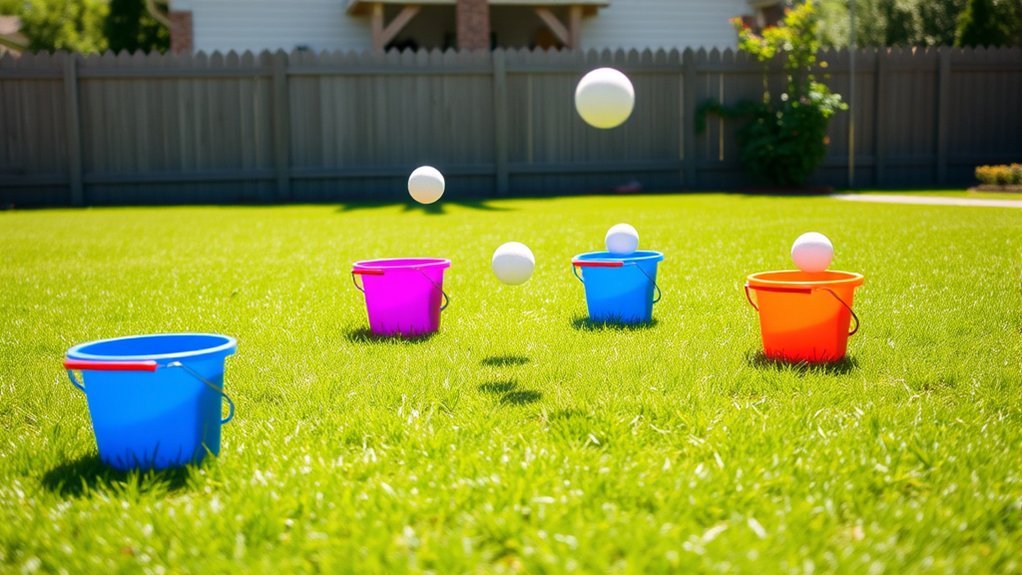
Transform ordinary five-gallon buckets into an engaging toss station that’ll keep your kids entertained while developing hand-eye coordination.
Arrange three to five buckets at varying distances, creating different difficulty levels for multiple age groups. Paint each bucket with bright colors or assign point values to encourage friendly competition.
Set up buckets at different distances and mark them with point values to create an exciting challenge for all skill levels.
Stock your station with tennis balls, bean bags, or soft foam balls for safe play. Teach basic bucket toss techniques like underhand throws for younger children and overhand tosses for older kids.
Position buckets at angles or stack them pyramid-style to increase challenge levels.
These ball throwing games work perfectly as obstacle course checkpoints where kids must land three successful tosses before advancing.
You’ll create an affordable activity that combines skill-building with pure fun.
Pool Float Jumping Platforms
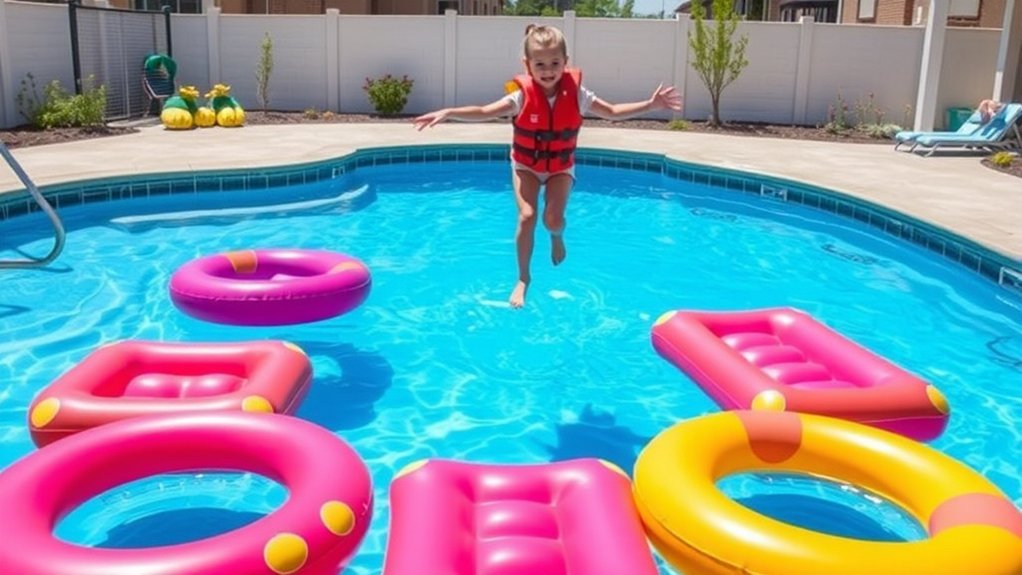
When you’ve got old pool floats lying around, repurpose them into springy jumping platforms that’ll add a whole new dimension to your obstacle course.
Arrange various inflatable obstacles on your lawn for kids to leap across without touching the ground. Use large inner tubes, pool noodles, and foam rafts to create unstable surfaces that challenge balance and coordination.
Space the floats 1-2 feet apart, adjusting difficulty based on your children’s ages. Mix in smaller floats for added challenge, requiring precise foot placement.
These pool float games develop spatial awareness and leg strength while keeping kids entertained for hours.
Secure loose floats with stakes or weights on windy days. You can also incorporate these inflatable obstacles into relay races or timed challenges for competitive fun.
Rope Swing and Landing Pad

A rope swing adds vertical excitement to your backyard course and gets kids gripping, swinging, and timing their releases.
You’ll need a sturdy tree branch or beam that can support at least 200 pounds. Attach a thick rope with proper knots, leaving enough length for comfortable swinging. Set the swing height so feet clear the ground by 6-12 inches when hanging.
Create a landing pad underneath using foam mats, mulch, or sand to cushion falls. Extend the pad several feet beyond the swing’s arc in all directions.
Important safety precautions include checking rope condition monthly for fraying, ensuring the attachment point is solid, and supervising younger children. Test the setup yourself before letting kids use it.
Add distance markers to encourage progressive challenges.
In case you were wondering
How Much Space Do I Need in My Backyard for an Obstacle Course?
You’ll need at least 20-30 feet of linear space for a basic course. Your backyard layout should accommodate multiple stations with safe clearance between obstacles. Space requirements vary based on your children’s ages and the obstacles you’re planning.
What Is the Recommended Age Range for Backyard Obstacle Courses?
From tots to teens, obstacle courses grow with your family! You can design toddler activities for ages 2-4, while older kids thrive with teen challenges up to age 17. Customize difficulty levels so everyone’s engaged and having fun.
How Can I Ensure My DIY Obstacle Course Is Safe for Kids?
You’ll ensure safety by choosing appropriate safety gear like helmets and knee pads, selecting soft surface materials such as rubber mulch or grass, and regularly inspecting equipment for wear, sharp edges, or instability before each use.
What Is the Average Cost to Build a Backyard Obstacle Course?
You’ll spend $50-$500 on average, depending on your material selection and cost comparison shopping. Basic DIY courses using recycled items cost less, while premium equipment and professional-grade materials push prices higher. Budget wisely for your family’s needs.
How Do I Winterize or Store Obstacle Course Materials During Off-Seasons?
Clean and dry all materials before storing materials in a shed or garage. For winter maintenance, remove fabric components, drain water features, and cover wooden structures with tarps. You’ll protect your investment from weather damage this way.
Conclusion
You’ve now got nine stations that’ll turn your backyard into a miniature American Ninja Warrior arena. Your kids won’t need expensive gym memberships or screen time when they’re conquering these DIY challenges. Whether they’re leaping pool noodles like Olympic hurdlers or navigating cardboard mazes like intrepid explorers, they’ll build strength, coordination, and confidence. So grab those materials from your garage, channel your inner architect, and watch your backyard transform into the neighborhood’s hottest adventure destination.