17 Zero-Prep Art Projects for Instant Fun
You’ll love these zero-prep art projects that require only household items you already have. Transform paper plates into self-portraits, flatten toilet paper rolls for creative stamping, or sculpt aluminum foil into three-dimensional masterpieces. Coffee filters become vibrant watercolors, while old newspapers turn into expressive collages. Try string pull painting with just paint, paper, and string, or explore shadow art using everyday objects and light. Each activity takes 20-30 minutes with virtually no cleanup, letting kids dive straight into creativity without the setup stress that usually derails art time.
Key Takeaways
- Paper plate portraits, toilet paper roll stamping, and aluminum foil sculptures require no advance preparation and use common household materials.
- Coffee filter watercolors and newspaper collages transform everyday items into engaging art projects with minimal cleanup required.
- Shadow art and texture exploration offer endless creative variations using only light sources, hands, and crumpled paper.
- Nature-based arrangements and salt-glue textures encourage outdoor exploration and sensory experimentation with accessible materials.
- Projects require minimal adult supervision, suit various age groups, and maintain high engagement through hands-on discovery and creation.
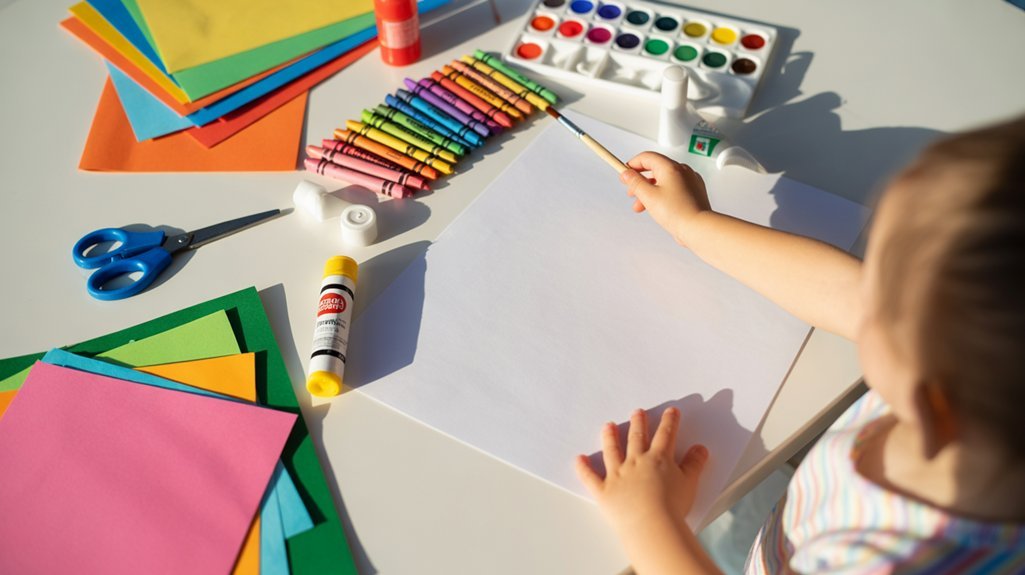
Paper Plate Portraits
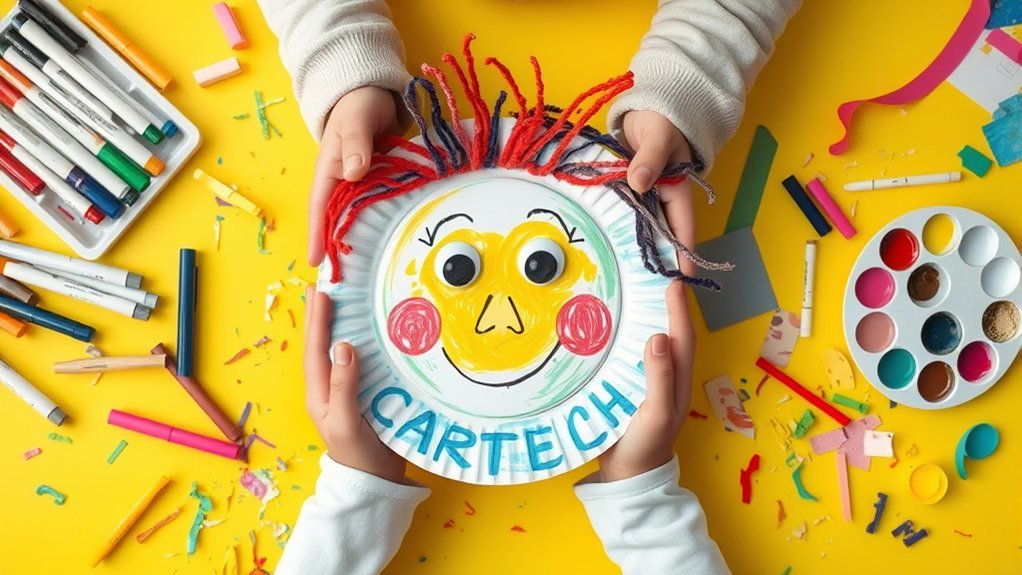
Paper plates transform into instant canvases for self-portraits without any advance preparation. You’ll simply grab markers, crayons, or colored pencils and let kids draw their faces directly onto the plates.
They can add yarn for hair, buttons for eyes, or fabric scraps for texture if you’ve got these materials handy.
The beauty of paper plate designs lies in their versatility. Children explore different facial expressions, experiment with colors, and develop fine motor skills while creating.
You can encourage them to make happy, sad, or silly faces, turning each portrait into unique creative expressions.
These portraits work perfectly for impromptu activities during rainy days or unexpected free time. Kids stay engaged for 20-30 minutes, and you’ll have zero cleanup hassles afterward.
Toilet Paper Roll Stamping
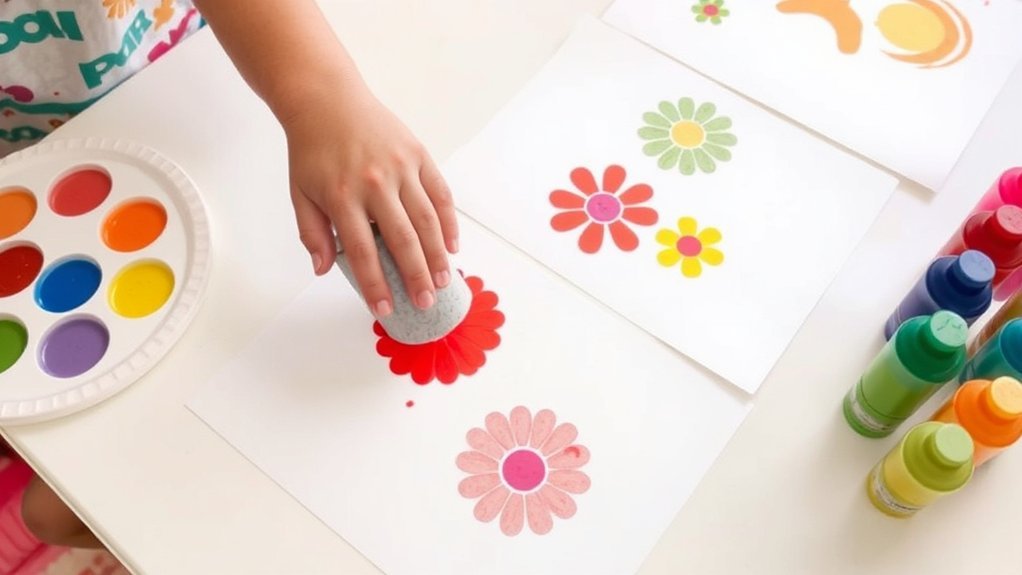
Toilet paper rolls become printing tools when you flatten them into different shapes and dip them in paint. Pinch the ends to create heart stamps or fold them into petal shapes for toilet paper roll flowers.
You’ll discover endless possibilities as you experiment with different configurations. The stamped shapes serve as foundations for complete creations.
Add details to transform prints into toilet paper roll animals, toilet paper roll monsters, or toilet paper roll characters. Your child can build toilet paper roll rockets by stamping circles for windows, or create toilet paper roll cars with wheels.
The technique works beautifully for toilet paper roll ornaments during holidays. You can even stamp bodies for toilet paper roll puppets, then attach paper features.
It’s versatile, mess-free crafting that requires zero planning.
Aluminum Foil Sculptures
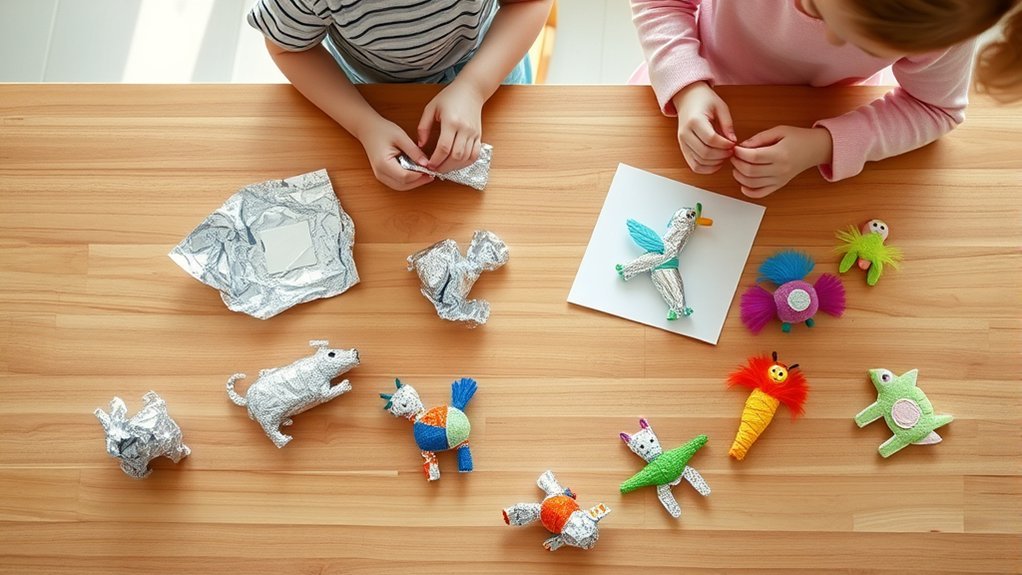
Aluminum foil transforms into three-dimensional art with nothing more than your hands. You’ll tear off sheets and crumple, fold, or twist them into any shape imaginable. Kids can create animals, robots, or abstract figures without needing special tools or skills.
Start with basic aluminum foil techniques like rolling foil into ropes for arms and legs, or wadding it into balls for heads and bodies. Press pieces together to join them—the material naturally sticks to itself.
For sculpture inspiration, look around your home: pets, favorite toys, or imaginary creatures all make excellent subjects. The metallic shine adds instant appeal to finished pieces. You can display sculptures as-is or use them as bases for painting.
This activity keeps children engaged for extended periods while developing fine motor skills and spatial reasoning.
Coffee Filter Watercolors
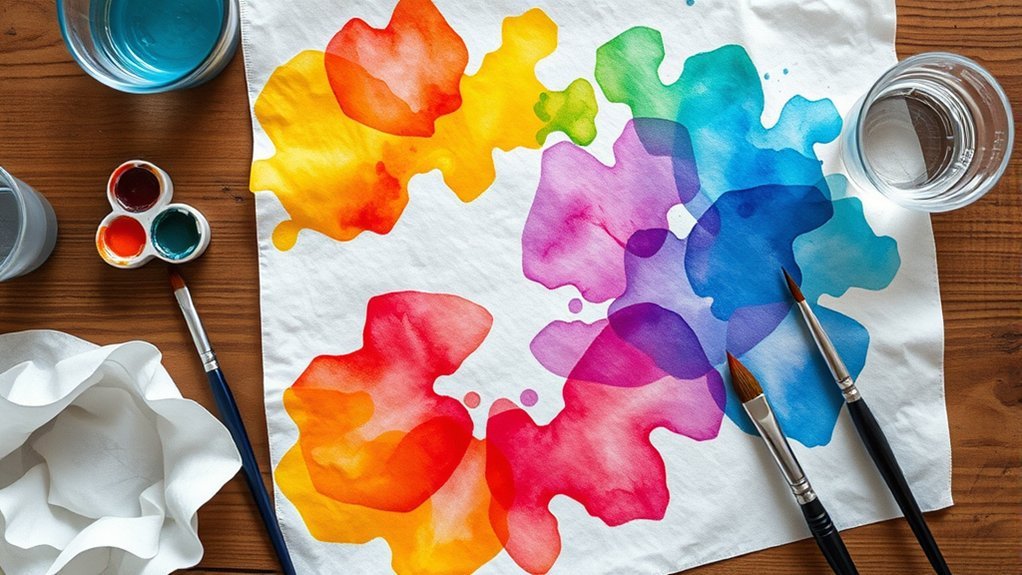
Coffee filters soak up watercolors beautifully, creating vibrant designs that bloom across their circular surface.
Coffee filters transform into stunning art pieces as watercolors spread and bloom across their absorbent, textured surface.
You’ll love how the colors spread and merge, making watercolor blending effortless even for beginners. Simply dampen your filters with water, then drop or brush on liquid watercolors or diluted food coloring.
Try these coffee filter techniques for stunning results:
- Fold filters into quarters before adding color for symmetrical patterns
- Layer different colors while wet to create unique gradients
- Add salt to damp filters for textured, crystallized effects
- Use markers then spray with water for controlled bleeding
Once dry, you can display them as suncatchers, turn them into flowers, or use them for collage projects.
They’re incredibly versatile and require zero preparation time.
Newspaper Collage Creations
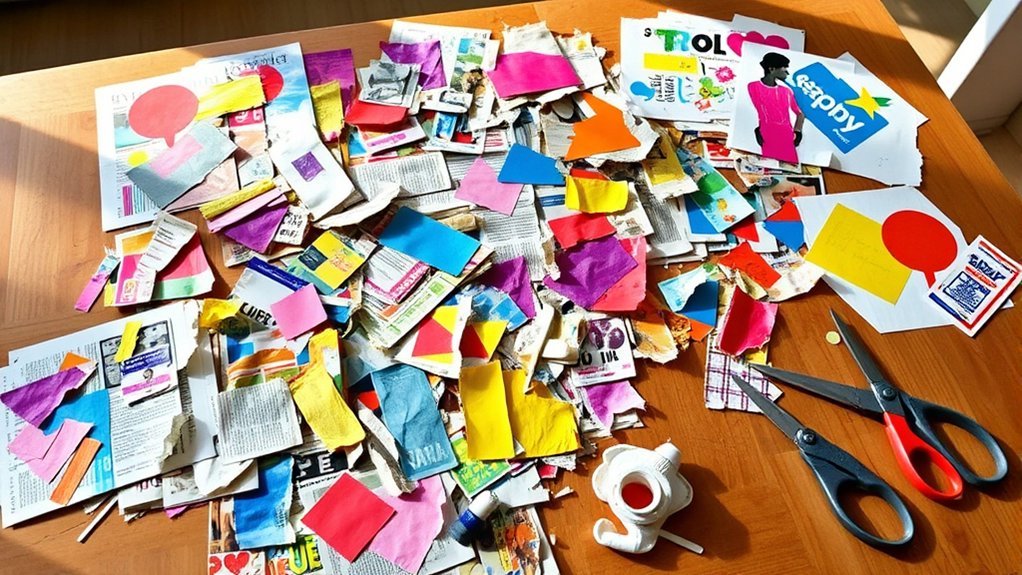
With yesterday’s newspaper, you can create striking collages that transform ordinary headlines into extraordinary art. This newspaper art technique requires nothing more than newsprint, glue, and scissors.
Start exploring collage techniques by tearing pieces for organic texture exploration or cutting precise shapes for abstract design. Mix sections with color blending from advertisements and photographs for compelling mixed media pieces.
You’ll discover that creative recycling becomes artistic expression when you layer text and images to build visual narratives. Combine contrasting fonts and photographs to craft storytelling visuals that communicate powerful messages.
The beauty lies in how random elements unite into cohesive compositions. Whether you’re creating portraits, landscapes, or pure abstract design, newspaper collage offers endless possibilities for immediate creative satisfaction.
Masking Tape Resist Art
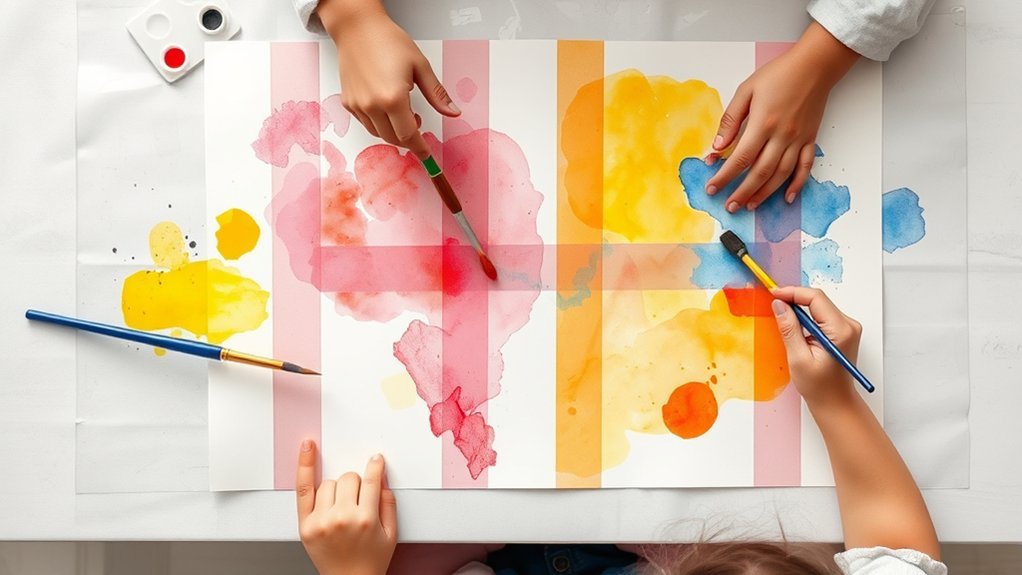
Before you apply paint or ink, strategic placement of masking tape creates dramatic contrasts that’ll transform any surface into dynamic artwork.
You’ll discover endless masking tape techniques that require zero preparation—just tear, stick, and paint.
Start with simple geometric patterns or create complex designs by layering strips at different angles. The creative resist method works on canvas, paper, wood, or fabric.
Essential steps for stunning results:
- Press tape edges firmly to prevent paint seepage
- Apply watercolors, acrylics, or spray paint over taped areas
- Remove tape while paint is slightly damp for clean lines
- Experiment with different tape widths for varied effects
You don’t need artistic skills to achieve professional-looking pieces. The tape does the design work while you enjoy the satisfying reveal.
Cotton Swab Pointillism

Grab a handful of cotton swabs and you’ve got an instant pointillism toolkit that requires zero artistic experience. Dip the swab ends into paint and press dots onto paper to create images through tiny points of color.
This technique naturally encourages color mixing as dots blend visually when placed side by side—red and yellow dots create the illusion of orange without actually mixing paint.
Kids discover texture exploration by varying dot density, creating areas of light and shadow through spacing alone. Start with simple subjects like flowers, butterflies, or abstract patterns.
Vary dot spacing to create depth—closer dots form shadows while scattered dots suggest light, teaching dimension through simple repetition.
The repetitive dotting motion becomes meditative while building fine motor control. You’ll need just paper, cotton swabs, and basic paint colors.
The self-contained nature of each dot makes this surprisingly mess-free and perfect for impromptu creative sessions.
Magazine Rainbow Mosaics

That stack of old magazines collecting dust transforms into a vibrant art supply when you view each page as a color palette waiting to be sorted.
You’ll create stunning rainbow mosaics by tearing or cutting colored sections into small pieces, then arranging them by hue on your canvas.
Magazine cutting tips for better results:
- Use scissors for precise geometric shapes or tear edges for organic texture
- Sort colors into containers before starting your mosaic layout
- Layer glossy and matte finishes for dimensional interest
- Keep whites and neutrals separate for highlighting
Start with simple patterns, then explore color blending techniques by gradually transitioning from one shade to another.
You’ll discover endless possibilities as advertisements become abstract art, transforming recycled materials into gallery-worthy pieces.
Shadow Tracing Masterpieces
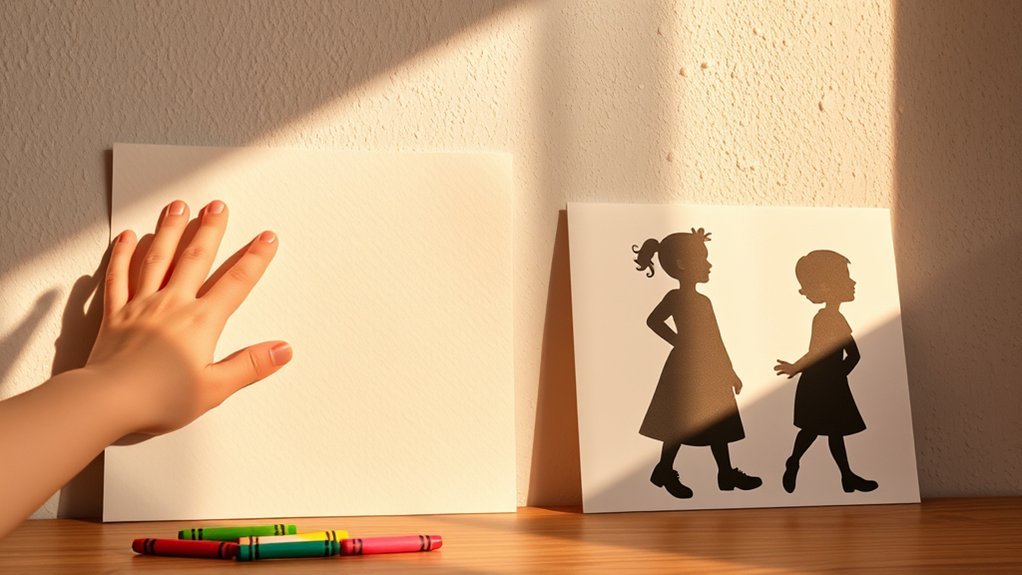
While magazine mosaics let you work with found colors, shadow tracing flips the script by capturing light’s natural artwork on your walls and paper.
You’ll position objects near a light source—whether it’s a lamp, window, or flashlight—and trace the silhouette shapes they cast. This artistic exploration requires zero supplies beyond paper and pencil.
Experiment with different tracing techniques by moving your light source closer or farther away, creating dramatic shadow patterns that shift in size. Hands, toys, plants, and household items all produce creative shadows worth capturing.
Take outdoor inspiration from tree branches and leaves during golden hour. Your playful imagination transforms ordinary objects into extraordinary compositions. The magic happens when you realize shadows constantly shift, offering endless variations from the same simple setup.
Crumpled Paper Texture Prints

Ever wonder how professional artists achieve those intricate textures without fancy tools? You’ll discover that crumpled paper creates stunning texture exploration opportunities for abstract art.
Simply ball up any paper, flatten it slightly, apply paint or ink to the wrinkled surface, and press it onto fresh paper. These printmaking techniques produce unique, unrepeatable patterns every time.
Crumple, paint, press—that’s all it takes to create one-of-a-kind textured prints with materials you already own.
Essential materials you already have:
- Any paper (newspaper, magazines, printer paper)
- Paint, ink, or even food coloring
- A flat surface for pressing
- Clean paper for your final print
The beauty of crumpled paper prints lies in their spontaneity. Each crease captures different amounts of pigment, creating organic depth and dimension.
You’re essentially making professional-looking artwork using recycled materials and zero preparation time.
Nature Collection Arrangements
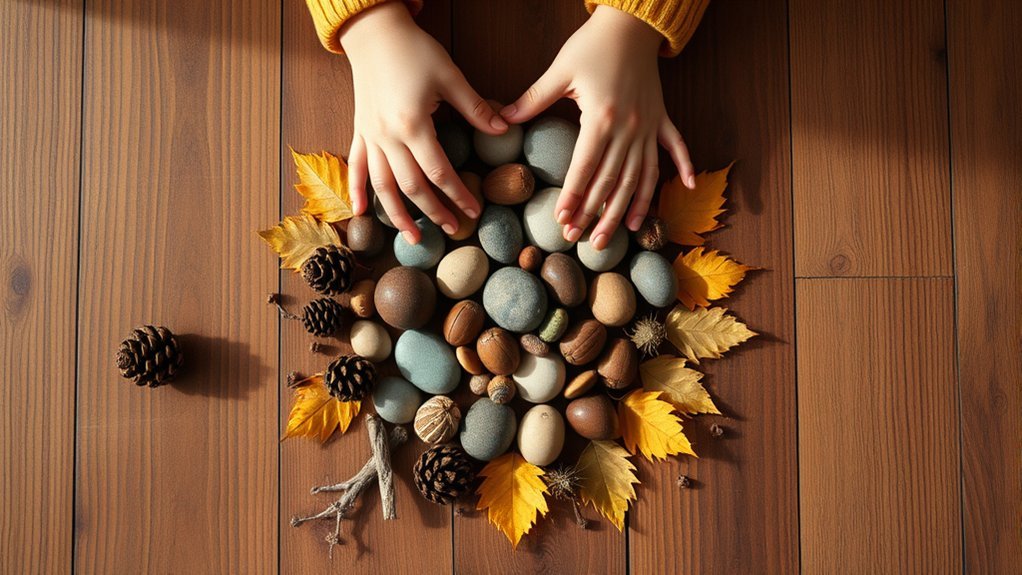
When you step outside, you’re surrounded by free art supplies waiting to be discovered and arranged into beautiful compositions.
Turn collecting natural materials into a nature scavenger hunt by searching for items with different textures, colors, and shapes—pinecones, leaves, twigs, stones, and seed pods all work perfectly.
Arrange your finds on cardboard, paper, or directly on the ground to create mandalas, faces, or abstract designs.
You’ll find seasonal nature crafts particularly rewarding since available materials naturally shift throughout the year. Spring offers blossoms and fresh greenery, autumn provides colorful leaves, and winter brings interesting bare branches.
No glue is necessary—simply photograph your temporary arrangements to preserve them.
This process encourages observation skills while creating art that costs nothing and requires zero preparation time.
Salt and Glue Raised Designs

With just white glue and table salt from your kitchen, you’ll create stunning textured artwork that looks far more impressive than its simple ingredient list suggests.
These salt art techniques produce raised, sparkly designs perfect for beginners and experienced artists alike.
Draw your design directly with glue on cardboard or heavy paper, then generously sprinkle salt over the wet adhesive. Shake off excess salt and let it dry completely for dimensional effects.
Essential tips for glue texture applications:
- Use thick glue lines for better salt adhesion
- Add watercolor or food coloring after salt dries
- Create mandalas, landscapes, or abstract patterns
- Layer multiple salt colors for depth
The crystalline texture catches light beautifully, transforming simple drawings into eye-catching pieces.
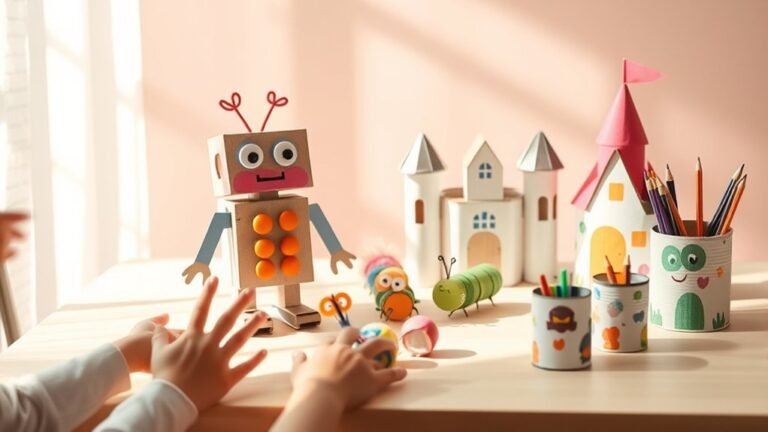
Cardboard Box Constructions
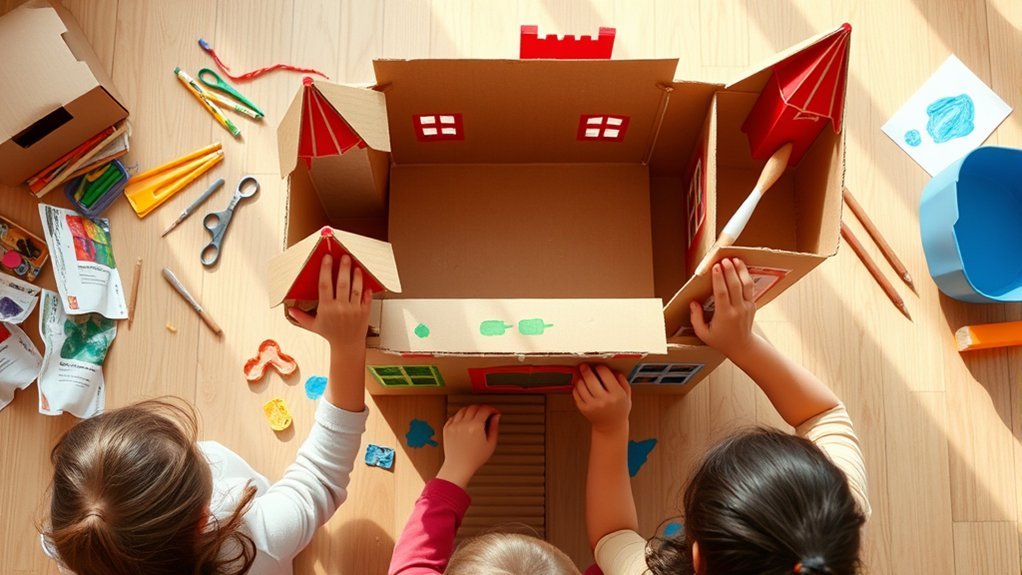
Cardboard boxes stack up in recycling bins everywhere, but they’re actually goldmine materials for three-dimensional art projects.
You’ll transform ordinary shipping containers into imaginative sculptures without any advance preparation. Hand your kids various-sized boxes and watch them create cardboard castles complete with towers, drawbridges, and battlements.
They’ll cut doorways, stack boxes for height, and design architectural details using markers or paint. Box robots emerge when children attach smaller boxes as heads and limbs, adding bottle cap buttons and foil details.
You don’t need templates or instructions. Kids naturally understand how boxes fit together, and they’ll problem-solve construction challenges independently.
Tape, scissors, and basic art supplies are your only requirements. The best part? Cleanup means tossing everything back into recycling when playtime ends.
Kitchen Sponge Block Printing

Kitchen sponges deliver surprisingly professional-looking prints without requiring any specialized art supplies or advance setup.
You’ll transform ordinary cleaning sponges into custom stamps by cutting geometric shapes, letters, or abstract designs into their surfaces. The dense texture holds paint perfectly, creating crisp block patterns with each press.
Essential techniques for stunning results:
- Cut sponges while dry using scissors or craft knives for clean edges
- Apply tempera or acrylic paint with a brush directly onto your sponge designs
- Press firmly and lift straight up to avoid smudging your prints
- Layer different colors and shapes to build complex compositions
You can create wrapping paper, greeting cards, or fabric designs within minutes.
Kids master this technique quickly, making it perfect for spontaneous creative sessions when inspiration strikes unexpectedly.
Crayon Melting Sun Catchers
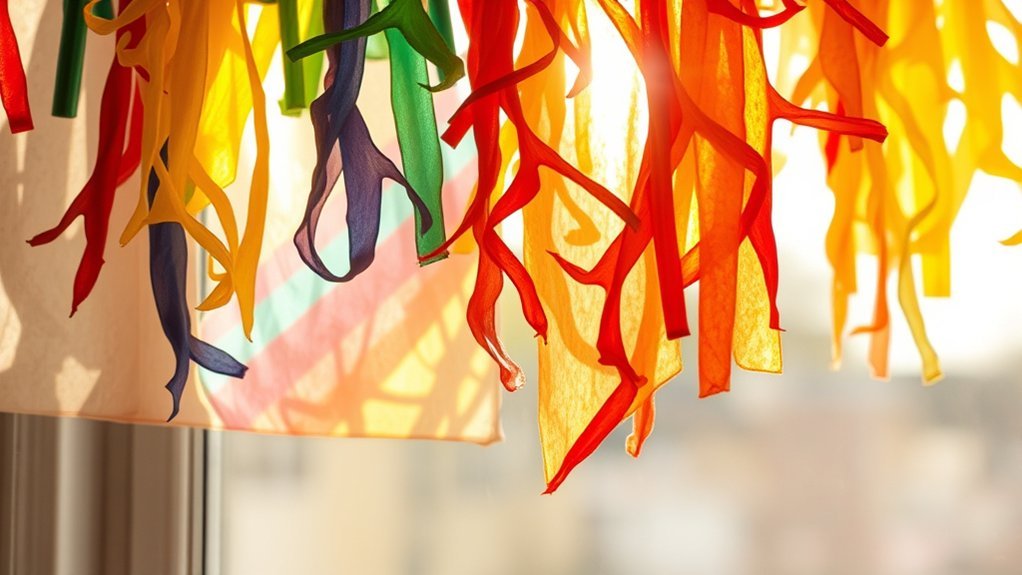
Old crayons gain spectacular new life when transformed into vibrant stained-glass art that captures and radiates sunlight.
You’ll simply peel the paper wrappers off broken crayons and use a cheese grater to create colorful shavings. Sandwich these shavings between two sheets of wax paper, then press with a warm iron for several seconds.
Different melting techniques produce varied effects—light pressure creates subtle blends while firm pressure intensifies the crayon colors. You can arrange shavings in patterns, mix complementary hues, or scatter them randomly for abstract designs.
Once cooled, trim the edges and hang your creation in a sunny window. The translucent colors glow beautifully when backlit, turning forgotten art supplies into stunning decorative pieces that’ll brighten any room.
Handprint Evolution Animals

While melted crayons create magical window displays, your child’s handprints offer an equally captivating canvas for creativity—one that documents their growth over time. Transform those tiny palms into evolutionary handprints by creating a series of animals that showcase animal adaptations. Press paint-covered hands onto paper, then add simple details to morph prints into creatures.
Create these hand-to-animal transformations:
- Fish to amphibian – fingers become fins, then add legs
- Dinosaur to bird – thumbs turn into heads, fingers into feathers
- Ape to human – gradually adjust posture and features
- Whale evolution – show the transition from land to sea
This project teaches biological concepts while preserving precious handprint sizes. You’ll need only paint, paper, and markers—making it perfectly zero-prep.
String Pull Painting

Dragging paint-soaked string across folded paper produces mesmerizing symmetrical designs that’ll surprise even the most reluctant young artists.
You’ll simply dip yarn or string into washable paint, place it between folded paper with the end sticking out, then pull it through while pressing down firmly. The results are always unexpected and delightfully unique.
Experiment with different string techniques like zigzagging the string placement or using multiple colors simultaneously for enhanced color blending effects. Thicker strings create bold lines, while thinner ones produce delicate patterns. You can also try pulling at various speeds or angles to achieve different effects.
This project requires zero setup beyond paint, paper, and string. Kids love the anticipation of unfolding their creation, making it perfect for maintaining engagement and encouraging artistic exploration.
In case you were wondering
How Do I Store Unfinished Art Projects for Later Completion?
You’ll need proper project storage solutions to keep your work safe. Use plastic bins, portfolios, or zippered bags with labels. Good art supply organization means keeping materials together—clip papers, seal paints, and store everything flat or upright.
What’s the Best Way to Display Children’s Artwork Without Damaging Walls?
You’ll love these damage-free solutions: use clipboards, easels, or magnetic boards as wall alternatives for your art display. Tension rods with clips also work wonders. These methods let you rotate artwork constantly without leaving a single mark behind.
How Can I Adapt These Projects for Different Age Groups?
You’ll need age-appropriate modifications like simplifying steps for toddlers and adding complexity for teens. Use art supply substitutions—swap markers for crayons with younger kids, or introduce acrylics for older children seeking advanced techniques.
What Should I Do if My Child Has Sensory Sensitivities to Materials?
Offer sensory friendly materials like smooth paper, soft brushes, or washable markers instead of messy textures. You’ll want to introduce supplies gradually, use calming techniques like deep breaths, and always let your child control their participation level and pace.
How Do I Clean up Stubborn Art Supply Stains From Surfaces?
Don’t cry over spilled paint! You’ll tackle stubborn marks with proper cleaning techniques like using rubbing alcohol for markers or dish soap for acrylics. Quick stain removal works best—blot immediately, then scrub gently with appropriate solutions.
Conclusion
You’ve got everything you need right under your nose to spark creativity today. No special trips to craft stores, no elaborate setups—just grab what’s already in your kitchen drawers and recycling bin. These projects prove you don’t need fancy supplies to make memories with your kids. When boredom strikes, you’ll be ready to turn ordinary household items into extraordinary art. So stop scrolling and start creating—your masterpiece awaits!