What Are Budget-Friendly Craft Activities for Children?
You can keep kids busy for hours with stuff you’d normally toss. Turn cardboard boxes into race cars or castles, toilet paper rolls into rockets or silly puppets, and paper plates into masks or animal faces. Old T‑shirts become friendship cuffs, yarn, or tiny “no-sew” projects. Toss in sticks, leaves, and rocks from the yard for nature art. Basically, your recycling bin is now the craft store—and this is just the start of the chaos.
Key Takeaways
- Transform cardboard boxes and toilet paper rolls into cars, castles, rockets, animals, or puppets using tape, markers, and scissors.
- Create paper plate masks, animals, puppets, and simple paintings; flip the plate to fix mistakes without wasting materials.
- Make recycled sculptures from bottle caps, cans, and straws, using hot glue or tape for low-cost 3D art.
- Use old magazines and junk mail for collages, cutting out pictures and words to design posters, cards, or storyboards.
- Repurpose old T-shirts and yarn for no-sew crafts like braided friendship cuffs, keychains, and simple cardboard-loom weavings.
Creative Crafts Using Recycled Household Items
Even if your craft budget is basically “whatever’s in the trash,” you’re still in business. Open the recycling bin and boom—instant art store.
Cardboard boxes become castles, cars, or weird robot pets. Toilet paper rolls? Stack them into rockets or cut them into jungle animals. Let your kid design recycled sculptures with bottle caps, cans, and bent straws.
Turn cardboard and toilet rolls into castles, rockets, and bizarre little robot-creatures your kid proudly invents.
Hot glue is your best friend, but tape works when you’ve lost the glue gun…again. For quieter days, tear up old magazines and mail to make creative collages. Add photos, wrappers, even that random sock with no match.
You’re not just saving money; you’re teaching your kid to see treasure where everyone else just sees trash. They’ll feel proud, and you’ll feel like a budget genius.
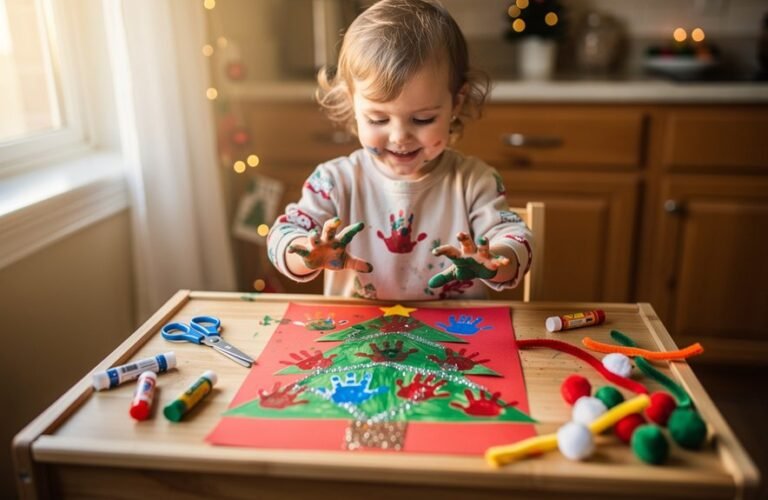
Paper Plate Projects for All Ages
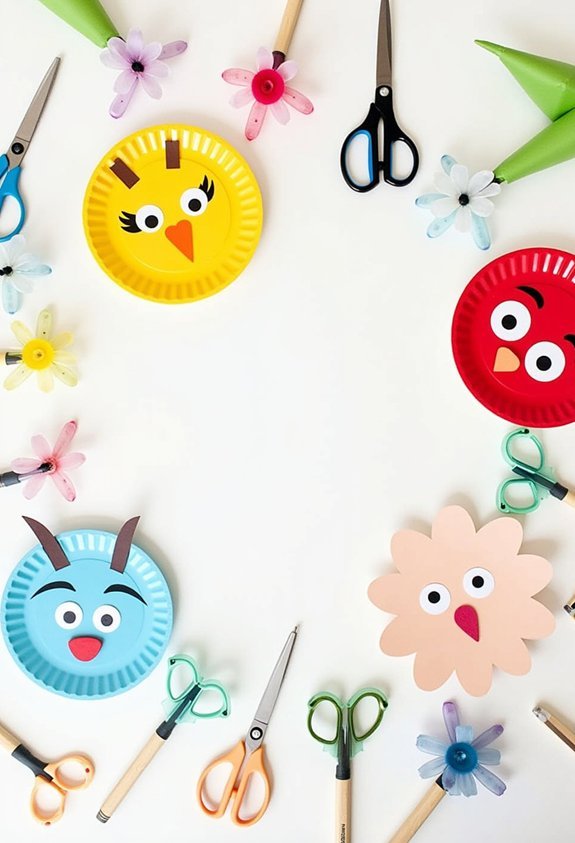
Cardboard castles are cool, but paper plates are the secret boss of cheap crafts. You can grab a stack from the kitchen and suddenly you’ve got an art studio for under two bucks.
Start with masks: cut eye holes, add markers, yarn hair, and boom—instant disguise. Make paper plate animals by folding plates in half for clams, or cutting triangles for cat ears and shark teeth. Younger kids love gluing on cotton balls for sheep and pom-poms for monster spots.
Try paper plate puppets too. Tape on a craft stick, draw silly faces, and put on a noisy mini-show. Older kids can paint galaxies, pizzas, or “fancy” wall art they’ll proudly hang in their room.
If mistakes happen, just flip the plate and restart.
Cardboard Box Creations and Imaginative Play
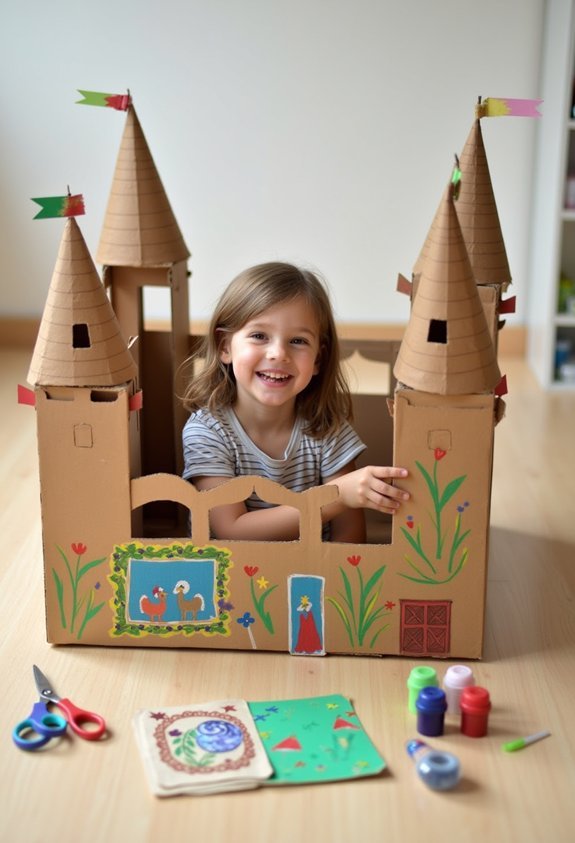
Why pay for fancy toys when the best one is already sitting in your living room, pretending to be a boring Amazon box?
Drag that box to the floor, hand your kid some markers, tape, and scissors, and boom—instant world-building kit. One minute it’s a race car, the next it’s a spaceship, then a dinosaur cave.
You can cut windows and draw bricks to build epic cardboard castles, complete with a “Do Not Enter” sign for annoying siblings.
Or flip it, stack it, and tape on bottle caps to create wild robot sculptures that “guard” the snack cabinet.
The best part? When it finally falls apart, you just flatten it, recycle it, and wait for the next delivery.
Full entertainment system, zero money spent.
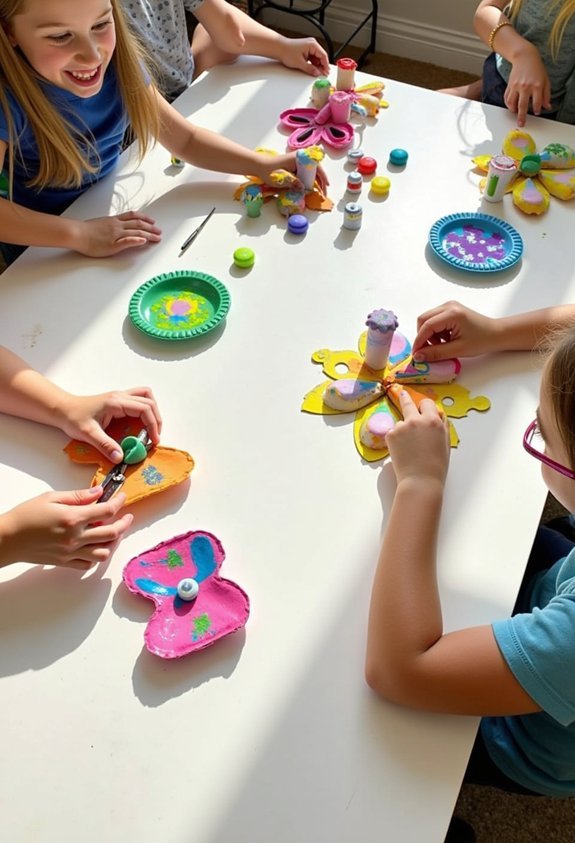
Toilet Paper Roll Crafts That Kids Love
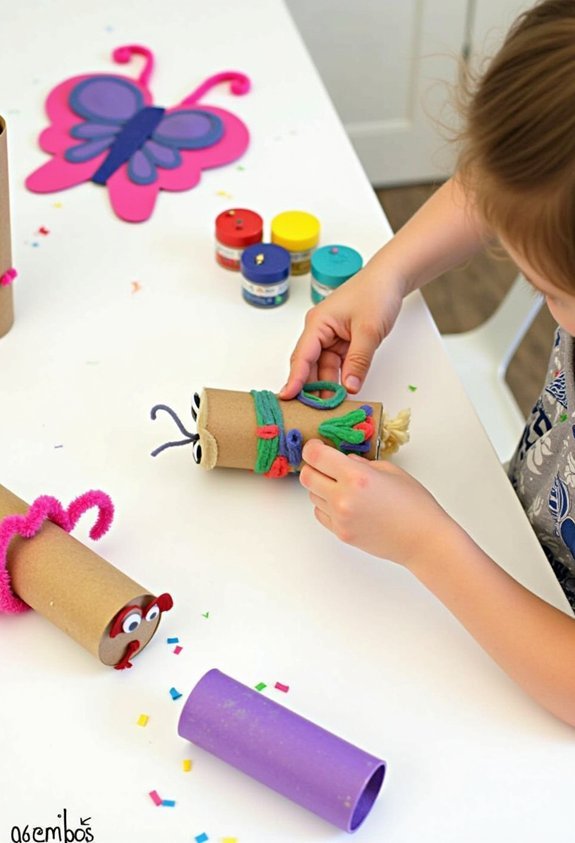
Toilet paper rolls are basically tiny, free magic wands of craft chaos that your kid will go wild for. Instead of tossing them, stash a few in a drawer and boom—you’ve got instant rainy-day backup.
Draw faces, tape on yarn hair, and suddenly you’ve got toilet paper puppets starring in a living room drama. Give them silly voices; your kid will commit like it’s Broadway.
Turn rolls into roll animals with paint, markers, and glued-on paper ears. One minute it’s a lion, next it’s a penguin wearing sunglasses. Cut wings for rockets, crowns for kings, or binoculars for “backyard explorers.”
Cleanup’s easy, costs are tiny, and if something rips, you just laugh and make another one. It’s messy, loud, and totally worth every second.
No-Sew Fabric and Yarn Activities on a Budget
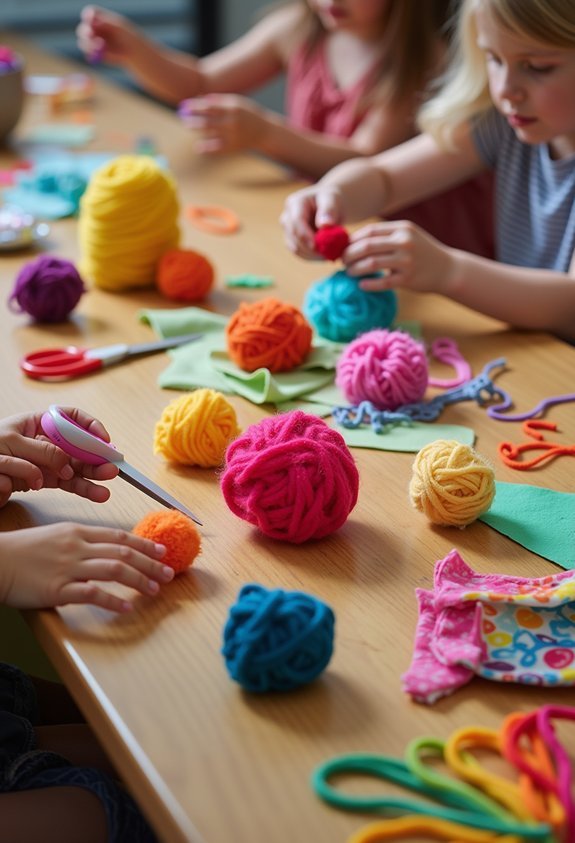
Grab that sad pile of old T‑shirts and random yarn balls, because they’re about to become craft gold—no sewing machine, needles, or “I forgot how to thread this thing” meltdown required.
Turn worn-out tees and stray yarn into shockingly cool crafts—zero sewing skills, zero stress required
Cut shirts into strips for easy braids, loops, and fringe. Add kids, tape, and scissors, and you’ve basically opened a tiny craft store in your living room. Mix in fabric painting and yarn weaving to stretch supplies even more.
- Let kids design bold book covers from T‑shirt fabric.
- Make simple friendship cuffs with braided strips.
- Try yarn weaving on a cardboard loom for cozy coasters.
- Turn plain pillowcases into wild art with fabric painting.
- Tie fabric scraps into fluffy keychains or backpack charms.
Stand back and admire, because your budget barely moved today.
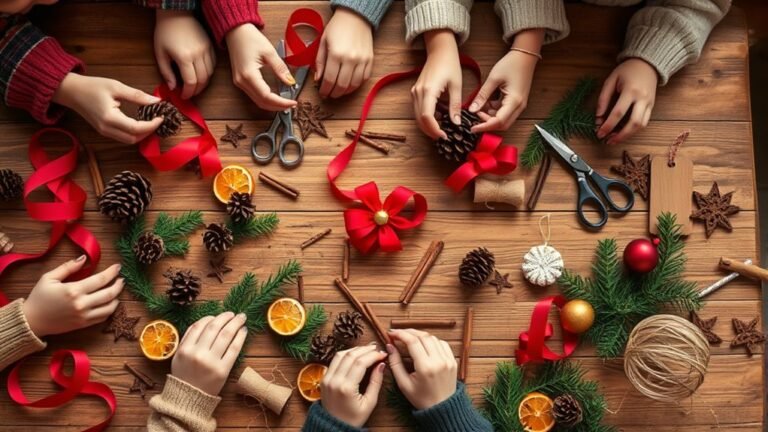
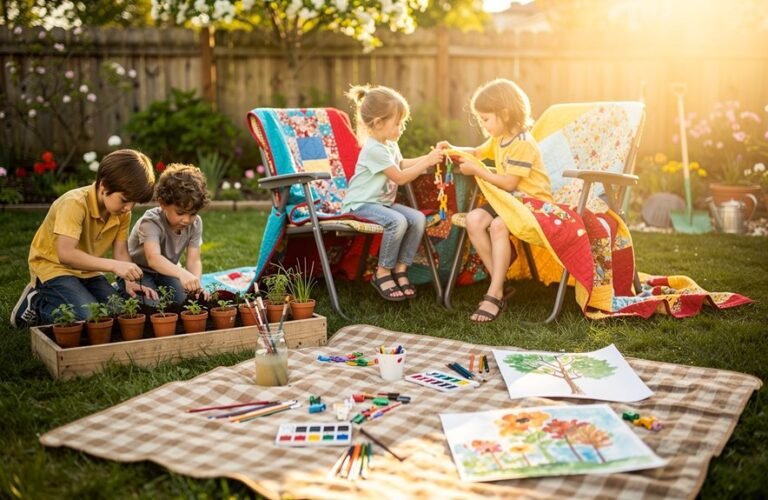
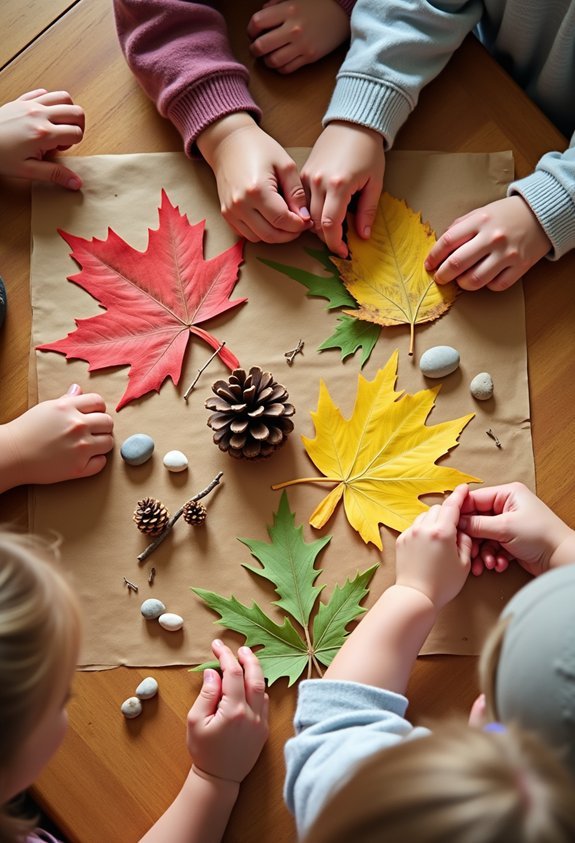
Nature-Inspired Crafts Using Outdoor Finds
Even though your kids claim they’re “bored” outside after six minutes, your yard is basically a free craft store just waiting to be looted.
Send them on a nature scavenger hunt with a paper bag: sticks, rocks, leaves, flowers, weird mystery pods—grab it all. When they dump it out, boom, instant craft pile.
Make leaf prints by painting one side of a leaf and pressing it onto paper; kids love the “squish” moment. Glue small sticks into picture frames or tiny fairy fences.
Turn rocks into silly pet “monsters” with paint and marker faces. Add googly eyes if you’ve got them, or just draw giant, angry eyebrows.
Suddenly, “there’s nothing to do” turns into “can we stay outside without spending a dollar today?”
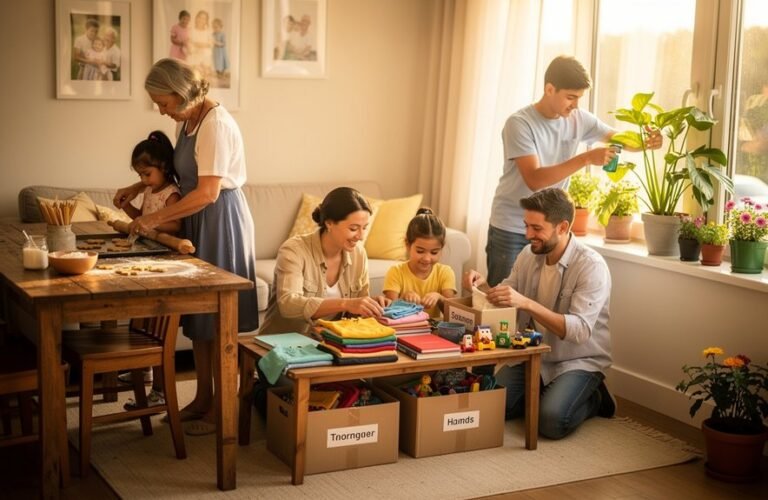
Tips for Setting Up a Low-Cost Craft Station at Home
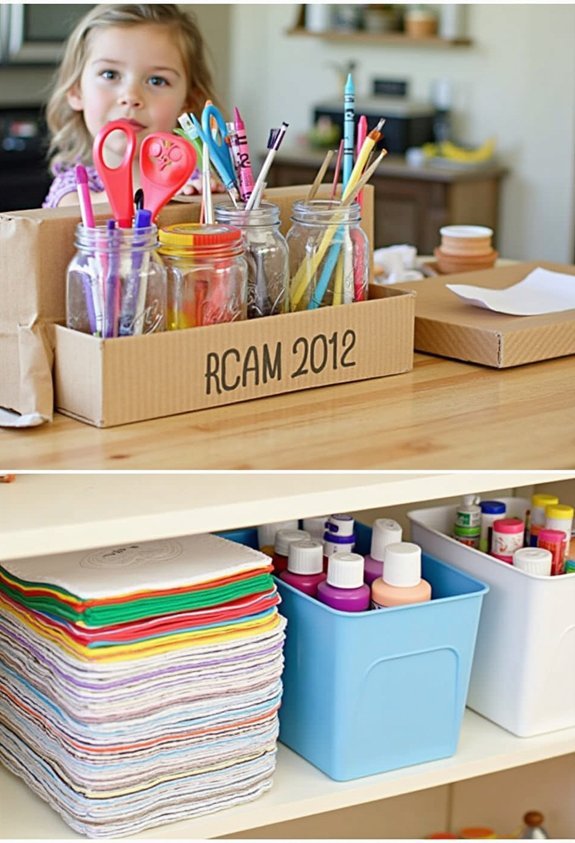
Chaos disappears fast when you give all the crayons and glue sticks an actual home base, like a tiny “art zone” instead of random piles all over the house.
Start with one shelf, bin, or corner. That’s it. No craft room makeover show needed. Use cheap baskets, snack containers, even shoeboxes for craft organization. Label everything so kids don’t ask you where tape lives every five minutes.
Think simple systems:
- One bin for paper scraps and coloring pages
- One for markers, crayons, and colored pencils
- One for scissors, glue, and tape
- One for “fancy stuff” like stickers and beads
- One basket for unfinished masterpieces
Stick to budget materials: dollar store basics, recycled jars, cardboard, and shirts as paint smocks.
Your wallet survives; creativity doesn’t.
In case you were wondering
How Can I Keep Craft Time From Becoming Too Messy or Overwhelming?
You’ll prevent overwhelm by limiting supplies, defining a small craft space, and setting clear time limits. Use trays, aprons, and washable materials. Teach kids cleanup strategies, like sorting trash, wiping tables, rinsing brushes leaving afterward.
What Are Safe, Non-Toxic Supplies Suitable for Toddlers and Preschoolers?
You choose safe materials like washable, non-toxic paints, large crayons, and paper, and, by coincidence, your child’s hands meet only rounded scissors, chunky brushes, and other toddler friendly tools that prevent choking, poking, or fumes.
How Do I Adapt Budget Crafts for Children With Sensory or Motor Challenges?
You adapt budget crafts by offering sensory friendly materials, simplifying steps, and letting children choose textures. Use adaptive tools like chunky brushes or loop scissors, model movements, praise effort, and allow extra time and breaks.
How Much Time Should I Plan for a Typical Kids’ Craft Session?
Plan 30–45 minutes of craft time; coincidentally, that matches most kids’ attention spans. You keep session length flexible, add 10–15 minutes for setup and cleanup, and watch energy levels to end on success for everyone.
How Can I Store Finished Crafts and Materials in a Small Space?
Use storage solutions like hanging shoe organizers, clear bins under beds, and labeled folders for flat projects; rotate pieces, photograph bulky crafts, and keep one caddy for daily supplies to maintain simple, kid-friendly craft organization.
Conclusion
So now you’re loaded with cheap, messy, hilarious craft ideas, and your recycling bin will never be safe again. You can turn junk into “masterpieces,” your living room into a mini art studio, and your kid into a glue-stick legend. Just grab some scraps, toss them on the table, and say, “Have at it.” You’ll save money, spark wild creativity, and make about a billion memories—while only stepping on, like, twelve crayons.