How to Create Engaging Sensory Play Activities
Grab a tub, toss in rice, dry pasta, or water with a few cups and spoons, and boom—sensory play. Give kids a simple goal: scoop, pour, hide-and-seek with toys, “make soup,” or run a car wash with soapy water. Stick to safe sizes (nothing tiny for toddlers), skip strong scents, and park a towel underneath to save your floor and sanity. Then let them explore while you drink hot coffee and pick up a few sneaky tricks next.
Key Takeaways
- Define a simple goal for each activity, guiding children’s focus while still allowing playful exploration and creativity.
- Offer a mix of safe textures, temperatures, and sounds, matched to children’s age and developmental stage.
- Model rich sensory vocabulary and encourage conversation, turn-taking, and cooperative play during activities.
- Set up open-ended materials, then step back to let children explore independently, intervening only when needed.
- Clean and rotate materials regularly, repurposing tired items into new art or “potion lab” play to keep activities fresh and engaging.
Understanding the Benefits of Sensory Play
Sensory play is basically your kid’s brain going to the gym—but way more fun and with less sweating.
When your child squishes slime, pours water, or digs in rice, their brain lights up like a Christmas tree. They’re testing ideas: What happens if I drop this? Push that? Mix these? That nonstop experimenting boosts cognitive development without a single worksheet.
You also get huge wins for emotional regulation, which every parent secretly wants.
Think of a toddler having a meltdown. Now picture them calmly scooping sand, listening to it pour. Their body slows down. Their breathing evens out. Sensory play gives them a safe way to handle big feelings, feel in control, and reset instead of explode.
Sensory play turns chaos into calm, giving kids a soothing reset instead of a meltdown.
You’ll love the quieter house, trust me.
Key Principles for Designing Sensory Activities
Even though it looks like you’re just letting your kid make a huge mess, there’s actually a method to the madness when you set up good sensory play. First, give your child a clear goal: scoop, pour, match, sort, or build. Kids relax when they know what they’re “supposed” to try.
Next, think about variety for strong sensory integration: mix textures, temperatures, sounds, and movement so the brain gets a rich workout, not the same old blah. Always leave room for playful exploration. Set a basic structure, then back off and let your kid get weird in a safe way.
Finally, follow their lead; when they light up, pause your plan and stretch that moment. That’s where the deepest learning and best memories happen.
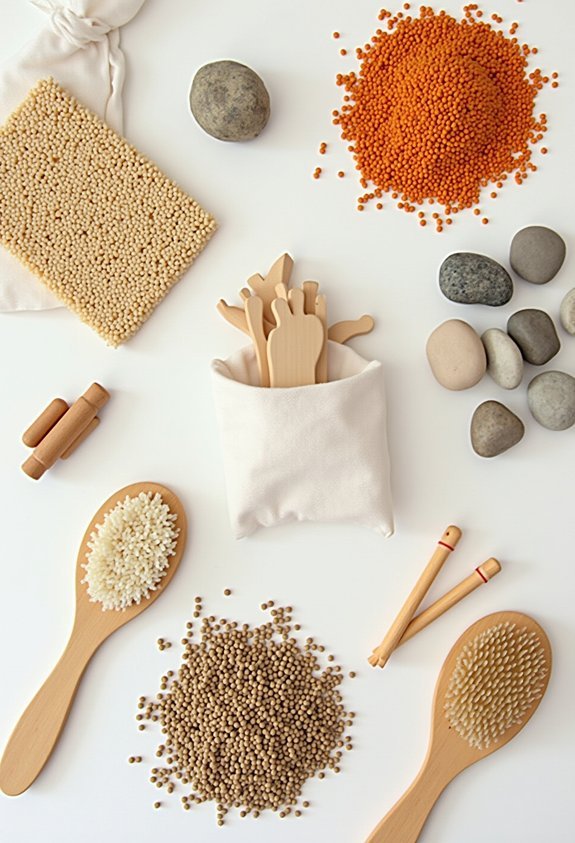
Choosing Safe and Age-Appropriate Materials
Once your kid starts shoving fistfuls of rice, slime, and mystery crumbs into every corner of your house, you suddenly care a lot about what’s actually in that bin.
Sensory bins are fun and games until your toddler starts redecorating the house with them
You want safe materials that don’t break, burn, or get eaten like a snack. Start by matching the stuff you use to your child’s age and habits, not Pinterest.
Think about:
- Under three: nothing smaller than a ping-pong ball; if it fits in a toilet-paper tube, it’s a no.
- Preschoolers: go for squish, scoop, and pour; avoid sharp edges and super tiny beads.
- Early elementary: add tools they can control—tongs, kid scissors, small containers—but keep anything risky supervised.
- Everyone: skip harsh scents, unknown powders, and stains that make you want to fake your own death.
Choose age appropriate resources, every time.
Simple Sensory Bins Using Everyday Items
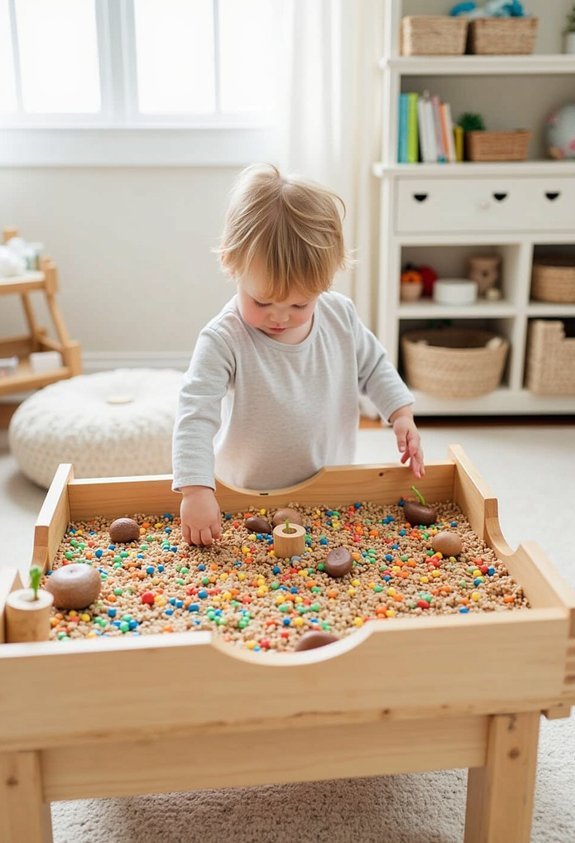
Before you spend $60 on a “curated sensory experience” in a wooden box, walk to your kitchen and open literally any cabinet.
Grab a big bowl or storage bin. Boom, you’re halfway there.
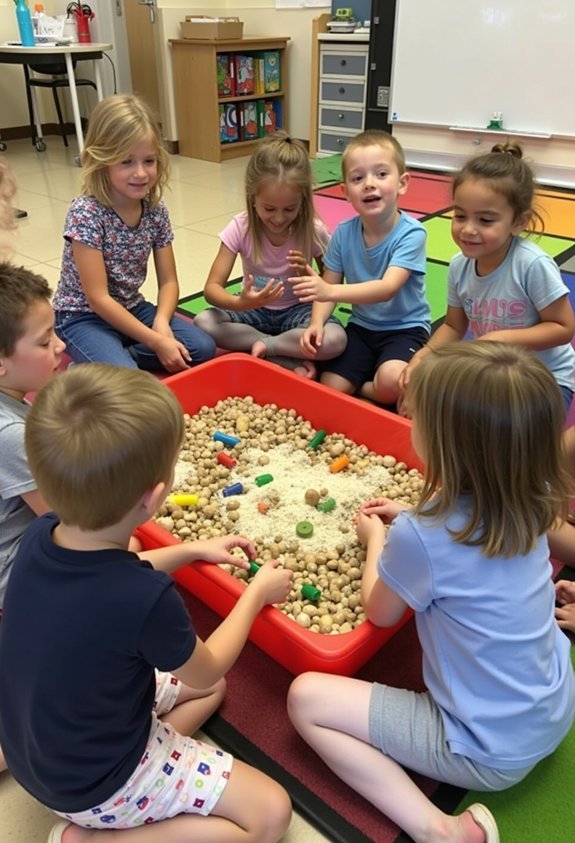
Dump in uncooked rice for an easy rice sensory bin. Add scoops, cups, maybe a toy dinosaur ready to “hunt” for buried snacks.
For pasta play, toss in dry noodles, mix shapes, then let your kid drive toy cars through the “noodle traffic jam.”
Feeling brave? Try sand exploration with clean play sand and small construction trucks.
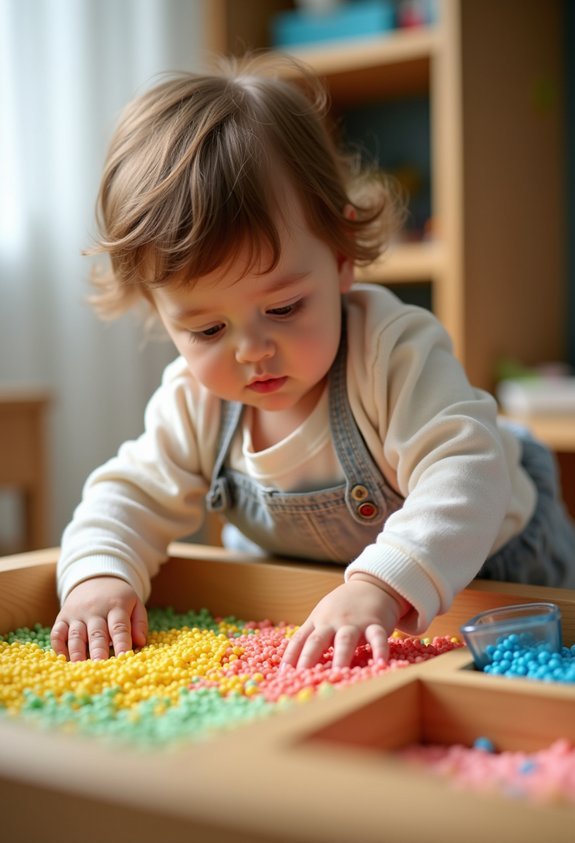
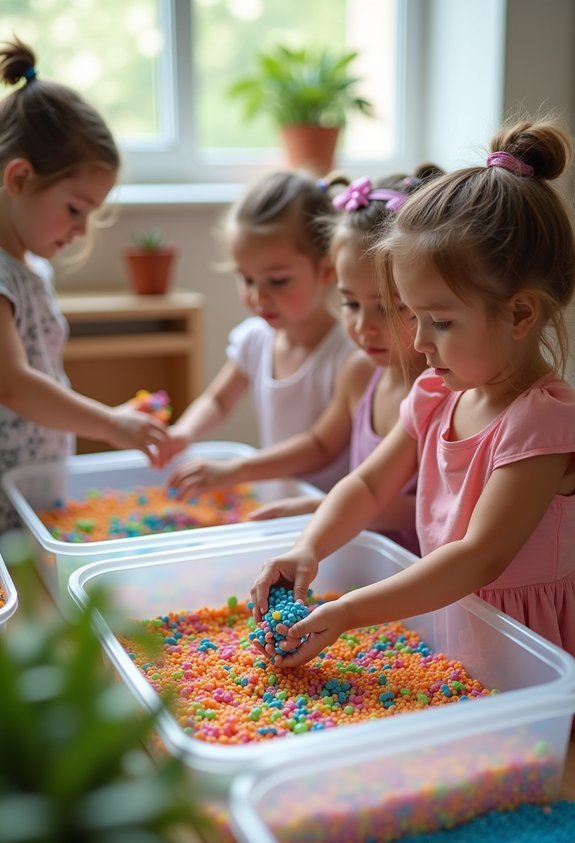
Want something squishy? Use water beads in a shallow bin and hide puzzle pieces.
For calm, slow fun, make simple sensory dough from flour, salt, water, and food coloring. Kids will beg for more.
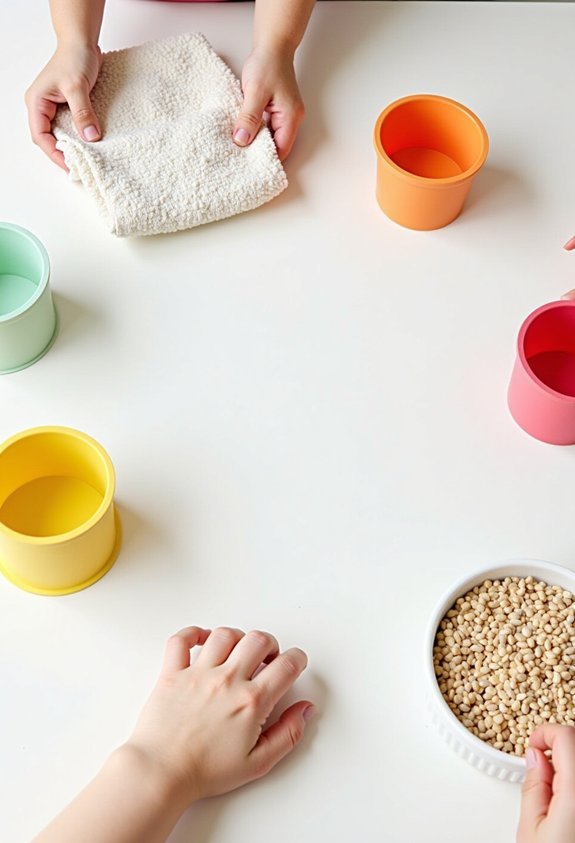
Mess-Free Sensory Play Ideas for Small Spaces
- Zip-top bag filled with hair gel and buttons; tape it to a window for squishy tracing.
- Plastic container of dry rice, sealed, for shaking, rolling, and tapping like a homemade maraca.
- Lap-sized Portable Sensory Stations using lunch trays, silicone cups, and fidget toys.
- A “sensory drawer” with wipes, towels, and trash bags, so cleanup’s faster than their meltdown.
And your sofa actually survives.
Outdoor Sensory Experiences in Nature

Even if you’re not a “nature person” and think camping is just “being cold on purpose,” taking sensory play outside is pure magic for kids.
The backyard becomes a giant toy box you don’t have to clean. Send your child on a nature scavenger hunt: find something rough, smooth, squishy, and that weird rock they absolutely must keep forever. That’s sensory exploration without a single glitter spill.
Let them stomp in mud, grind leaves between their fingers, and listen for birds or buzzing bees. Hand them a bucket and say, “Fill this with the coolest stuff you can find.”
Sticks, petals, seed pods—boom, instant nature soup. You get fresh air, they get wild, joyful chaos. And bonus: cleanup is basically closing the back door.
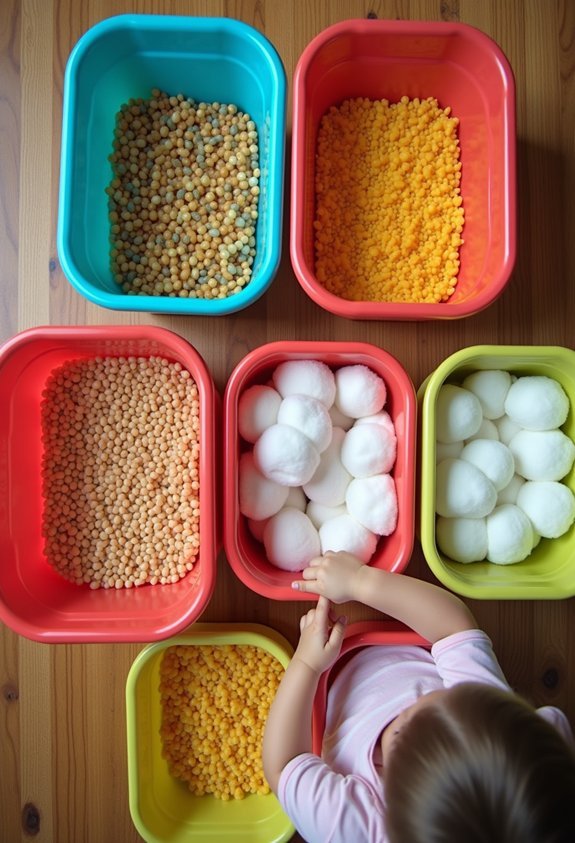
Adapting Activities for Different Ages and Abilities
Mud, rocks, and mystery sticks are awesome, but not every kid wants to stick their hands in a slimy bucket of “nature soup,” and that’s totally fine.
Think of sensory play like a build‑your‑own‑taco bar: same base idea, different toppings. You’re adapting activities so each child feels brave, not freaked out.
- For babies, go big and soft: chunky rings, crinkly blankets, large scoops instead of tiny beads.
- For preschoolers, add simple rules, like “scoop, pour, repeat,” so they feel in control.
- For older kids, throw in challenges: blindfold texture hunts, timed sorting, creative “chef” roles.
- For kids with varied abilities, tweak one thing at a time—texture, tools, or pace—until their body says, “Yep, this works.”
Keep watching; adjust as needed.
Supporting Language and Social Skills Through Sensory Play
While it might look like kids are “just playing” in a bin of rice or slime, their brains are basically hosting a full‑on language and social skills boot camp.
You can boost language development by modeling sensory vocabulary like squishy, gritty, or slippery. Ask silly questions and let kids answer in their own words for fast vocabulary building.
Set up simple cooperative play scenes—“You pour, I stir.” That sparks social interaction and communication skills.
Add little story lines to invite imaginative play and emotional expression: “Uh‑oh, the dinosaur is scared!”
Use turn taking activities with tools and toys to strengthen sharing and peer relationships.
Stay close, listen, and cheer on every tiny back‑and‑forth. Those small chats pile up into strong, confident little communicators everywhere.
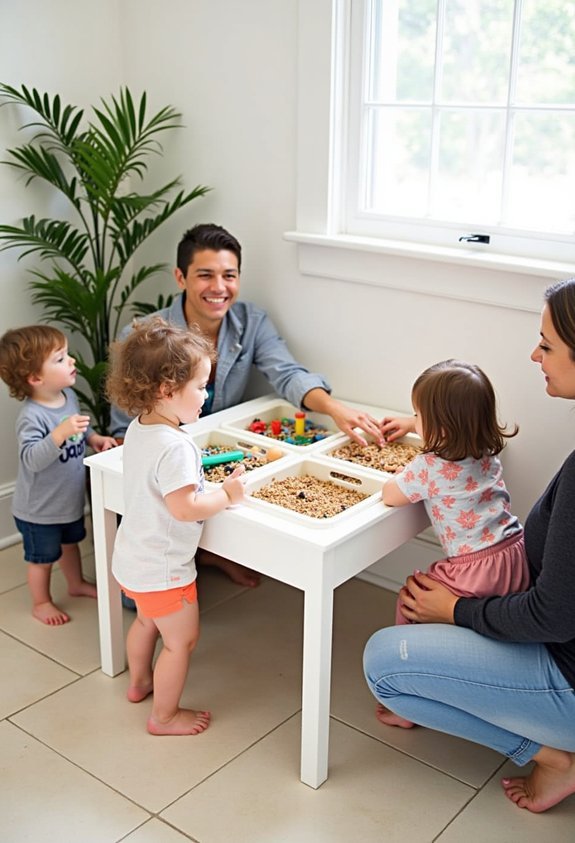
Encouraging Independent Play and Creative Exploration
Kids don’t just talk more in sensory play—they also start doing their own thing like tiny, chaotic scientists. Your job? Set up the lab, then back off a bit.
When you’re not directing every move, you invite independent exploration and wild creative problem solving.
Try this: put out a few simple materials, state one loose challenge, then zip it. Let them experiment, fail, and try again. You’re basically running a fun, sticky science show.
- Offer open-ended stuff like sand, water, scoops, and containers
- Ask curious questions instead of giving answers
- Wait before stepping in, even if it looks “wrong”
- Celebrate weird ideas: “You made soup out of pom-poms? Genius.”
That space to tinker builds brave, flexible thinkers. Ready to tackle new challenges without freaking.
Easy Ways to Store, Clean, and Reuse Sensory Materials
Even though sensory play can look like a glitter hurricane hit your living room, keeping all that stuff clean and ready for next time doesn’t have to be a full-time job.
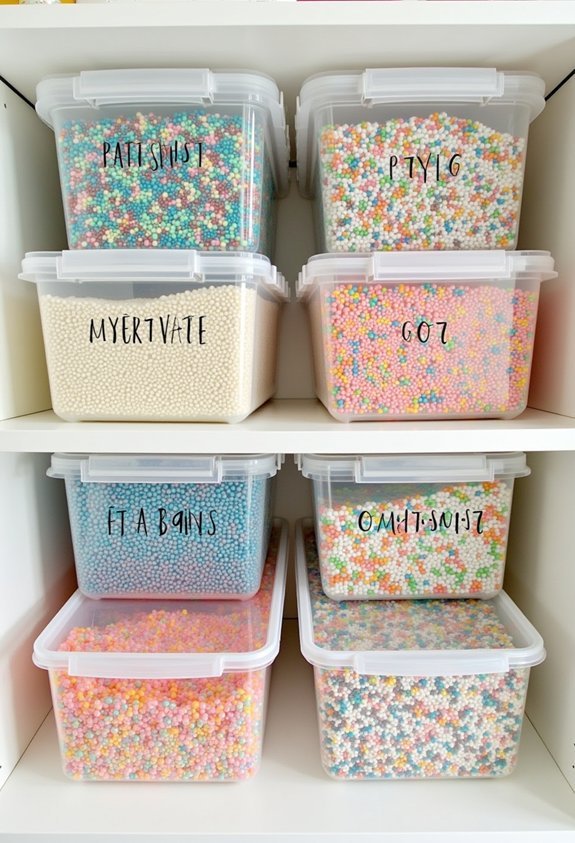
First, grab simple storage solutions: clear bins, zip bags, old yogurt tubs, whatever you’ve got. Label them, or you’ll find rice in the sock drawer later.
For dry stuff like beans or pasta, shake off crumbs, let them fully dry, then stash. For wet or sticky play, rinse toys in warm soapy water, then air-dry on a towel. Use gentle cleaning techniques, nothing harsh that’ll wreck tiny hands.
When materials look tired, mix them into art projects, mud kitchen soup, or “potion lab” science play. Store what works, toss guilt, keep play magic.
In case you were wondering
How Can I Create Engaging Sensory Play Activities on a Very Tight Budget?
You create engaging sensory play cheaply by reusing containers for DIY Sensory Bins, filling them with rice, beans, or water, and adding spoons, cups, or toys; combine with Nature Exploration using leaves, rocks, and sand.
What’s the Best Way to Involve Siblings With Different Sensory Preferences Together?
Like a shared painting with colors, you’ll involve everyone by offering one activity with layered choices—quiet tools, messy textures, and movement challenges—respecting sibling dynamics, honoring sensory preferences, and letting each child join or pause needed.
How Do I Recognize When My Child Is Overstimulated During Sensory Play?
You’ll notice overstimulation signs like zoning out, irritability, covering ears, avoiding touch, or sudden tears. Pause play, lower noise, offer deep-pressure hugs, slow breathing, a quiet corner, and let your child choose when to rejoin.
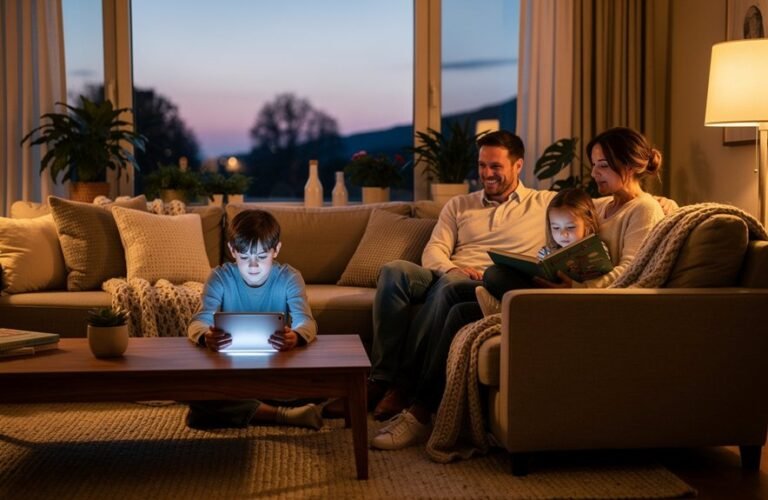
Can Screens or Digital Tools Be Incorporated Meaningfully Into Sensory Play Activities?
Can you meaningfully weave screens into sensory play? You can when you use interactive apps to guide movement and sound exploration, pairing hands-on materials with digital storytelling so your child connects sensations with engaging narratives.
How Often Should I Rotate Sensory Activities to Keep My Child Interested?
You’ll usually rotate sensory activities every 1–2 weeks, but watch your child’s cues. Adjust activity frequency when interest fades, add small twists as engagement strategies, and occasionally revisit old favorites to strengthen memory and creativity.
Conclusion
So now you’ve got bins, bags, tools, and way too many ideas, right? Good. Use them. Try one simple setup today—rice, spoons, plastic cups—and just watch. You’ll see focus, giggles, and maybe a tiny mess tornado. Worth it. Remember, you can tweak for any age, keep it safe, and stash it in a box later. Why not swap ten minutes of screen time for a sensory adventure instead? Your future self will cheer.