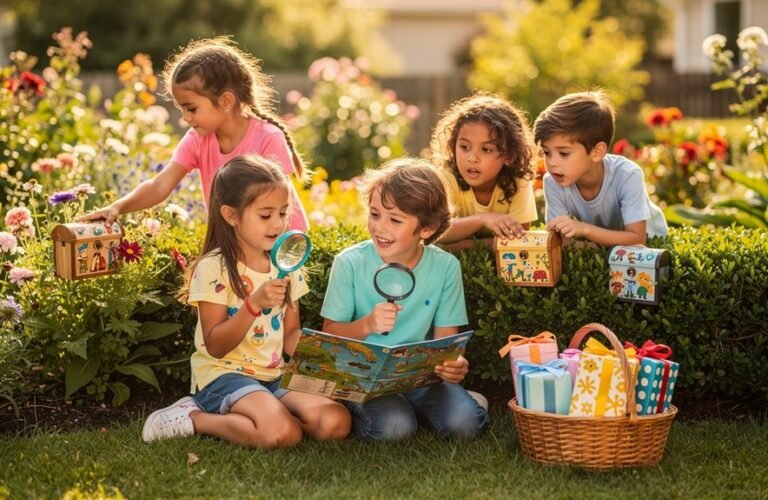
17 Best Lightning-Fast Crafts for Busy Parents
You’ll find endless crafting possibilities using items already in your home—from paper plates transformed into creative masks to sock puppets made from orphaned socks. These lightning-fast projects require minimal setup and cleanup, keeping kids engaged for 30-45 minutes while you tackle your to-do list. Whether you’re creating toilet paper roll binoculars, coffee filter butterflies, or cardboard box cars, each craft develops fine motor skills and encourages imagination without special skills or expensive supplies. Discover how these simple activities can transform everyday household items into meaningful keepsakes and entertaining playtime.
Key Takeaways
- Paper plate masks, sock puppets, and toilet paper roll binoculars use common household items for 15-30 minute crafts with minimal cleanup.
- Nature collages and leaf printing combine outdoor exploration with creativity while requiring only glue sticks and collected natural materials.
- Handprint cards and popsicle stick frames create meaningful keepsakes in under 15 minutes using washable paint and basic supplies.
- Paper chain garlands and egg carton caterpillars develop fine motor skills while providing quick, adaptable decorations for celebrations.
- Salt dough ornaments require three ingredients and engage children in sensory play while creating lasting keepsakes for any occasion.
Paper Plate Masks

Paper plate masks transform a simple household item into endless entertainment for kids while requiring minimal setup and cleanup.
Turn ordinary paper plates into magical masks with just scissors and creativity—maximum fun, minimum mess, zero hassle.
You’ll need basic supplies you probably have: paper plates, scissors, markers, glue, and craft scraps. Cut eye holes, add an elastic string, and you’re ready for mask decorating.
Let your children choose character themes like superheroes, animals, or fantasy creatures. They’ll love adding feathers, googly eyes, yarn hair, or paint to bring their creations to life.
This activity keeps kids engaged for 30-45 minutes while you tackle nearby tasks.
The best part? Paper plates cost pennies, and cleanup involves tossing scraps into recycling.
Store finished masks in a bin for dress-up play later, extending the value of this quick craft session.
Toilet Paper Roll Binoculars
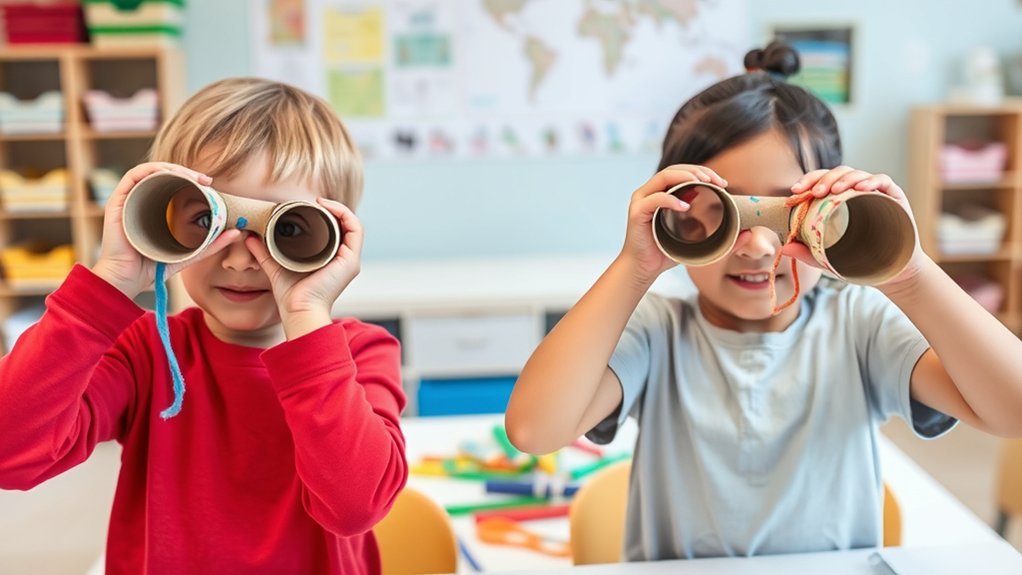
Adventurous kids constantly search for new ways to explore their surroundings, and toilet paper roll binoculars deliver that excitement with just two cardboard tubes.
You’ll tape two rolls together, punch holes on the outer edges, and thread string through for a neck strap. Your children can decorate their toilet paper creations with markers, stickers, or paint before heading outside.
This binoculars crafting project takes under ten minutes and uses materials you’ve already got at home. Kids transform into explorers, pirates, or wildlife watchers instantly.
They’ll spot birds in trees, search for neighbors’ pets, and examine clouds with their new viewing gear. The craft encourages imaginative play while developing fine motor skills.
You’re giving them adventure without spending money or dedicating your entire afternoon.
Coffee Filter Butterflies
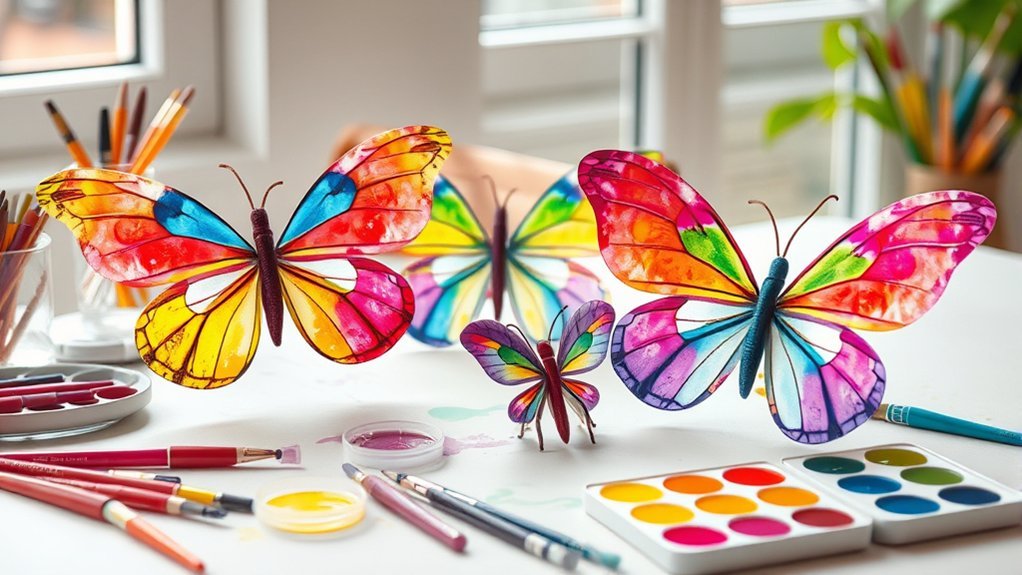
Your kids will create stunning winged creatures with coffee filters, washable markers, and pipe cleaners in about fifteen minutes.
They’ll color vibrant designs directly onto flat coffee filters, then spray them lightly with water to make the colors blend beautifully. The magic happens as the markers bleed together, forming unexpected colorful patterns.
Once dry, pinch each filter in the middle and twist a pipe cleaner around it to form the body and antennae. This step naturally teaches butterfly anatomy—head, thorax, abdomen, and wings.
Your children can make multiple butterflies in various sizes and hues, then display them on windows or suspend them from string. These crafts require minimal supervision and cleanup while delivering impressive results that’ll brighten any room.
Sock Puppets

Those orphaned socks hiding in your laundry basket can transform into entertaining puppets with just buttons, felt scraps, and fabric glue.
You’ll spend only 10 minutes creating each character while your kids design their puppet’s personality.
Glue buttons for eyes, cut felt triangles for ears or noses, and add yarn for hair. Your children can slip these creations onto their hands immediately and start performing.
Simple embellishments like buttons, felt pieces, and yarn strands instantly transform ordinary socks into performance-ready puppet characters.
Sock puppet storytelling becomes an instant activity that keeps kids engaged for hours.
Encourage creative puppet shows where siblings collaborate on scripts and performances. This craft doubles as entertainment—you’re making the toy and the activity simultaneously.
Store finished puppets in a designated basket for easy access. When boredom strikes, your kids can grab their puppets and create new adventures independently.
Paper Bag Puppets
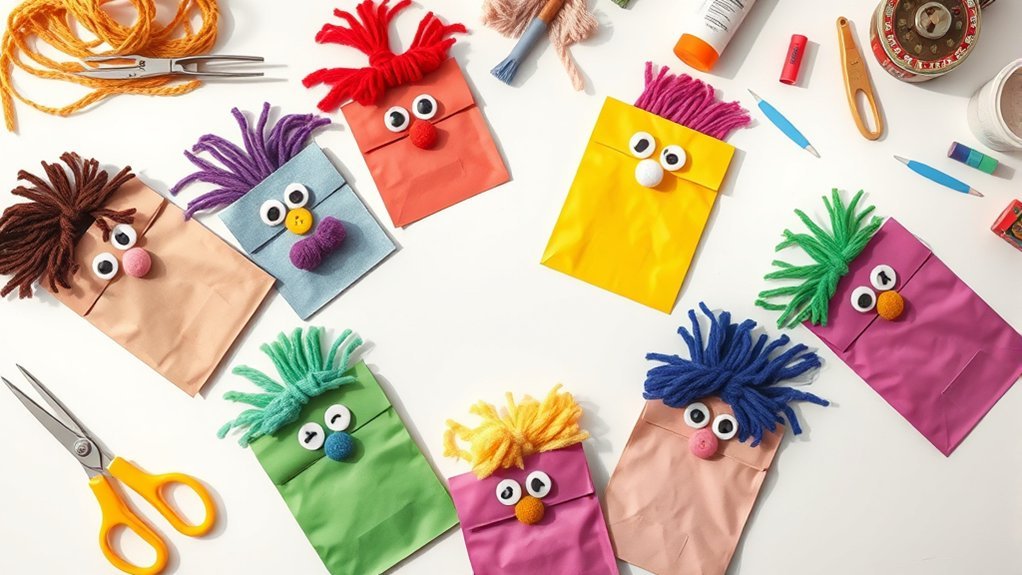
Standard brown lunch bags offer an even simpler puppet-making option that requires materials you probably have in your kitchen right now.
You’ll flip the bag upside down so the flat bottom becomes your puppet’s face. Draw eyes, nose, and mouth with markers, then add construction paper ears or yarn hair. The folded bottom flap creates a natural mouth that opens and closes when you insert your hand.
Your kids can create entire families of characters in minutes, making them perfect for impromptu puppet shows after dinner. Encourage them to develop unique character voices for each puppet.
You can even transform bags into animals by adding paper wings, tails, or spots. This craft takes less than ten minutes yet provides hours of imaginative play.
Aluminum Foil Sculptures
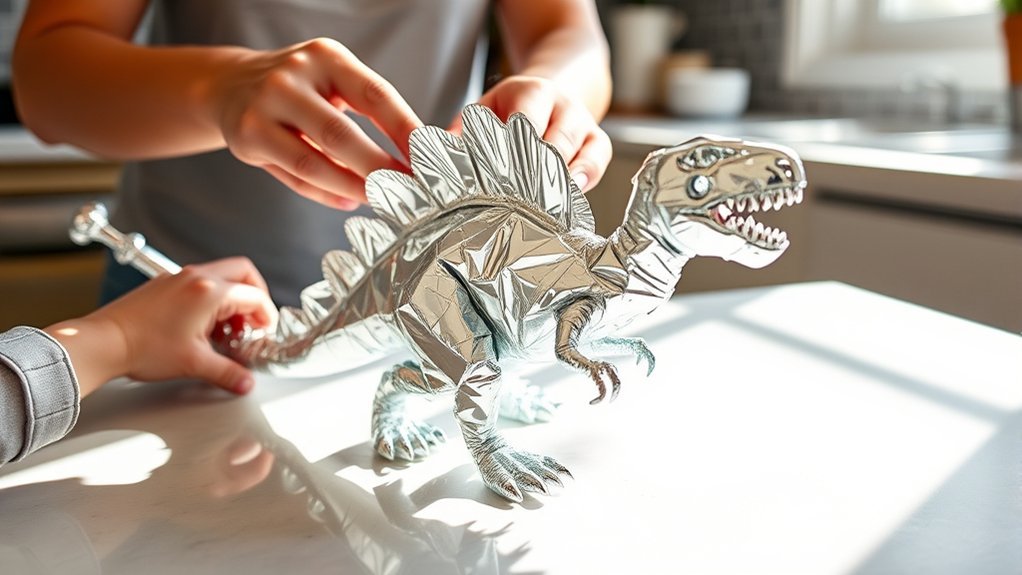
A roll of aluminum foil transforms into an instant art supply that’s both affordable and mess-free—perfect for parents juggling multiple responsibilities.
You’ll love how quickly your kids can create shiny masterpieces while you tackle other tasks.
Simple Sculpture Techniques to Try:
- Crumpling Method – Have kids crunch foil into balls, then shape them into animals or characters by pinching and molding the foil texture.
- Wrapping Technique – Wrap foil around cardboard tubes or small boxes to create robots, rockets, or buildings with dimensional details.
- Layering Approach – Stack and press multiple foil sheets together, then twist and fold to form flowers, jewelry, or decorative ornaments.
These sculpture techniques require zero prep time and minimal cleanup—just tear, shape, and display your children’s creations.
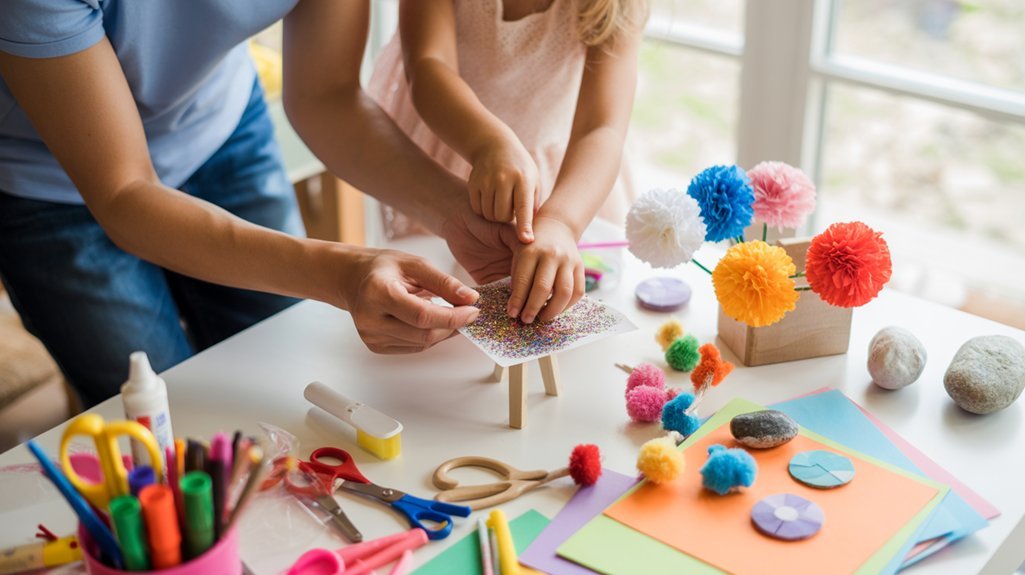
Cupcake Liner Flowers
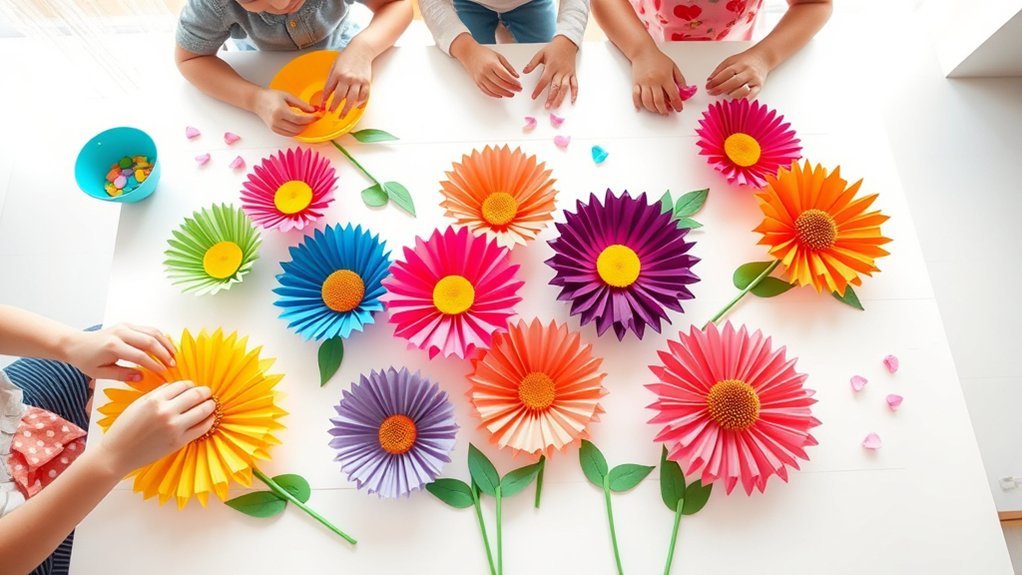
While aluminum foil works wonders for sculptural projects, cupcake liners offer another pantry staple that creates stunning floral crafts in minutes.
Transform everyday cupcake liners into beautiful paper flowers using simple pantry supplies—no special materials needed for this quick craft project.
You’ll transform these paper cups into vibrant blossoms by layering three to five liners together and securing them with pipe cleaners or buttons. Flatten some liners while keeping others ruffled to add dimensional interest.
Experiment with creative color combinations—pair pastels for springtime bouquets or bold primaries for eye-catching displays.
Your kids can practice basic flower arrangement techniques by clustering their creations in mason jars or attaching them to construction paper stems.
The best part? There’s no mess to clean up, and you’ll likely have supplies already sitting in your kitchen drawer, making this five-minute craft perfect for spontaneous creativity.
Handprint Art Cards
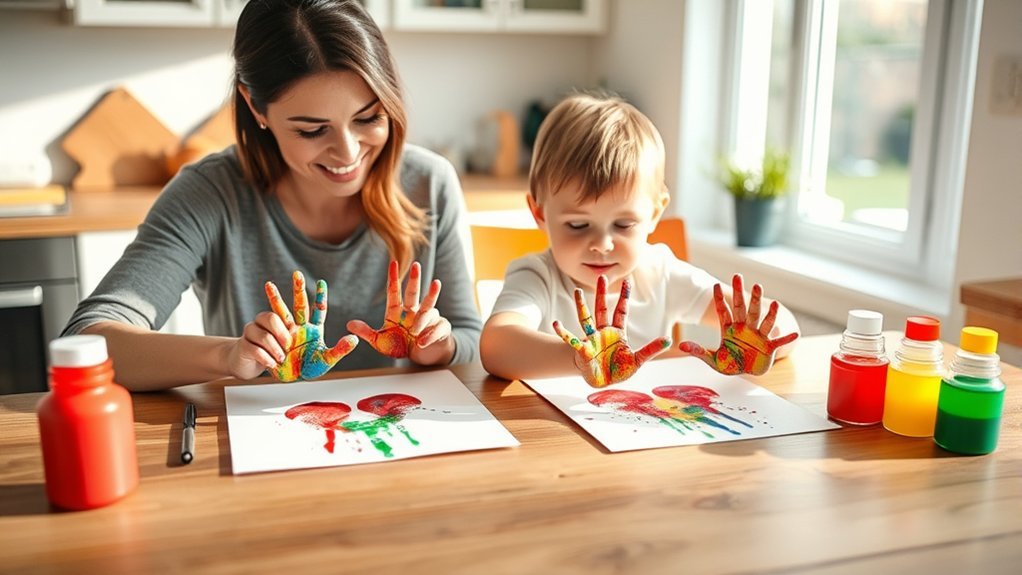
Handprint art transforms ordinary greeting cards into cherished keepsakes that grandparents and relatives will treasure for years.
You’ll create personalized cards in under ten minutes using basic washable paint and cardstock. These handprint art techniques work perfectly for birthdays, holidays, or spontaneous “thinking of you” moments.
Quick handprint card ideas:
- Holiday themes – Transform handprints into Christmas trees, reindeer, or Easter bunnies with simple paint additions and googly eyes.
- Seasonal handprint designs – Create autumn leaves using orange and yellow prints, or spring flowers with colorful palm prints as petals.
- Heart cards – Position two handprints together to form a heart shape for Valentine’s Day or Mother’s Day.
You’ll spend minimal time crafting while creating meaningful gifts that showcase your child’s growth through each precious print.
Nature Collages

Taking your crafting outdoors opens up a world of free materials right in your backyard. Nature collages combine outdoor exploration with creative expression, making them perfect for time-strapped parents.
Turn collecting supplies into a nature scavenger hunt. Challenge your kids to find leaves, twigs, flowers, and interesting rocks. This activity doubles as exercise and craft prep, saving you precious time.
Once you’re back inside, arrange your finds on cardboard or heavy paper. Use glue sticks for quick assembly—no waiting for messy liquid glue to dry. You can create seasonal scenes, abstract designs, or simple patterns.
For added variety, try leaf printing by painting leaves and pressing them onto paper. This technique creates beautiful impressions while teaching kids about different plant shapes.
Store extra materials in a box for future projects.
Popsicle Stick Photo Frames

Popsicle stick photo frames transform simple craft supplies into cherished keepsakes that showcase your family’s favorite memories.
You’ll need just a few sticks, glue, and decorative materials to create these personalized gifts in under 15 minutes. Your kids can design frames for grandparents, teachers, or their own rooms while developing fine motor skills.
Creative designs to try:
- Classic Square Frame – Arrange four sticks in a square, glue at corners, and paint in your child’s favorite colors.
- Layered Style – Stack two layers of sticks for dimension, then add glitter or buttons.
- Themed Frames – Decorate with seasonal elements like seashells, leaves, or holiday stickers.
These frames make excellent last-minute gifts that recipients actually treasure, unlike generic store-bought items.
Salt Dough Ornaments

Salt dough ornaments offer another budget-friendly craft that busy parents can complete in minutes while creating lasting memories.
You’ll find countless salt dough recipes online, but the basic three-ingredient formula works perfectly for kid friendly projects. Your children will enjoy sensory play while mixing and kneading the dough, encouraging texture exploration through hands-on creativity.
Use cookie cutters as creative molds to shape themed ornaments for any occasion. Holiday decorations become more meaningful when handmade, and these make thoughtful gift ideas for grandparents and teachers.
Let your kids paint them in festive colors after baking.
Follow these baking tips: bake at 200°F for 2-3 hours until hardened. Store finished ornaments in airtight containers, and they’ll last for years as cherished keepsakes.
Paper Chain Garlands
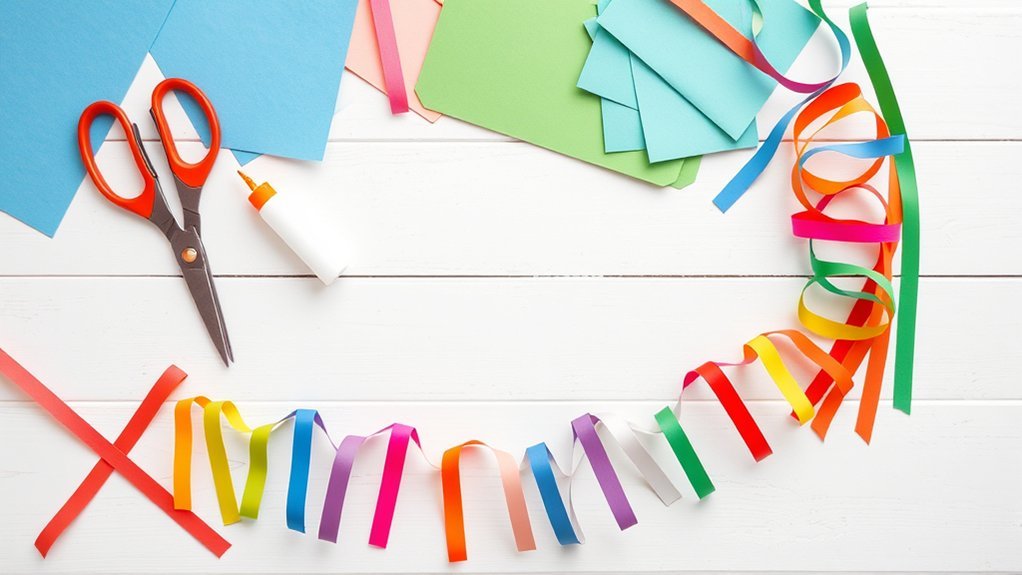
Paper chain garlands require nothing more than construction paper, scissors, and glue—making them one of the simplest crafts you’ll ever tackle with your kids.
You’ll create colorful patterns by alternating different paper strips, and they’re perfect for any occasion throughout the year.
These garlands work beautifully for holiday themes too. Here’s what makes them versatile:
Paper chain garlands adapt effortlessly to any celebration—from birthdays to holidays—making them a year-round craft staple for creative families.
- Birthday celebrations: Link together strips in the birthday child’s favorite colors to decorate their bedroom doorway or party space.
- Seasonal decorations: Use orange and black for Halloween, red and green for Christmas, or pastels for spring.
- Learning opportunities: Practice counting links, create repeating color sequences, or measure how long your garland grows.
Your kids can create impressively long chains in just minutes while developing their fine motor skills.
Egg Carton Caterpillars
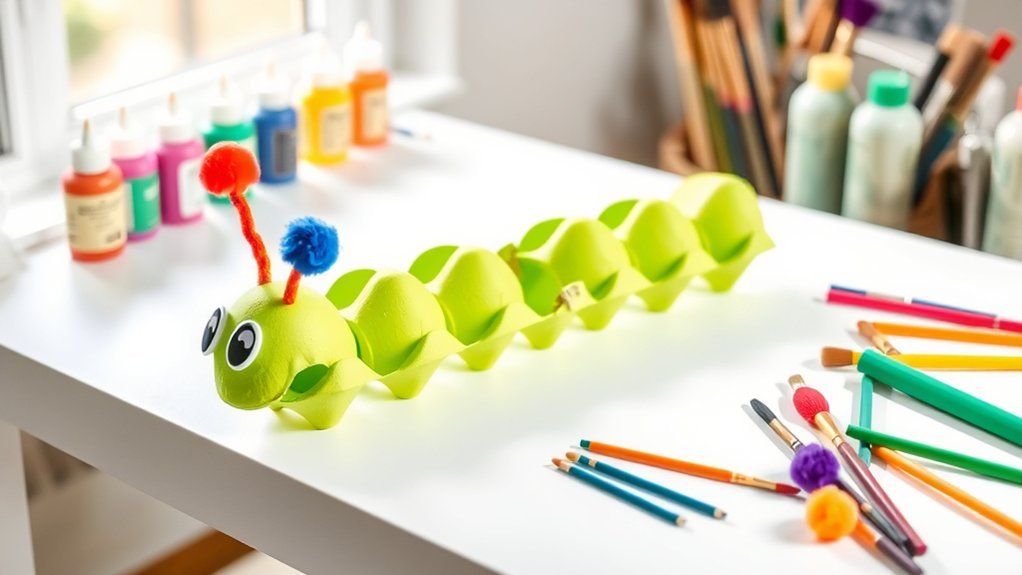
Another recyclable household item becomes the star of this next project—empty egg cartons transform into cheerful caterpillars that’ll delight younger children.
This egg carton recycling craft takes just minutes to complete. Cut individual cups from the carton, link five or six together, and you’ve got your caterpillar’s body.
Let your kids paint each segment in bright colors—greens, purples, oranges, whatever they choose. Add googly eyes to the front segment and pipe cleaners for antennae.
These creative insects make excellent learning tools too. You can teach counting by numbering each body segment or explore color patterns.
The project requires minimal supplies: paint, glue, and basic craft materials you likely have at home. It’s mess-manageable and produces adorable results that kids proudly display.
Cardboard Box Cars
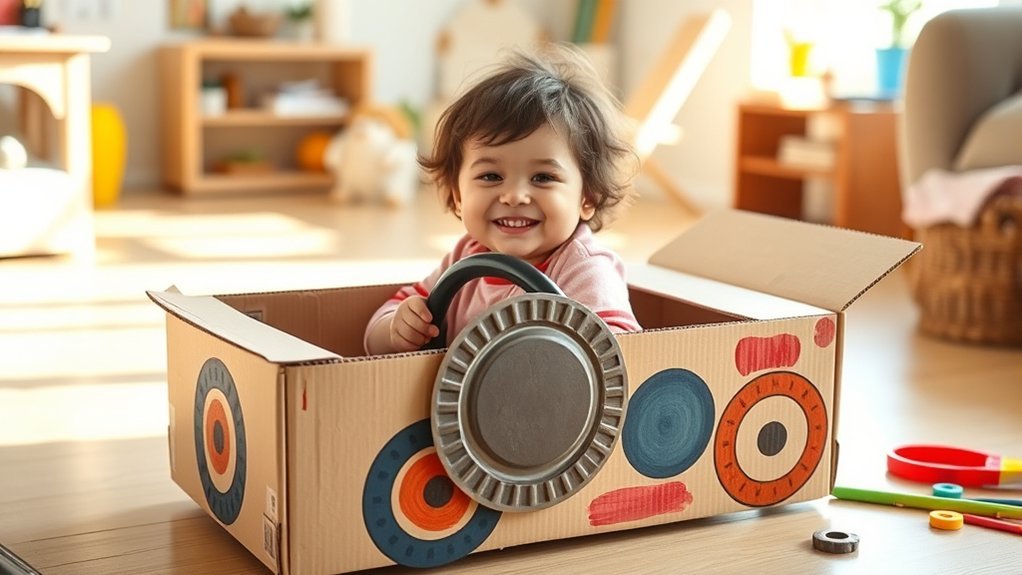
Large cardboard boxes become vehicles of imagination when transformed into drivable cars for your little ones.
Transform ordinary cardboard boxes into magical vehicles that spark creativity and adventure for your children in minutes.
You’ll need just 15 minutes to create these rolling masterpieces that’ll keep kids entertained for hours.
Simple Steps to Get Rolling:
- Cut out the bottom of a large box so your child can step inside and “drive” while holding the sides.
- Add paper plate wheels, headlights from bottle caps, and let kids design racing stripes with markers for creative car designs.
- Create a cardboard box racing track using painter’s tape on your floor, complete with starting lines and finish flags.
You don’t need fancy materials—everyday household items work perfectly.
Kids can customize their vehicles with stickers, paint, or construction paper.
They’ll develop motor skills while zooming around your living room.
Painted Rock Pets
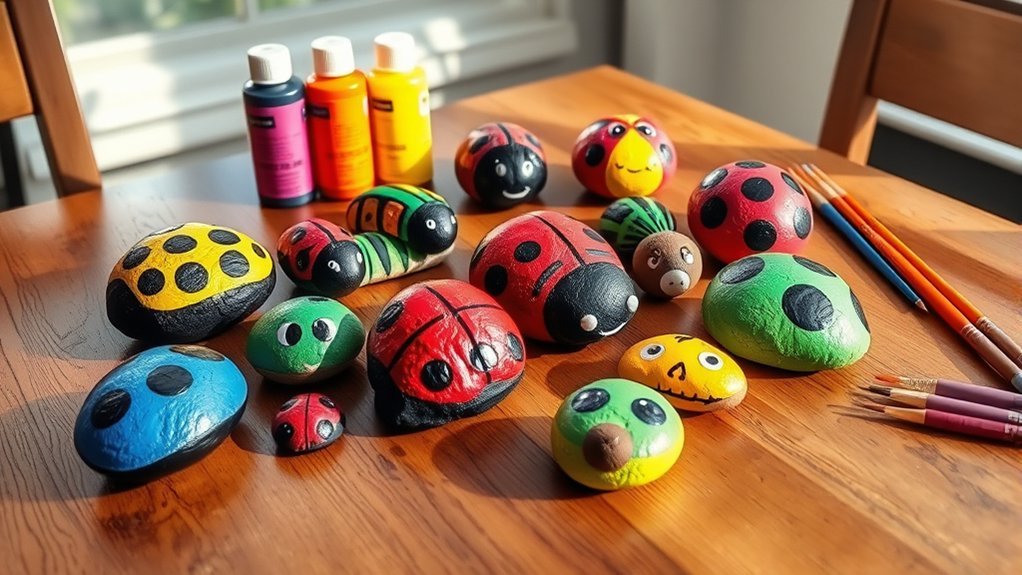
Smooth stones from your backyard transform into adorable companions with just a few brush strokes and 20 minutes of your time.
These pet care crafts teach children responsibility without the actual commitment of feeding and walking.
Start with basic rock painting techniques: wash your stones, apply white acrylic primer, then let kids add googly eyes, whiskers, and colorful patterns.
Ladybugs, cats, and turtles work especially well for beginners.
You’ll need acrylic paints, brushes, and a sealer spray—supplies you probably already own.
Kids can name their rock pets, create homes from shoeboxes, and practice nurturing behaviors.
The best part? These painted companions won’t make messes or require vet visits.
Store finished rocks in a basket for ongoing imaginative play that extends well beyond craft time.
Yarn-Wrapped Letters
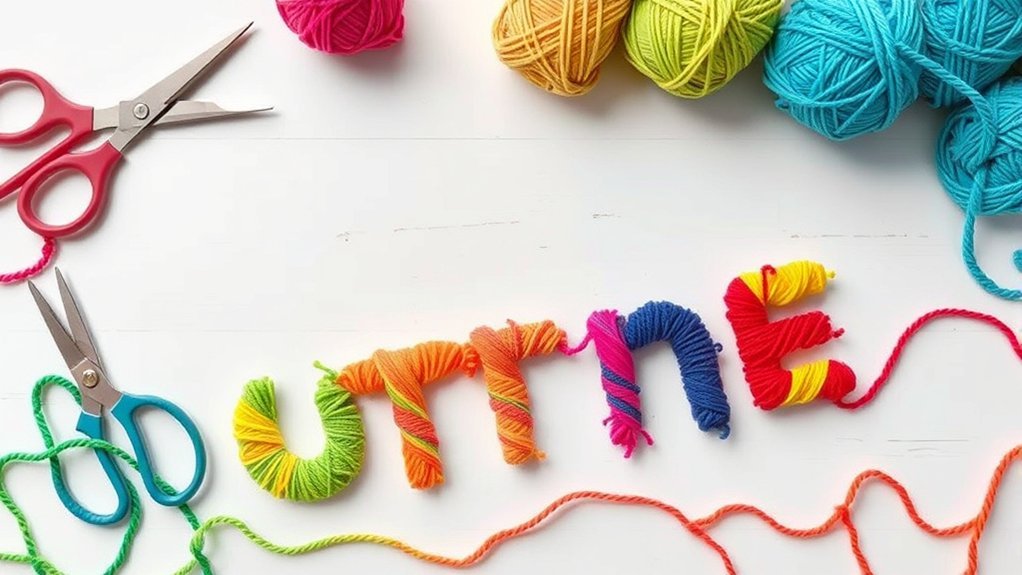
Cardboard letters wrapped in colorful yarn create stunning room décor that’ll take you just 30 minutes per letter.
You’ll transform plain cardboard into personalized letter gifts that kids absolutely love displaying in their rooms.
Start by applying a dab of hot glue to secure your yarn, then wrap it tightly around the letter in rows.
Hot glue anchors your yarn in place, allowing you to wrap tight, even rows that completely cover the cardboard surface.
Experiment with yarn color combinations like navy and gold, pink and mint, or rainbow stripes for eye-catching results.
Quick Steps:
- Grab cardboard letters from any craft store (usually $2-3 each)
- Choose 1-3 yarn colors and hot glue the end to start wrapping
- Wrap consistently in one direction, pushing rows together for full coverage
These make fantastic gifts for grandparents, teachers, or nursery decorations you’ll proudly showcase.
Magazine Collage Art
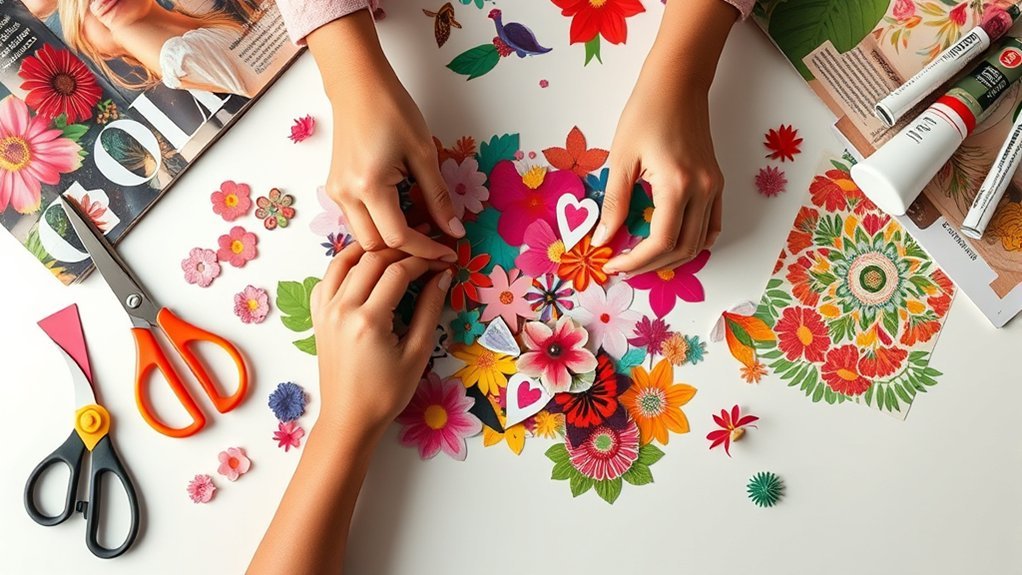
Old magazines stacked in your closet become vibrant artwork in under 45 minutes with this zero-cost craft. You’ll flip through pages, tearing out images that catch your eye without overthinking the selection process.
Choose magazine themes like nature, fashion, or food to create cohesive pieces, or mix everything for eclectic results. Layer your cutouts on cardboard or poster board, arranging them quickly before gluing down.
Creative techniques include overlapping images for depth, creating color gradients, or forming abstract shapes from random clippings.
Your kids can join by ripping paper freely while you handle precise cutting. Frame finished collages with thrifted frames, or tape them directly to walls for rotating gallery displays.
This mess-free activity requires only scissors, glue, and magazines you’d otherwise recycle.
In case you were wondering
How Do I Safely Store Completed Crafts Without Damaging Them?
You’ll want to use acid-free boxes or clear containers for proper craft storage. Apply basic preservation techniques like keeping items away from direct sunlight and moisture. Label everything clearly, and stack delicate pieces with tissue paper between layers.
What Alternatives Exist for Children With Sensory Sensitivities to Certain Materials?
Studies show 1 in 6 children experience sensory processing challenges. You’ll find sensory friendly materials like soft foam, smooth cardboard, and stretchy fabric work beautifully. Alternative crafting techniques using paintbrushes instead of fingers reduce tactile overwhelm effectively.
How Can I Adapt These Crafts for Different Age Groups Simultaneously?
You’ll love multi age adaptations like prep stations with varying complexity levels. Older kids handle detailed work while younger ones manage simpler steps. This approach naturally scaffolds crafting skills, letting everyone contribute meaningfully to the same project together.
What’s the Best Way to Clean up Craft Messes Quickly?
Imagine stress melting away! You’ll clean fastest by focusing on mess prevention first—use washable supplies, cover surfaces with newspaper, and keep cleaning supplies within arm’s reach. Tackle spills immediately before they set, making cleanup virtually effortless.
How Do I Encourage Reluctant Children to Participate in Craft Activities?
Start with their interests to boost craft motivation. Let them choose projects, work alongside them, and celebrate small wins. Keep sessions short and pressure-free for fun engagement. Sometimes messy, imperfect creations build the most confidence and enthusiasm.
Conclusion
You’ve just discovered seventeen crafts that take minutes, not hours. Coincidentally, that’s exactly what childhood needs—quick bursts of creativity squeezed between soccer practice and dinner prep. These simple projects won’t win art contests, but they’ll create memories. Isn’t it funny how the masterpieces gathering dust were painstakingly planned, while the toilet paper roll binoculars your kid made in ten minutes still hang around their neck? Sometimes the best things in life really do come from what’s already in your recycling bin.