13 Weather Experiments That Teach Kids Science
You can turn your backyard into a wild weather lab with super‑simple science tricks. Build a rain gauge from a soda bottle, a DIY barometer from a jar and balloon, even whip up a “tornado” in a bottle on your kitchen table. Track temps, test wind speed, grow a cloud in a jar, and make rainbows on the wall. It’s messy, loud, and ridiculously fun—and the next experiments get even cooler the deeper you go.
Key Takeaways
- Build simple tools like rain gauges, anemometers, and barometers so kids can measure rainfall, wind speed, and air pressure themselves.
- Track daily weather—temperature, clouds, wind, and precipitation—and graph data to reveal patterns and local climate trends.
- Explore evaporation and condensation with puddle labs and “cloud in a jar” activities to model the water cycle.
- Investigate how light refracts by making rainbows with a water glass and sunlight to show that white light is a spectrum of colors.
- Test “ice storm” insulation by wrapping ice-filled cups in different materials to model how winter clothing keeps bodies warm.
Make a Rain Gauge to Measure Precipitation

Even though rain just looks like sky water falling on your head, you can actually *measure* how much is coming down—with a homemade rain gauge that’s way cooler than just saying, “Uh, it rained a lot.”
Turn random downpour into real data with a DIY rain gauge and actual numbers
You’re basically building a tiny weather station in your yard using stuff like a plastic bottle, some tape, and a ruler.
First, grab your rain gauge materials: a clear plastic bottle, scissors, stones, a ruler, and permanent marker.
Cut off the top, flip it like a funnel, and tape it on. Add stones so it won’t blow away. Mark centimeters on the side.
Then wait for a storm. Boom—instant precipitation measurement.
Check the water level, record it, compare storms, and brag like a dramatic weather nerd to friends.
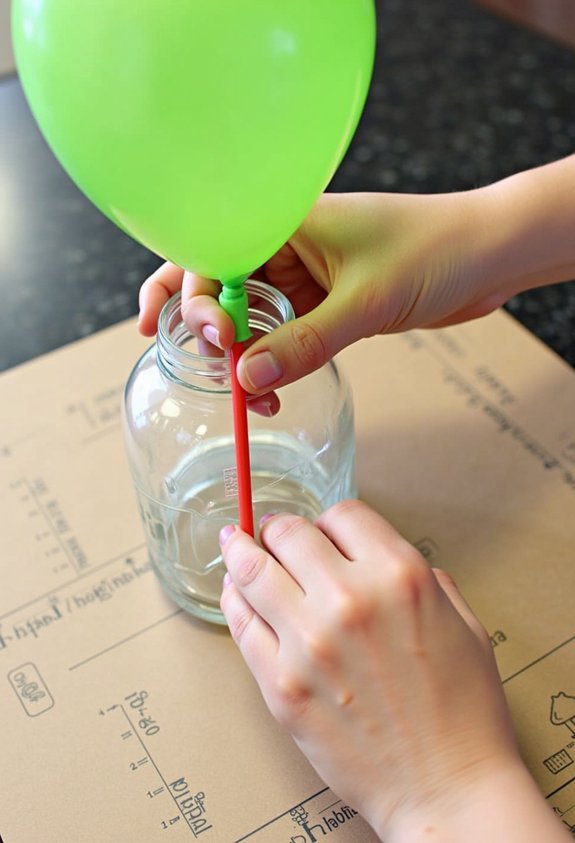
Build a Simple Barometer to Track Air Pressure
You’ve measured how much sky-water is falling; now let’s mess with the *invisible* stuff that controls the weather: air pressure.
Grab a glass jar, a balloon, a rubber band, and a straw. Stretch the balloon over the jar’s mouth so it’s flat and tight, then wrap the band around it. Tape the straw across the top, pointing out like a tiny diving board.
Lean a piece of paper behind the straw and draw a starting line at the tip. Now watch. When air pressure outside goes up, it pushes the balloon down, straw tip goes higher. Lower pressure lets the balloon puff up, and the straw sinks.
Track the straw’s moves each day, label them “sunny,” “stormy,” or “whoa,” and you’ll see weather patterns appear on your wall.
Create a Tornado in a Bottle
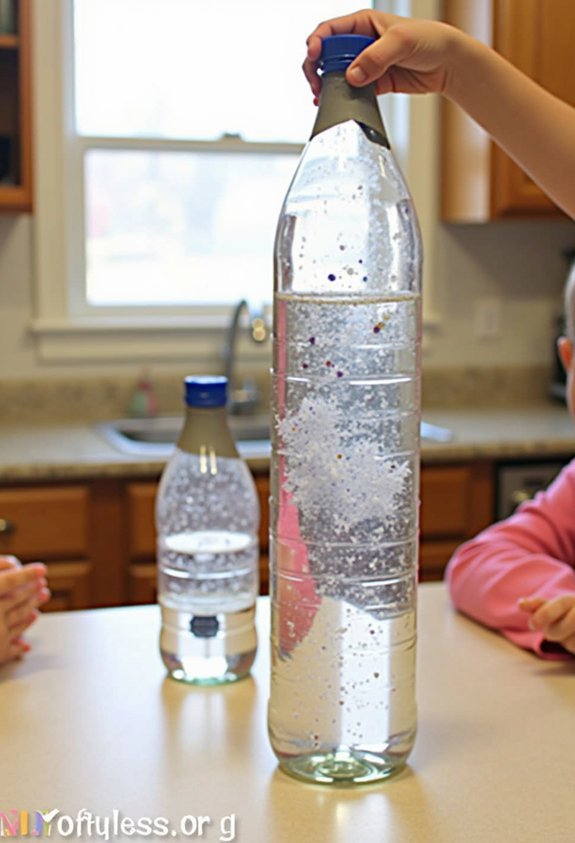
One clear plastic bottle, some water, and a quick swirl are all it takes to trap a tornado right in your hands—no storm sirens needed.
Fill the bottle almost to the top, add a drop of dish soap, then spin it in a tight circle. Boom. Mini twister. You’re watching tornado formation in fast-forward. The spinning water creates a hole in the middle, called the vortex. That’s where vortex dynamics show up: water rushes around the center, racing downward like it’s late for school.
Air in the middle shoots up, just like in real tornadoes. Try spinning slow, then super fast. Notice the funnel sharpen and stretch? Congrats, you’ve basically turned science class into a storm simulator. Show it off; accept your weather-wizard title.
Explore Evaporation With a Puddle Lab

Before you run off to chase storms, let’s shrink things down and do some weather science on the floor: a good old-fashioned puddle. Fill a shallow tray with water, or pour a small puddle on the sidewalk.
Now you’re running a mini weather lab. Do quick puddle observation checks every few minutes. How wide is it? Any weird shapes? Draw its outline with chalk so you can see it shrink.
Next, mess with evaporation rates. Put one puddle in the shade and one in the sun. Maybe even blow on one like a human hair dryer.
Which vanishes first? Time them with a stopwatch. You’ve just turned “watching water disappear” into proof that heat and moving air speed evaporation. Pretty awesome science skills.
Model the Water Cycle in a Bag
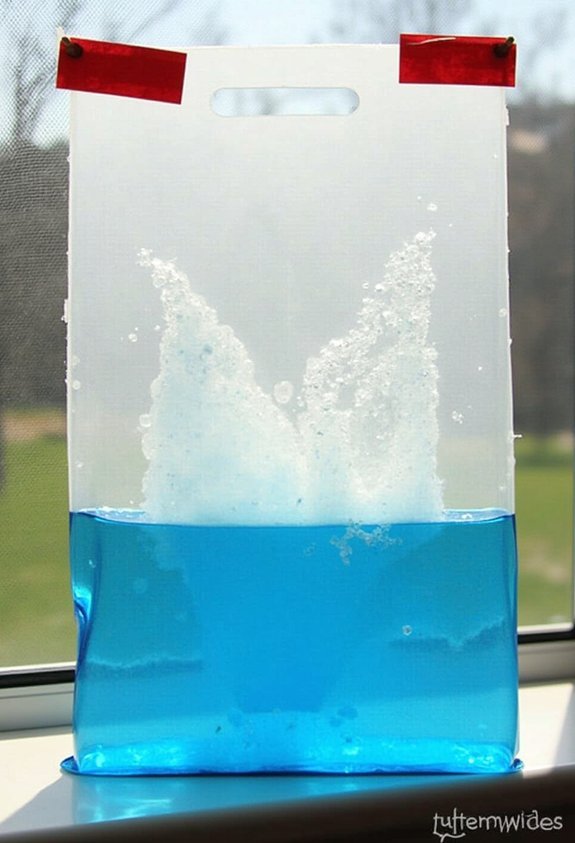
Even if you can’t control the weather outside, you can totally boss it around in a plastic bag.
Grab a clear zip-top bag, a cup of water, and some tape.
Draw a sun, clouds, and ocean on the bag model with a marker. Pour in a little water, add one drop of blue food coloring if you want drama, then seal it tight.
Tape it to a sunny window and wait.
You’ve just shrunk the whole water cycle into a snack-size science lab. The water “ocean” heats up, evaporates, and climbs as invisible gas. It cools on the plastic, turns back into drops, and “rains” down the sides.
Boom—evaporation, condensation, precipitation, all before lunch.
Now stare at real clouds and feel annoyingly smart afterward.
Make a DIY Anemometer to Measure Wind Speed
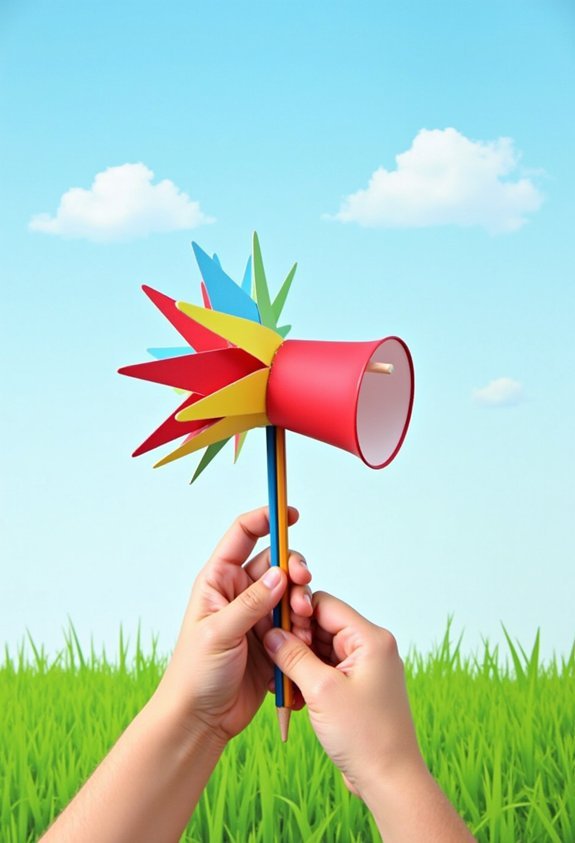
Two plastic cups, a handful of straws, and boom—you’re about to build a tiny weather station that spins like it’s doing a tornado dance.
You’ll tape the cups to the ends of the straws, stick the straws on a pencil, and balance that pencil in some clay.
When the wind blows, your cup rig starts spinning like it drank three root beers. You count how many spins it does in, say, 30 seconds, and that tells you the wind speed is low, medium, or totally wild.
Do a few tests on a calm day, a breezy day, and a “hold onto your hat” day.
Boom, you’ve just turned a pile of craft junk into a real science tool and a brag-worthy DIY project today.
Design a Wind Vane to Find Wind Direction
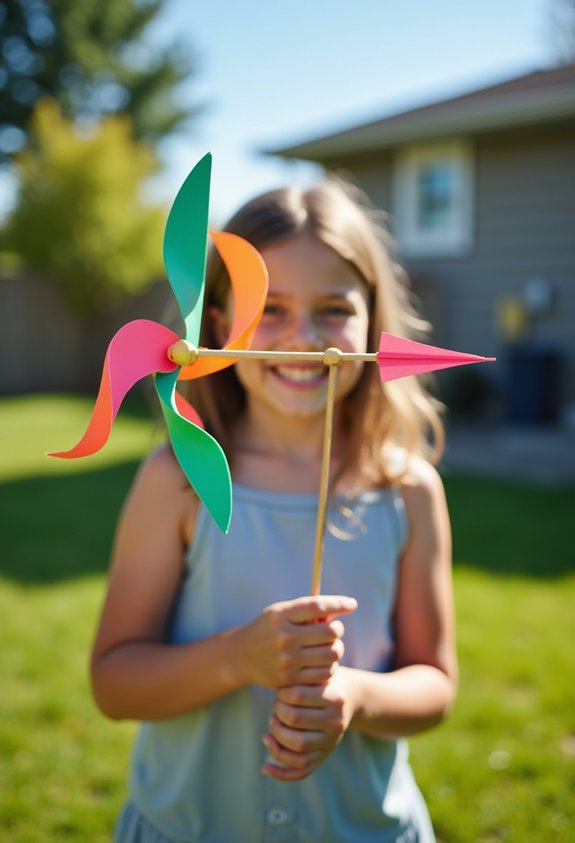
Once you’ve got wind speed handled, it’s time to boss that breeze around and find out where it’s actually coming from. You’re making a wind vane, the classic weather tool with the little arrow on top of barns.
Grab a drinking straw, a pencil with an eraser, a pin, some paper, and a cup of sand or rice. Cut a triangle for the arrowhead and a wider triangle for the tail. Tape them to each end of the straw.
Stick the pin through the straw’s middle into the eraser so it spins. Put the pencil in the cup. Now mark the compass directions—N, S, E, W—around the cup.
When the arrow points, boom: that’s your wind direction. You just built a backyard weather station.
Grow a Cloud in a Jar
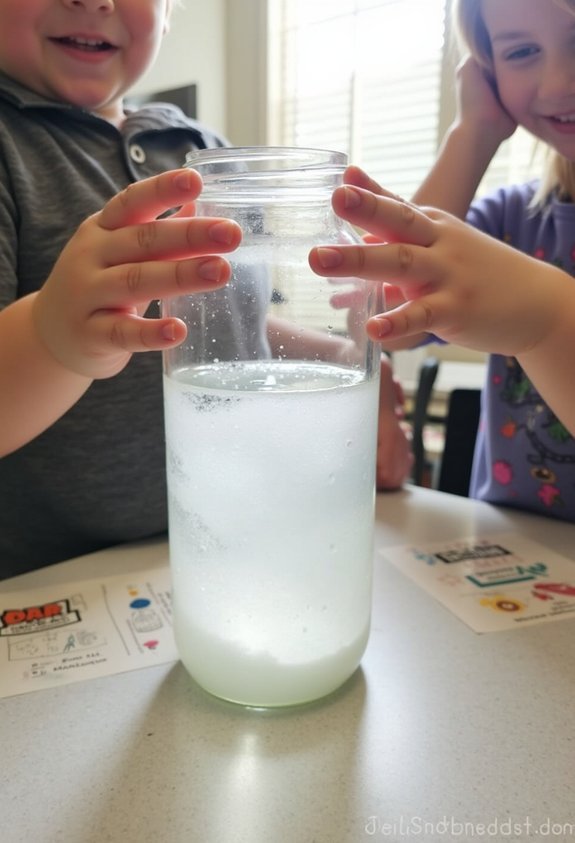
You’ve measured the wind like a weather boss, so now let’s do actual sky magic: you’re going to trap a cloud in a jar.
Grab a clear jar, hot tap water, ice cubes, and some hair spray.
Pour hot water in the jar, swirl it, and set the lid upside down on top with ice.
Now you’ve built a mini round Earth. Warm, wet air rises from the water and slams into the cold lid.
Cloud formation time. The water vapor cools, sticks together, and turns into droplets.
That sticking-together step is the condensation process.
Spray a puff of hair spray into the jar, then cover it again.
Particles give the droplets something to grab.
Shine a flashlight and watch your cloud gently swirl.
Capture and Compare Dew and Frost
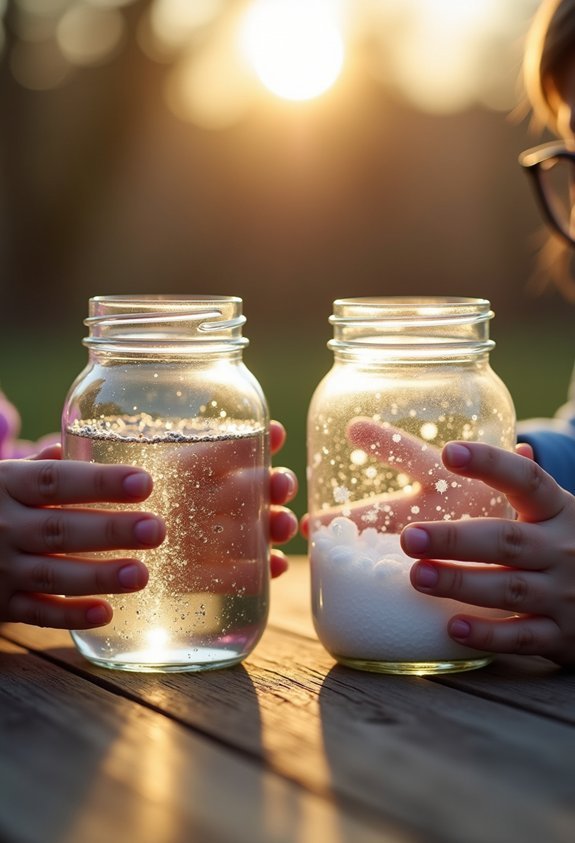
Ever wake up, see sparkly stuff on the grass, and think, “Wow, the ground forgot how to be dry”? That’s your cue to become a tiny weather spy.
Wake up to sparkly grass? Congrats, the weather just invited you to a secret science mission.
Grab two metal pie pans and place them outside at night, one on open grass and one near a wall. For dew collection, head out early, before the sun gets bossy. Gently tilt each pan and see how much water slides to the edge. More water means more dew.
For frost formation, try the same trick on a night that’s below freezing. You’ll spot ice crystals instead of drops.
Compare which pan gets wetter or frostier, then brag: you just caught water changing state, in your yard, for free. Seriously, not even a lab coat required.
Test How Different Surfaces Heat Up in the Sun
Before the sun even finishes clocking in for the day, it’s already playing favorites with what it heats up. You can prove it with a super simple test. Grab four things: a piece of black paper, white paper, a metal spoon, and a small chunk of cardboard. Put them in direct sun, spaced apart. Now predict which one will get hottest.
While they bake, touch them—quick taps only—and feel the surface temperature changing. That’s sunlight absorption in action.
Try this:
- Time how long each object takes to feel “ouch!” hot.
- Flip them over and see if the shady side’s cooler.
- Move one into partial shade and compare again.
Suddenly, sidewalks, car seats, and slides all make total sense on hot days.
Make a Rainbow With Light and Water
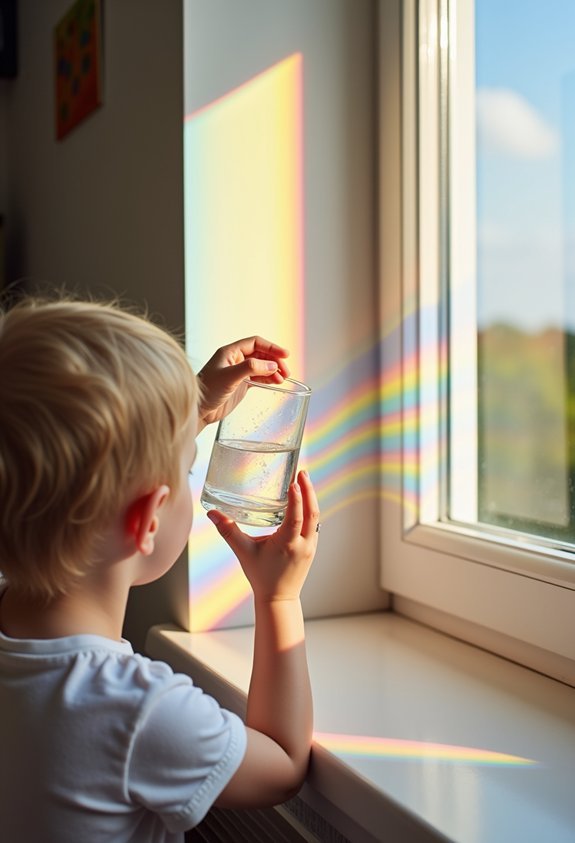
Those sun experiments showed how light can roast a spoon, but light can do way more than just turn playground slides into lava.
Today you’ll make a rainbow in your own kitchen. Grab a clear glass, fill it with water, and put it on a sunny windowsill. Slide a white sheet of paper on the table behind it. Tilt the glass slowly. Boom—faint rainbow.
What’s happening? Water bends sunlight, a trick called light refraction. White light is actually a mix of many colors, called the color spectrum. The water acts like a tiny prism, splitting the light into red, orange, yellow, green, blue, and purple.
Wiggle the glass and you can “drive” the rainbow around like a tiny, colorful car on your kitchen wall.
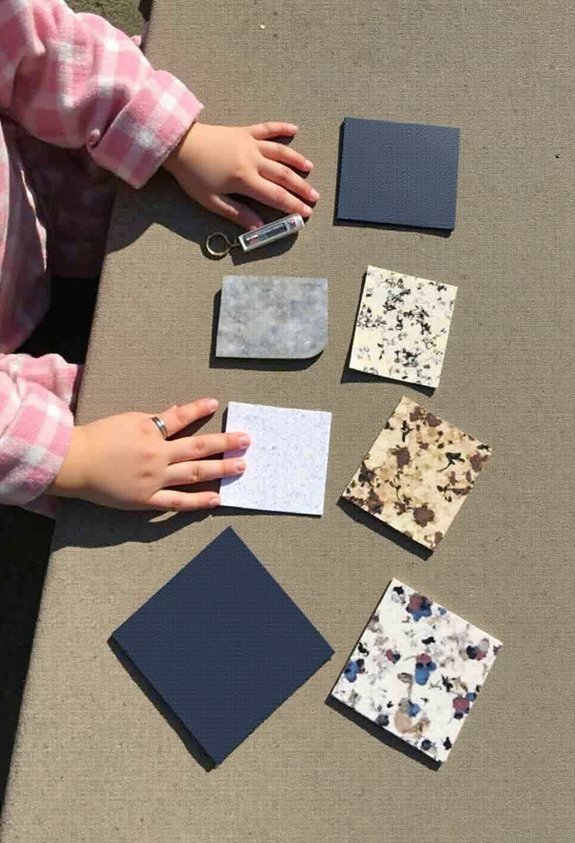
Compare Insulation With a Homemade “Ice Storm” Test
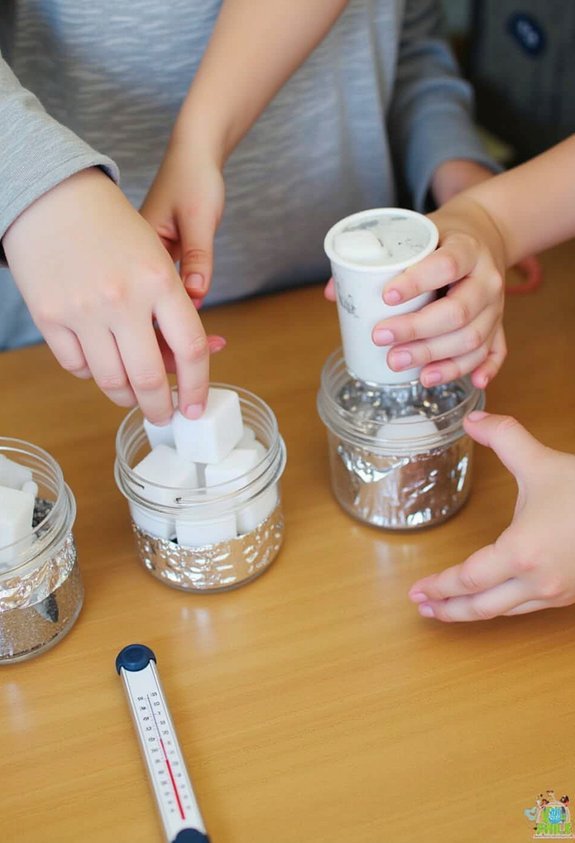
Now make it a mini ice storm. Stick all cups in the same cold place and wait 20–30 minutes.
Time for a temperature comparison:
- Measure each cup with a thermometer.
- Rank them from coldest to warmest.
- Check which wrapping kept the biggest ice chunks.
Boom—you’ve just tested how winter coats actually work. Science wins, soggy socks lose, everyone learns.
Track Daily Weather and Graph the Data
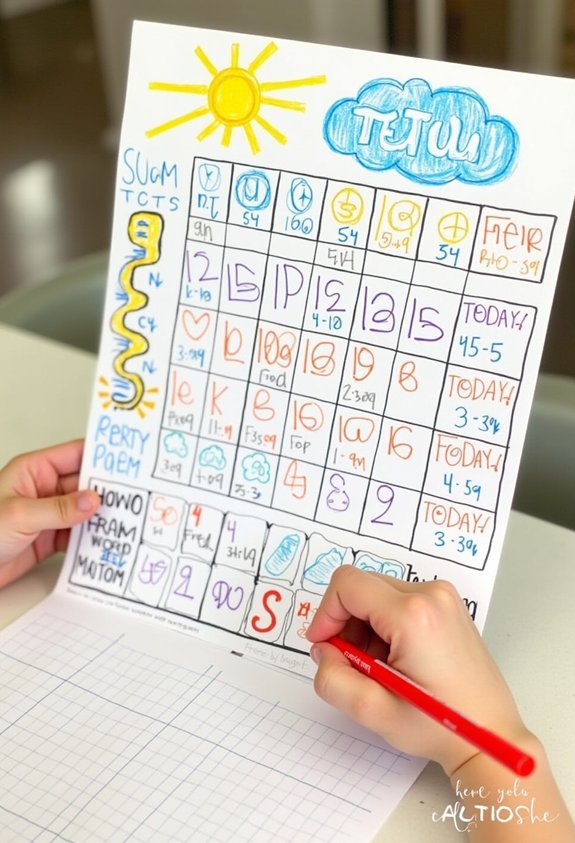
Your mini ice storm was like a one-day weather drama—so let’s stretch that out into a full-on weather series.
Grab a notebook, ruler, and a cheap thermometer. Each day, at the same time, step outside and write down temperature, clouds, wind, and any rain or snow.
Be bossy about it: no skipped days.
After a week, draw a simple graph. Days go along the bottom, temperature up the side. Connect the dots. Boom—temperature trends appear. Did it suddenly drop like a cliff? Did it crawl up, then crash?
Add symbols for sun, clouds, and storms under the dates. Now you’re hunting weather patterns, not just random days.
Keep going for a month and you’ve basically built your own baby weather station in your backyard.
In case you were wondering
How Can I Keep Kids Safe During Weather Experiments at Home or School?
You keep kids safe by supervising constantly, following clear safety guidelines, using age-appropriate materials, and enforcing goggles, gloves, and tidy workspaces. You also teach emergency procedures, practice spills or fire responses, and keep contacts visible.
What Basic Science Concepts Should Kids Understand Before Starting These Weather Projects?
You should ensure kids grasp basic concepts like states of matter, temperature, air pressure, measurement, and safety, plus science foundations such as forming hypotheses, recording observations, spotting patterns, and distinguishing cause from effect during investigations.
How Do I Adapt These Experiments for Different Age Groups or Grade Levels?
Need to adapt experiments across ages? You use clear age differentiation, simplify steps and materials for younger kids, add measurements, charts, and open-ended questions for older ones, always matching tasks to skill levels and spans.
Which Everyday Household Materials Best Replace Specialized Science Equipment in Weather Experiments?
You can use common materials as household substitutes: clear jars for beakers, plastic bottles for rain gauges, string and paper for wind indicators, food coloring for clouds, measuring cups and spoons for volume and precipitation.
How Can We Connect These Hands-On Projects to Real Local Weather Events and Forecasts?
Connect projects by comparing kids’ real time observations with app predictions, mapping temperature, clouds, and rainfall, then asking why they match or differ; you’ll build local forecast connections and show how data shapes weather reports.
Conclusion
So now you’ve played with rain, bossed around air pressure, spun a tornado in a bottle, and cooked sidewalks in the sun. You didn’t just watch weather, you poked it, measured it, and laughed at it. You got curious, you got messy, you got smart. Keep doing that. Keep asking why, keep testing guesses, keep treating the world like your giant science lab. The weather won’t stop changing—so why should you?